
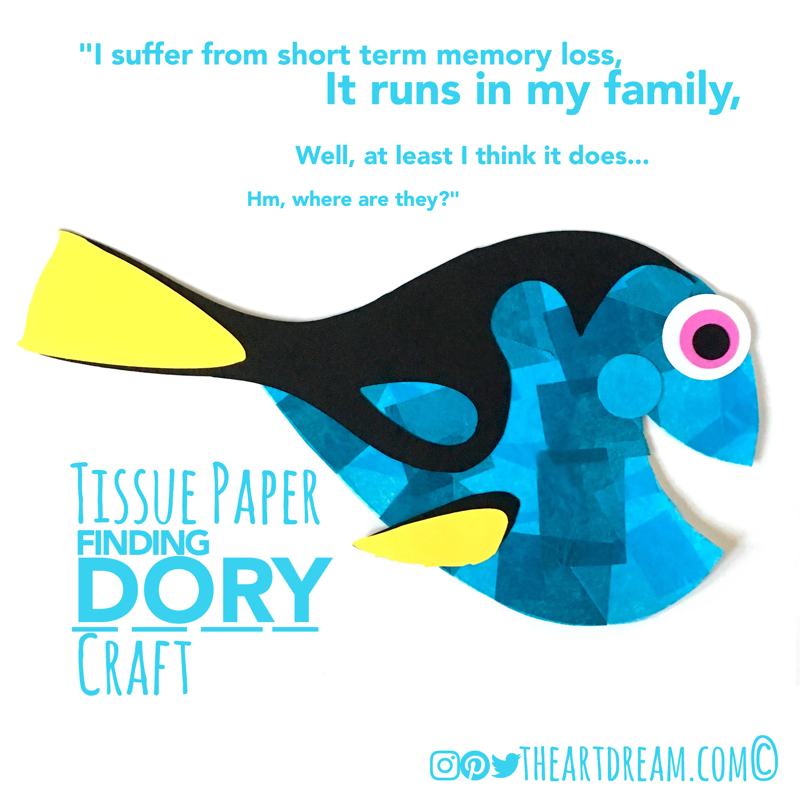
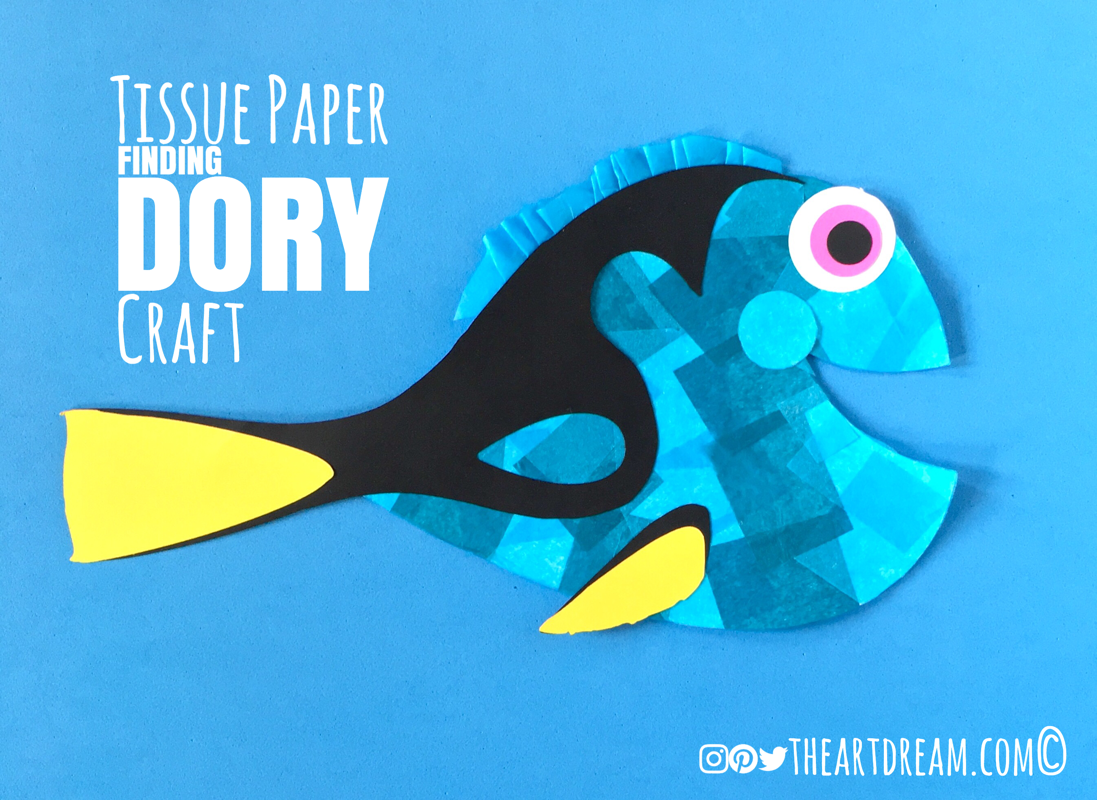
Finding Dory Craft With Pattern
Finding Dory Craft

You can download my pattern file here...
| finding_dory.pdf |
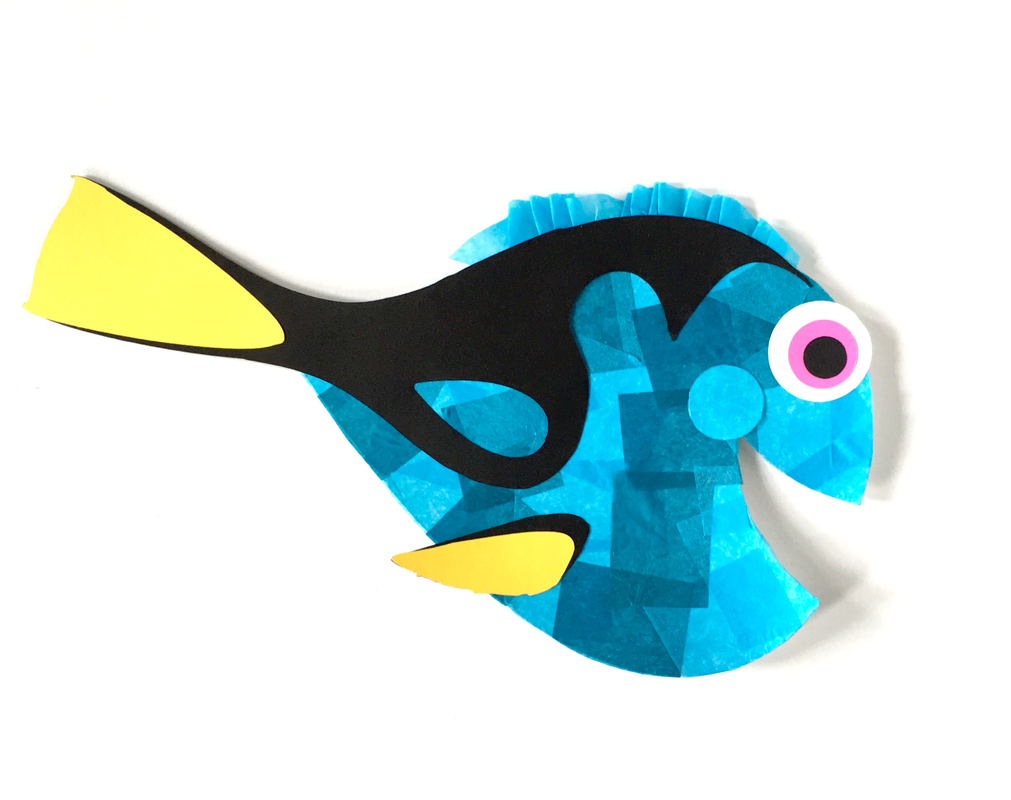
I made my Dory with these cutouts, but you can get creative and make your own patterns if you'd like.
Materials:
Materials:
- Printer for pattern
- Cardstock paper
- Tissue paper
- Glue
- Mini roller
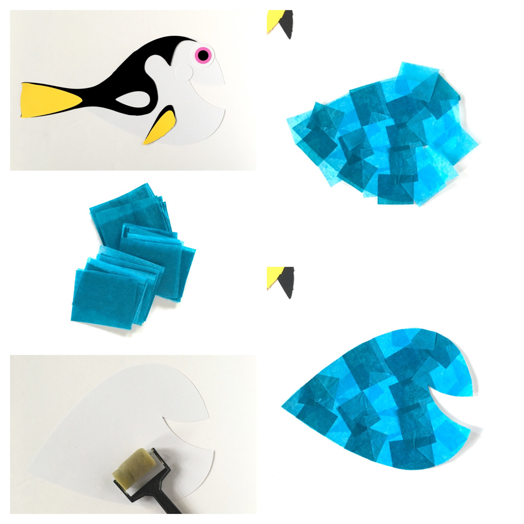
Step 1. Download my pattern file and cut out all of your shapes. I recommend using white cardstock to print on.
Step 2. Cut up some blue tissue paper into about 1 1/2 to 2 inch squares. Bigger pieces for little fingers and smaller squares for older kids.
Step 3. Pour some glue into a paper plate and use the mini roller to apply glue to the body. Next start glueing on your tissue paper. Don't forget the circle for the cheek!
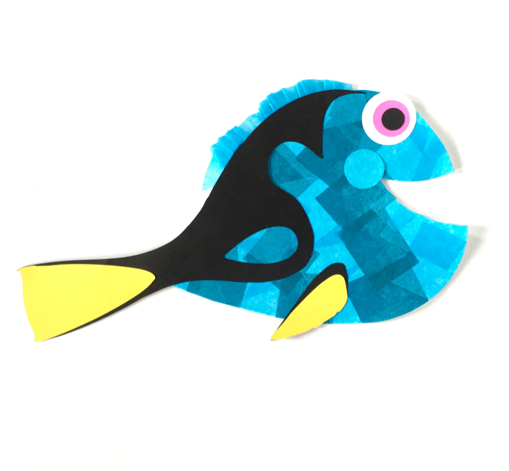
Step 4. Add the rest of the details to Dory.
Step 5. Create the dorsal fin with a long piece of tissue paper.
Remember to "just keep swimming"!
Step 2. Cut up some blue tissue paper into about 1 1/2 to 2 inch squares. Bigger pieces for little fingers and smaller squares for older kids.
Step 3. Pour some glue into a paper plate and use the mini roller to apply glue to the body. Next start glueing on your tissue paper. Don't forget the circle for the cheek!
Step 4. Add the rest of the details to Dory.
Step 5. Create the dorsal fin with a long piece of tissue paper.
Remember to "just keep swimming"!