Mummy Sarcophagus Excavation
How many of us wish we could brave the sands of the desert and explore an ancient tomb? I know I do! My love of exploration and adventure is the spark that inspired this project. This would be great for a science project, history lesson, or a cultural exploration event at your child's school.


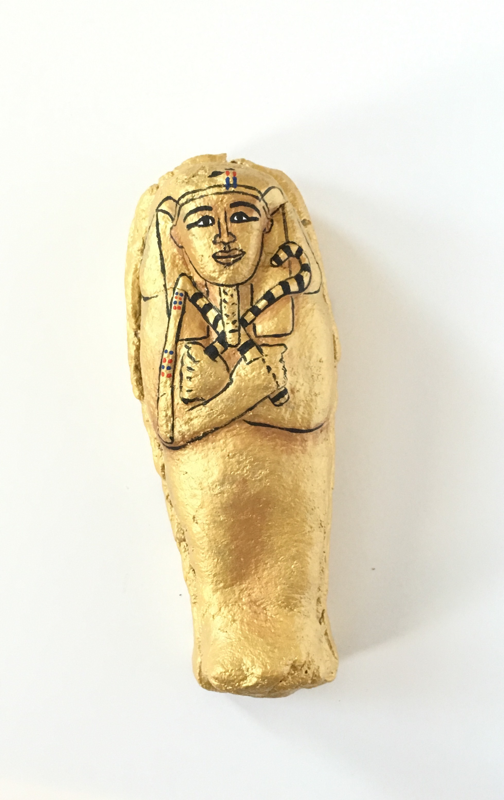
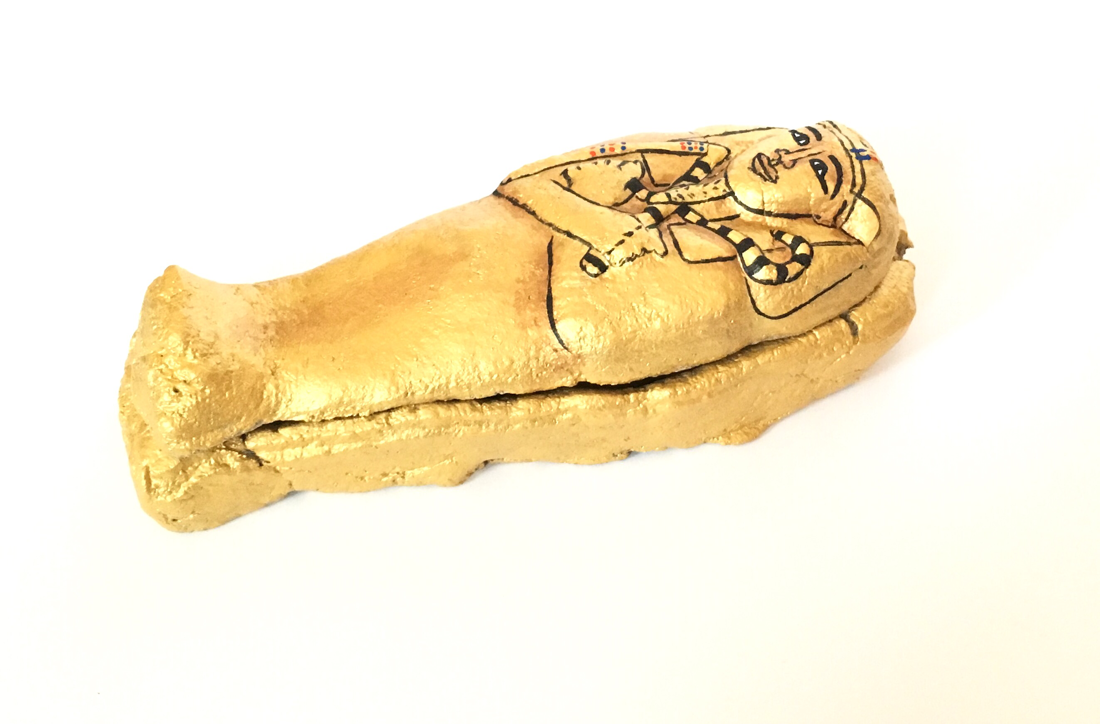
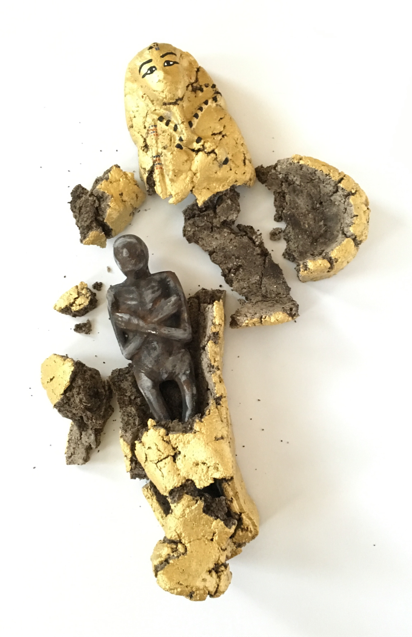
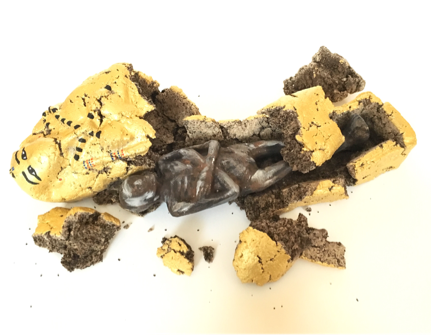
I've made two sarcophagus' here, one was done with a very dry mixture and the finished tomb was very crumbly. Which I LOVE, I think it looks so cool. The second, the mixture was just right, and was baked in the oven. It looks like a real rock!
I know everyone has tried their own dino egg with a plastic toy inside. How fun is this project for kids, the excavation of the little toy is such an exciting activity but I thought I'd bring it to the next level.
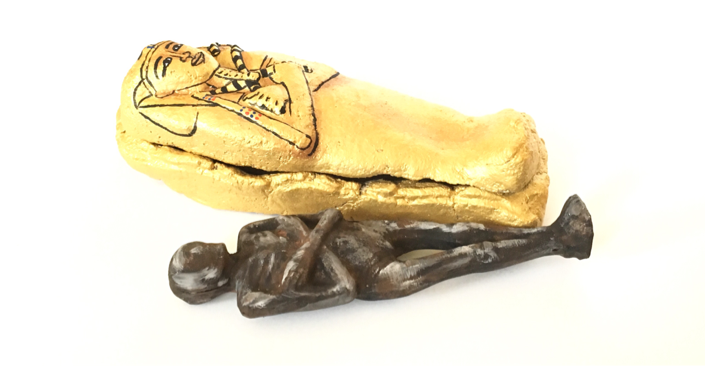
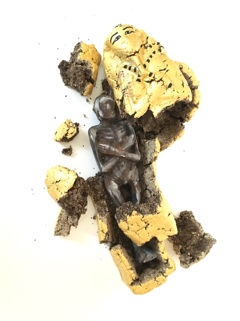
I've wanted to study ancient Egypt with my students for a while and was looking for a project to introduce. With this idea, you can leave your sarcophagus whole or you can break it up to free the mummy, this kind of creative play is just what every boy and girl needs to be an Egyptian archeologists.
The mummy is made from plaster and a mold is used to make the sarcophagus. The kit I purchased was inexpensive and came with a ton of extras to keep you and your children engaged. You can find it here on Amazon... http://www.amazon.com/Scientific-Explorer-Amazing-Mummies-Model/dp/B000BL5Y5Y/ref=pd_rhf_gw_p_img_1?ie=UTF8&refRID=1V2J6C3RAP6JV47625ZC
Some notes before you begin:
- If you do not wish to use a mold, make a mummy by wrapping strips of Muslim around an old, small doll. Then form the flour and coffee grind mixture around your mummy.
- One of my examples was baked in the oven. You do not have to bake your sarcophagus. You can allow your mixture to dry overnight, and fully dry in 48 hours.
Materials:
- Mummy mold kit (several molds can be found online)
- 2 1/2 cups of Flour
- 1 1/2 cups of used coffee grinds
- Tsp of salt
- Water
- Parchment paper
- Paint
- Paint brushes
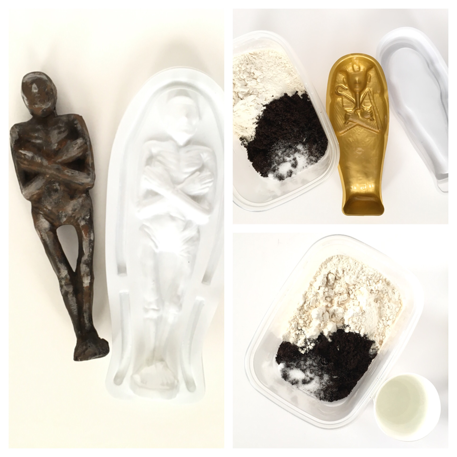
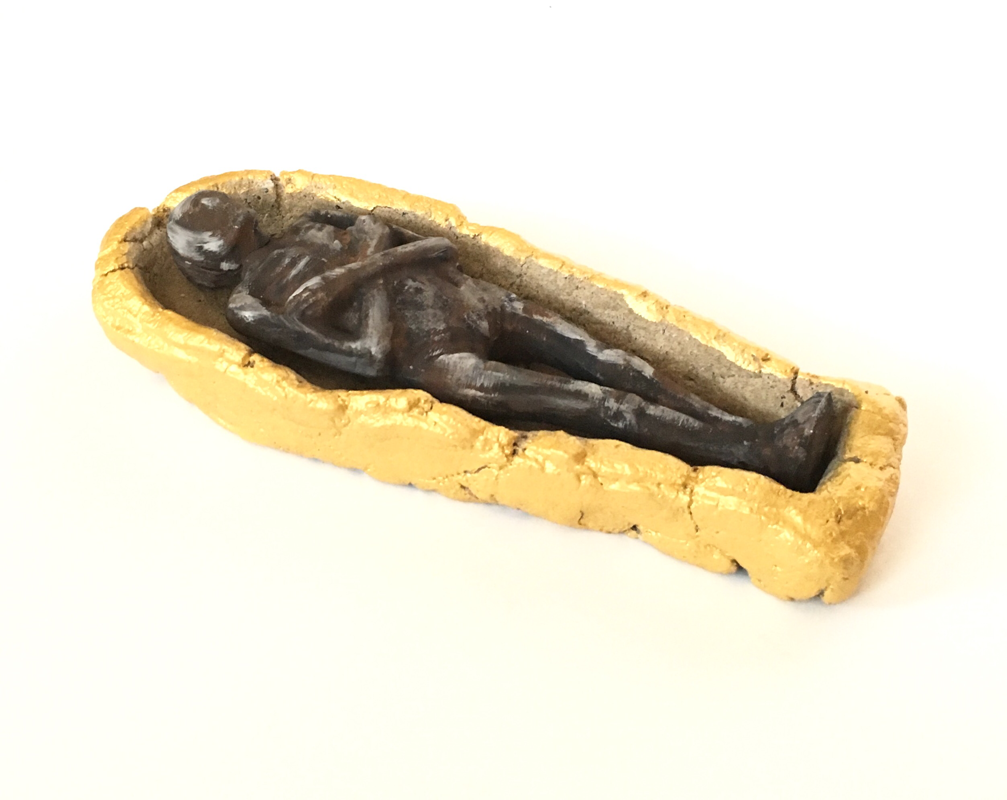
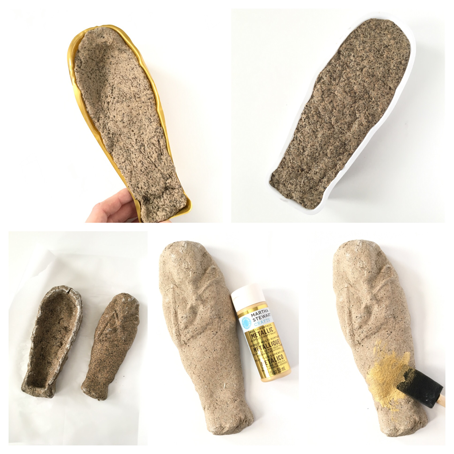
Step 1. Cast your mummy with the plaster that came with the kit. Follow the directions and allow the mummy to dry overnight. Once it's completely dry, paint your mummy as you wish.
Step 2. Flour your molds like you would a cake pan. Also prepare a baking sheet or pan with a piece of parchment paper. Preheat the oven to about 300 degees.
Step 3. Place your flour, coffee grinds and salt in a deep container or bowl. Begin adding water little by little. The consistency of the mixture is very important. You want it to be more dry than wet. If the mixture is sticking to your fingers, add more flour. Test the mixture by placing a small piece into the mold. If you can remove it easily then the mixture is ready.
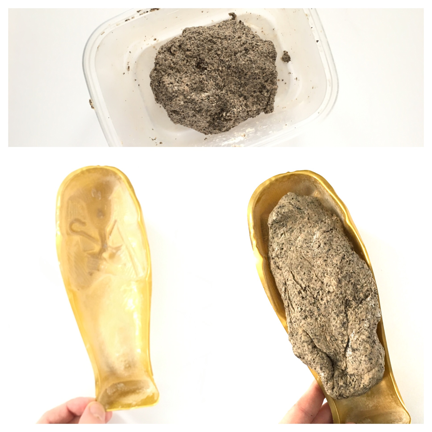
Steps 4. Fill your molds with the mixture pressing firmly into the areas with more detail. Once you've filled the molds, carefully remove the shapes and place on the pan lined with the parchment paper.
Step 5. Bake your sarcophagus in the oven at 300 degrees for about 15 minutes or so.
Remove and let cool completely before painting.
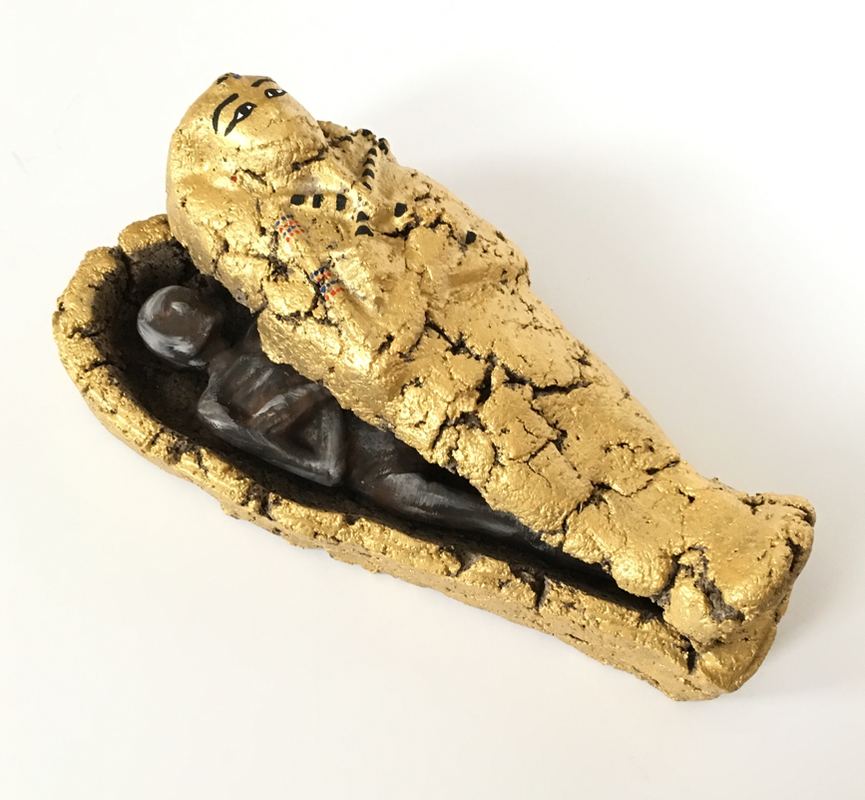
Step 6. Add details and place your mummy inside.
Step 5. Bake your sarcophagus in the oven at 300 degrees for about 15 minutes or so.
Remove and let cool completely before painting.
Step 6. Add details and place your mummy inside.
Have a blast excavating your mummy. Create a storyline. Create clues to unlocking hidden messages. Use hieroglyphics to decode a clue. There's a ton of ways to make this mummy projects a memorable experience.
|
|