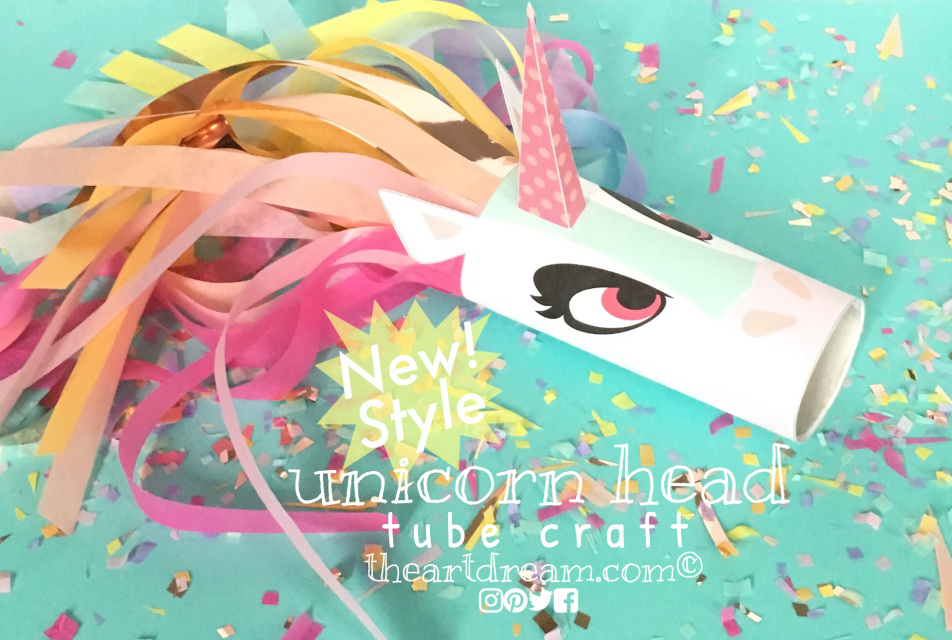
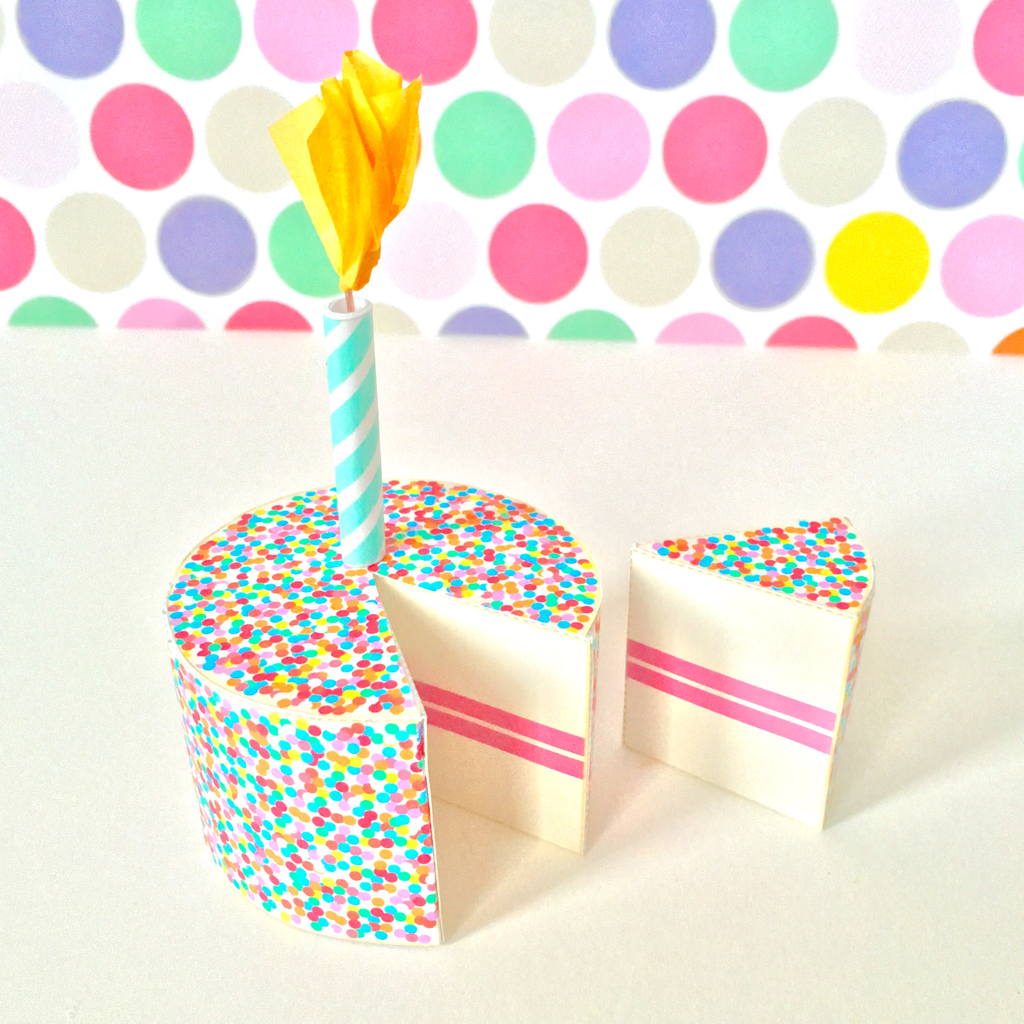
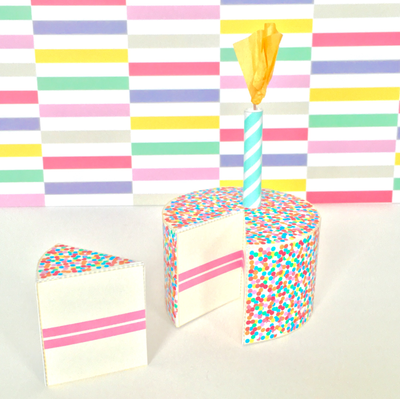
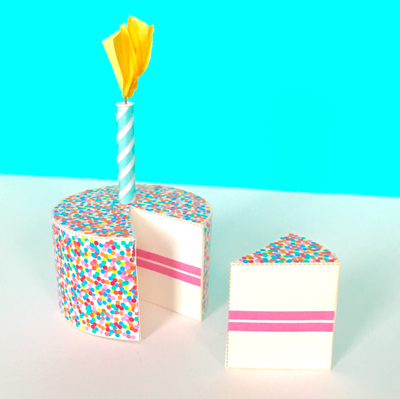
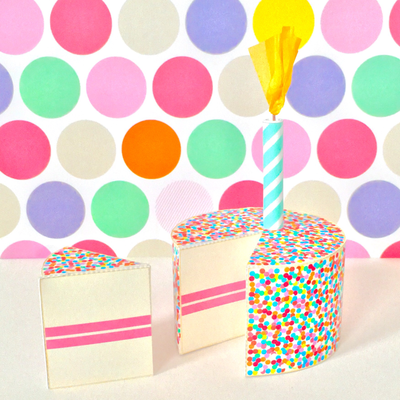
Birthday Cake Printable PapercraftHappy 1st Birthday to The Art Dream! I'm celebrating with this mini birthday cake papercraft covered in sprinkles! This craft is easy and great for any birthday anytime! I think cake in general is by far my favorite thing! How about you? I don't particularly discriminate against any of the desserts but I think it's safe to say that cake and cookies rank highest on my dessert cart hierarchy! It's also The Art Dream's first birthday, I can't even believe that it's been a year since starting this journey of sharing my artwork with the world, it has definitely been a whirlwind of emotions, hard work, and constant care and attention to detail. I am truly proud of how far I've come and I'd like to thank everyone who's supported me and shown interest along the way so far! I'm looking forward to what the future has in store for The Art Dream and I'm super excited to share more projects this year! This little birthday cake papercraft is very easy to make and you can find the printable with the separate cake slice in the shop! And just because I love this little cake I've included a free version of this printable here in the post. It's the cake as one whole, but it includes some more candles for the top! Download the free version of this cake papercraft right below...
Materials:
Directions: Step 1. Cut out all of the shapes with a scissor or craft knife. Score all of the tabs and dotted lines with a craft knife or you could use something like a popsicle stick! Step 2. Fold down all of the tabs on the long strip of cake covered with sprinkles, glue it to the top of the cake along the edges. Step 3. Tape a piece of wire to the inside of the birthday candle and roll it tightly around a lollipop stick, you could use a straw or skewer also. Glue the end down. Step 4. Glue a piece of tissue paper to the top of the candle as a flame, then glue the candle to the top of the cake. Check out my video below on how I made the version with the slice of cake. Which you can get from the shop! Happy Birthday!
2 Comments
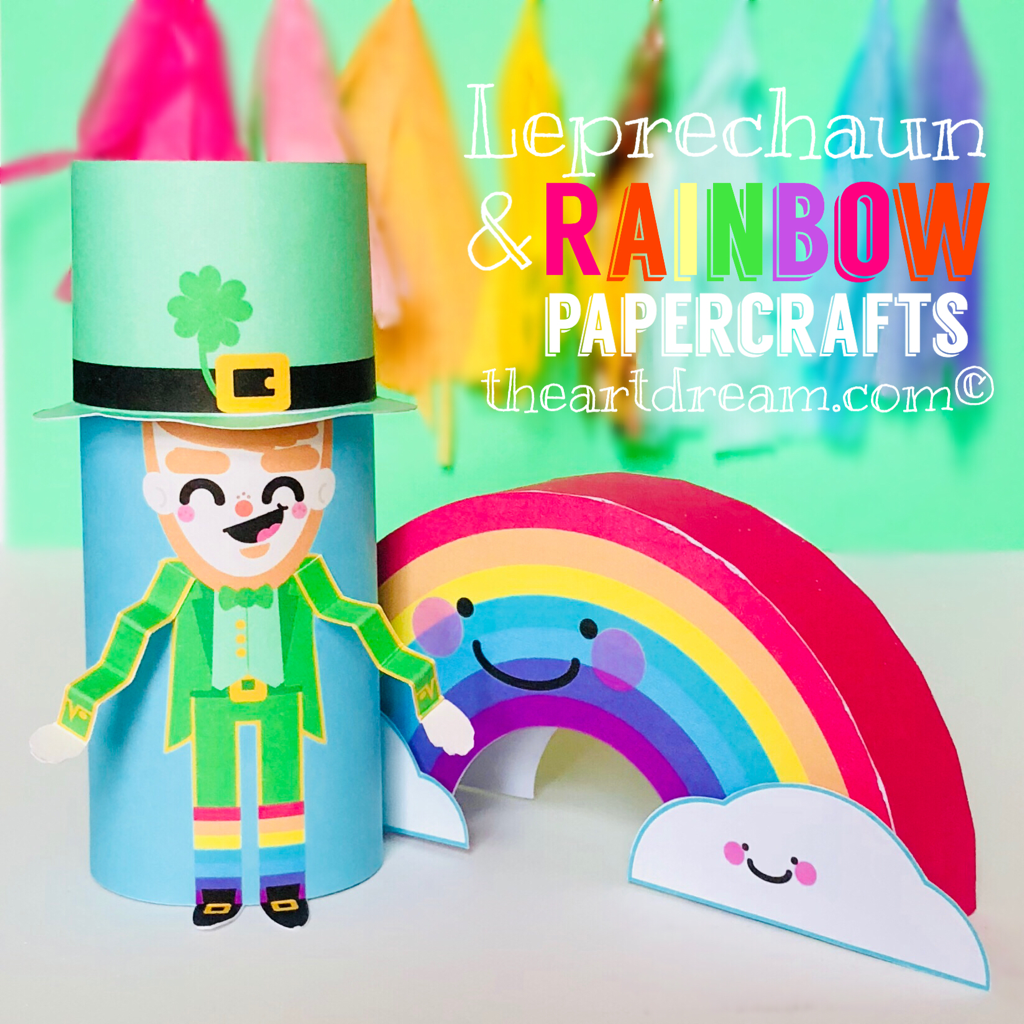
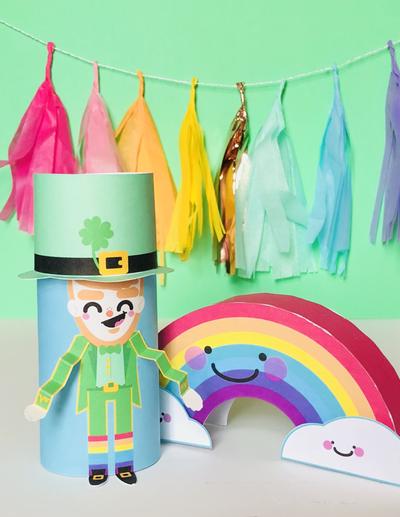
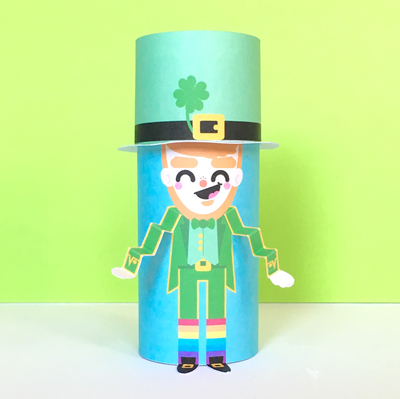
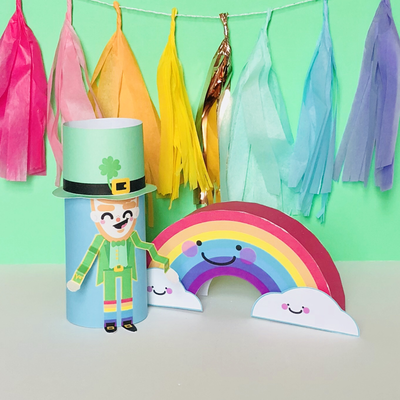
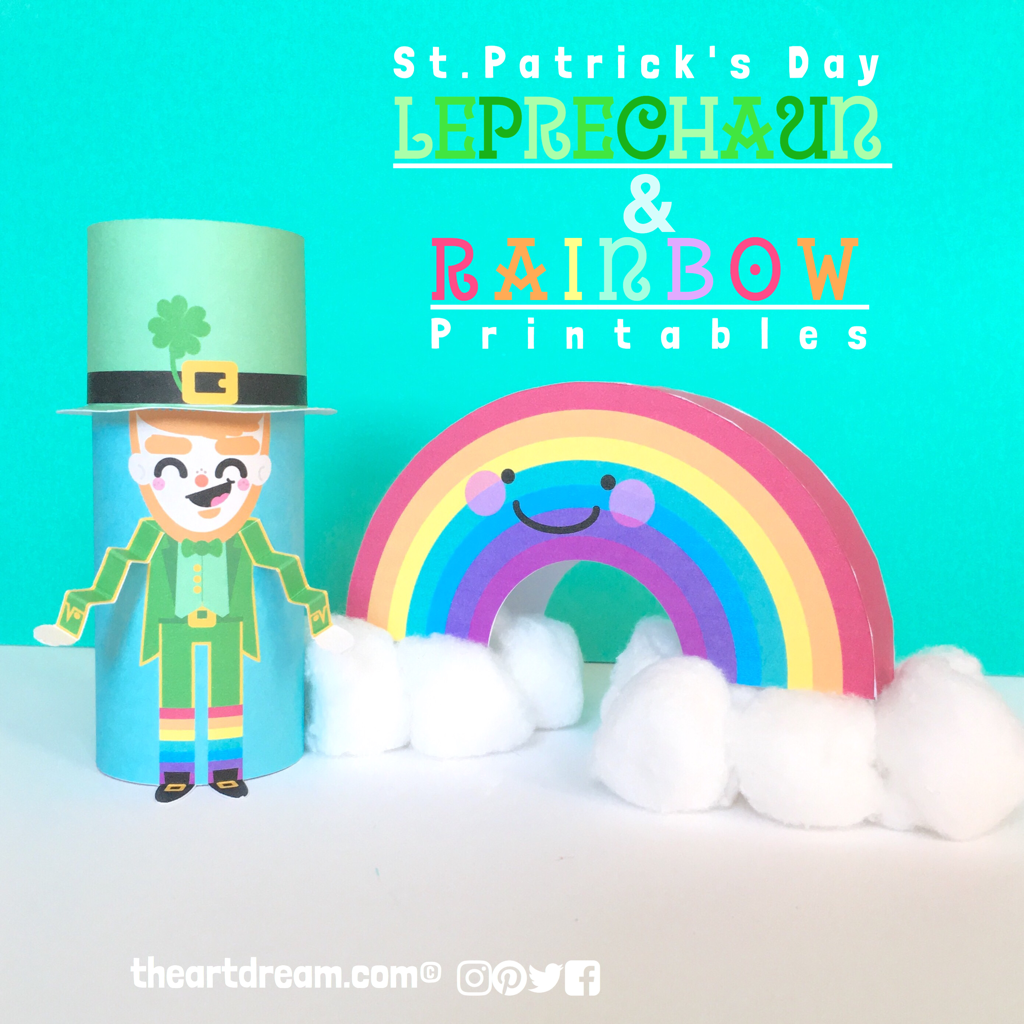
Leprechaun & Rainbow Tube Craft and PapercraftSt. Patrick's Day brought out this little leprechaun and his pal rainbow, make these fun printables and help them find the pot of gold. The always fun to celebrate St. Patrick's Day is a sign of nicer weather to come, so let's celebrate with these two friends, little leprechaun and little rainbow! I thought it would be fun to add an accordion fold to the leprechaun, and I love his squiggly, charming arms, he'll be able to snatch up that gold the second he finds it. He also sports a larger than life hat with brim, this tube craft is really brought to life with these simple 3D details. Oh and how 'bout them matching rainbow socks he's rockin'? Bet Mr. Rainbow is feeling flattered! My rainbow craft is full of color and it's easy to make, I tweaked it a bit from the rainbow papercraft I presented in honor of the new children's book My Color is Rainbow by Agnes Hsu. Lay this little guy on a tuft of fluffy cotton balls and he's all ready to soar through the sky to spread happiness and cheer. Get both of these printables here at The Art Dream and if you dig these papercrafts then check out my shop to find more fun things to make! Here's the leprechaun printable tube craft...
And here's the rainbow papercraft...
Materials:
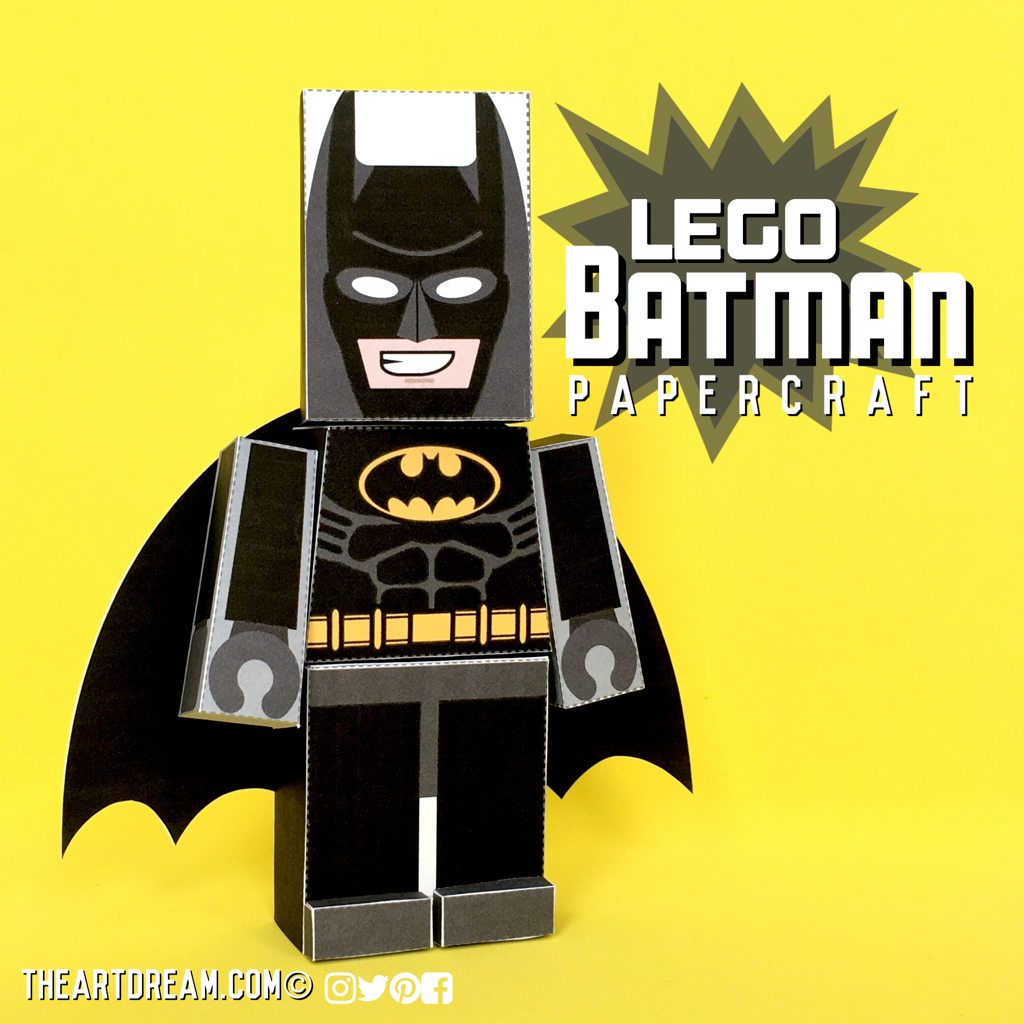
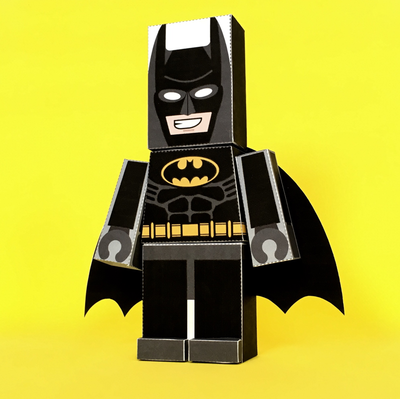
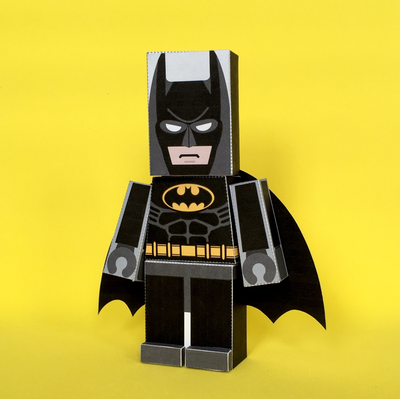
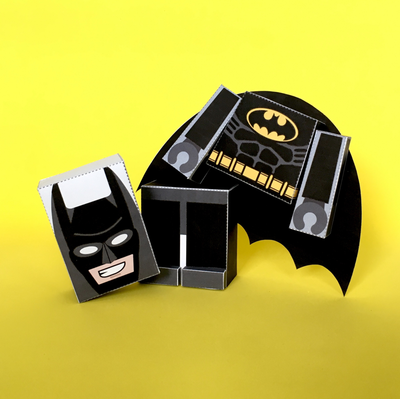
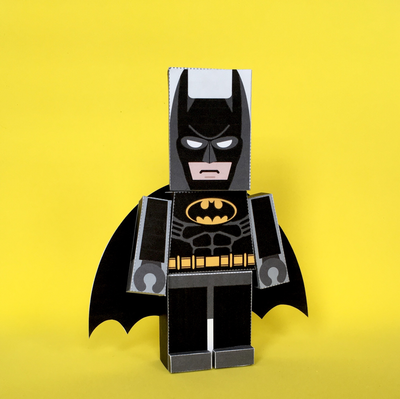
Directions: Step 1. Cut out all of the shapes. For the leprechaun wrap the body around a toilet tube and secure with a stapler, glue or tape. Next wrap the hat around the head and secure, do not glue it to the tube. Keep the hat and body separate so you can add the brim. Step 2. Fold the flaps of the brim up and glue them to the inside of the hat, then place the hat on the leprechauns head. Step 3. Accordion fold the arms, cut off any extra if they are too long. Glue them to the shoulders. For the rainbow... Step 1. Cut out all of the shapes. Score all of the tabs on the long red piece. Then bend the tabs down. Step 2. Glue the back of the rainbow to the tabs following closely along the top edge. Step 3. Glue the front onto the tabs pressing the tabs on well from the inside. Decorate your rainbow with pom-poms, cotton balls or tissue paper. Lego Batman PapercraftLego Batman is back in action and he's hilarious too. This papercraft is very close to the Batman mini figure and your kids will have so much fun putting him together! I'm pretty happy that Lego Batman got his own movie because he was incredibly funny in the first Lego movie, which means he's well deserving of his very own feature presentation. Again we have a timeless character that will be with us for generations to come for children to enjoy and look up to! My Lego Batman papercraft is made up of three little boxes that you stack up to bring Bruce Wayne alive. Download the free printable below! If you like this Batman craft then check out my original designs in my shop right here at The Art Dream. This Batman craft even has two different faces, take a look in the gallery below. I thought it would be fun to show two emotions, ones that represent this character very well! Be sure to save the files to your computer first and print from there, don't print directly from the internet! Download right here...
Materials:
Directions: Step 1. First print out both pages on white cardstock paper, then cut out all of the shapes with a scissor or craft knife, be sure to leave all of the flaps intact, they are very important. Step 2. Next make sure that you score all of the dotted lines including the flaps using a craft knife or something like the corner of a credit card. Scoring helps incredibly with folding papercrafts. Step 3. Fold the head, legs and body into four sided boxes being sure to glue down all of the flaps as you make your way around. The torso and head piece will be 6 sided boxes when complete. Step 4. Fold up the arms in the same manner as the legs. Step 5. Carefully fold up the small boxes for the feet and glue to the bottom of the legs. Step 6. Cut out the cape and glue it to his back. Glue the arms to the sides of the torso. Always be yourself!
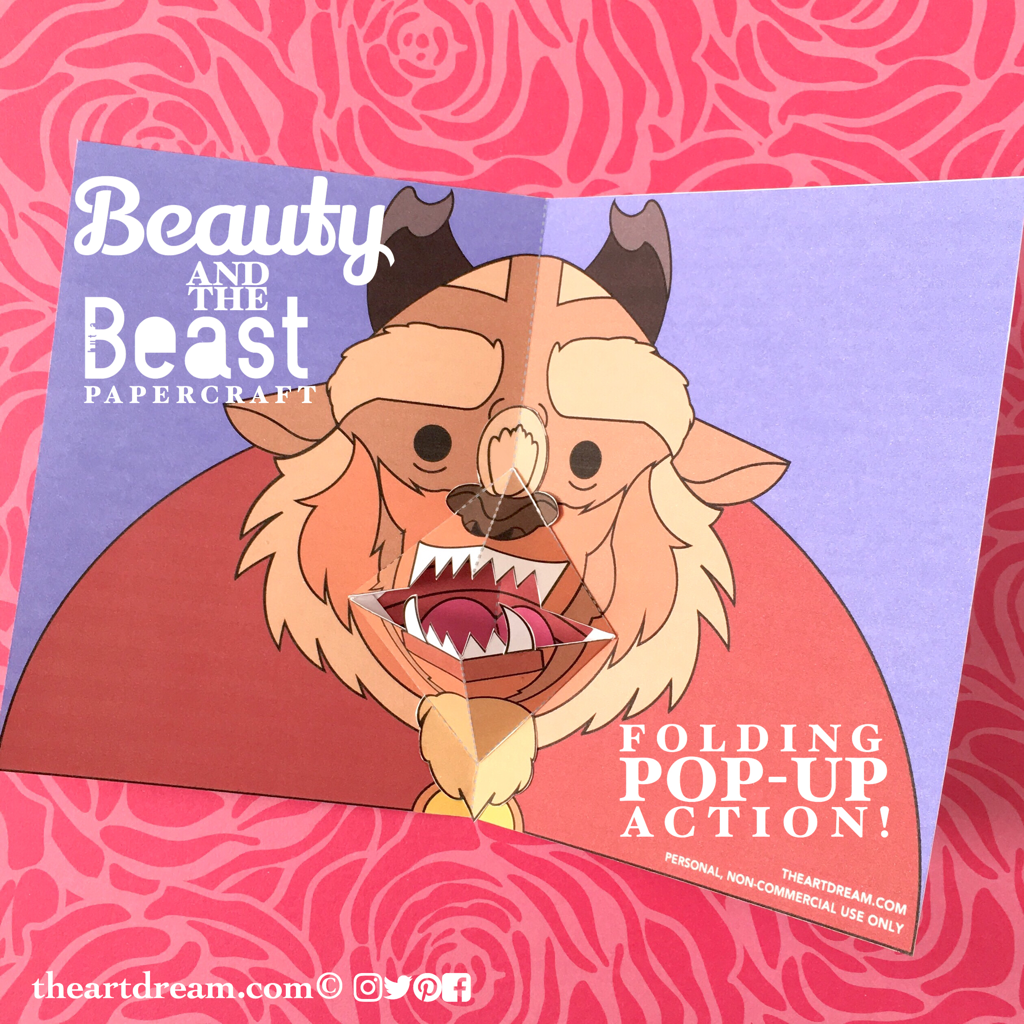
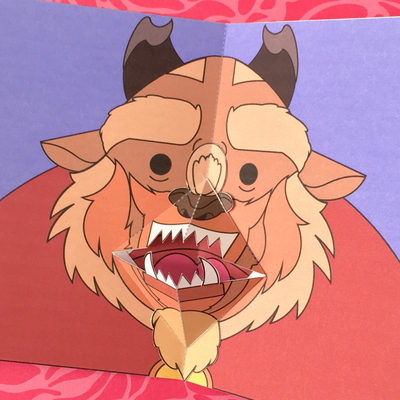
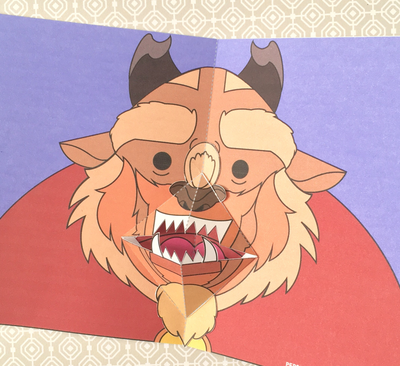
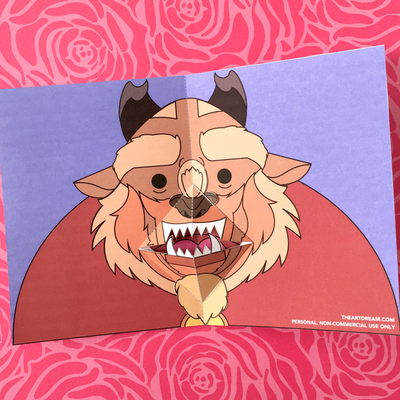
Unless you can be Batman Then always be Batman! The Beast Pop-Up PrintableThe Beast will make off with your children, he'll come after you in the night... these are the words spoken by Gaston and I think if you know the tale, then you know the Beast is just a little misunderstood haha! This movable Beast pop-up printable goes along with my other Beauty and the Beast printables, he can roar and yell just like he does in the movie, make this papercraft and have the Beast sing a song as old as rhyme. I'm celebrating the release of the new re-make of the classic tale Beauty and the Beast and this pop-up card is exactly what I had envisioned when thinking how I'd represent the Beast in craft activity form. The Beast was really dealt a hefty curse when the enchantress turned him into a scary monster and everyone who lived in the castle into objects. He was tasked with showing that he is capable of compassion and love, the perfect message to talk about with your children. I think some of these themes reflect a bit of what our country is going through at the moment. Art making and crafting is an activity to benefit from solely on its own, but it becomes even more meaningful if we tie a lesson to it. How great would it be to explain why the Beast is the way he is, what he did to become that way and what changes he has to make in his life to earn trust, respect and love from others! Help the Beast find his way with this fun pop-up printable! And if you like this then check out my shop for more fun original papercraft printables! Before you start just note that the Beast looks really scary without his nose and mouth glued on haha, the inside of his mouth is exposed and it looks a little creepy! Download the free printable below...
You can even try the color your own version...
Materials:
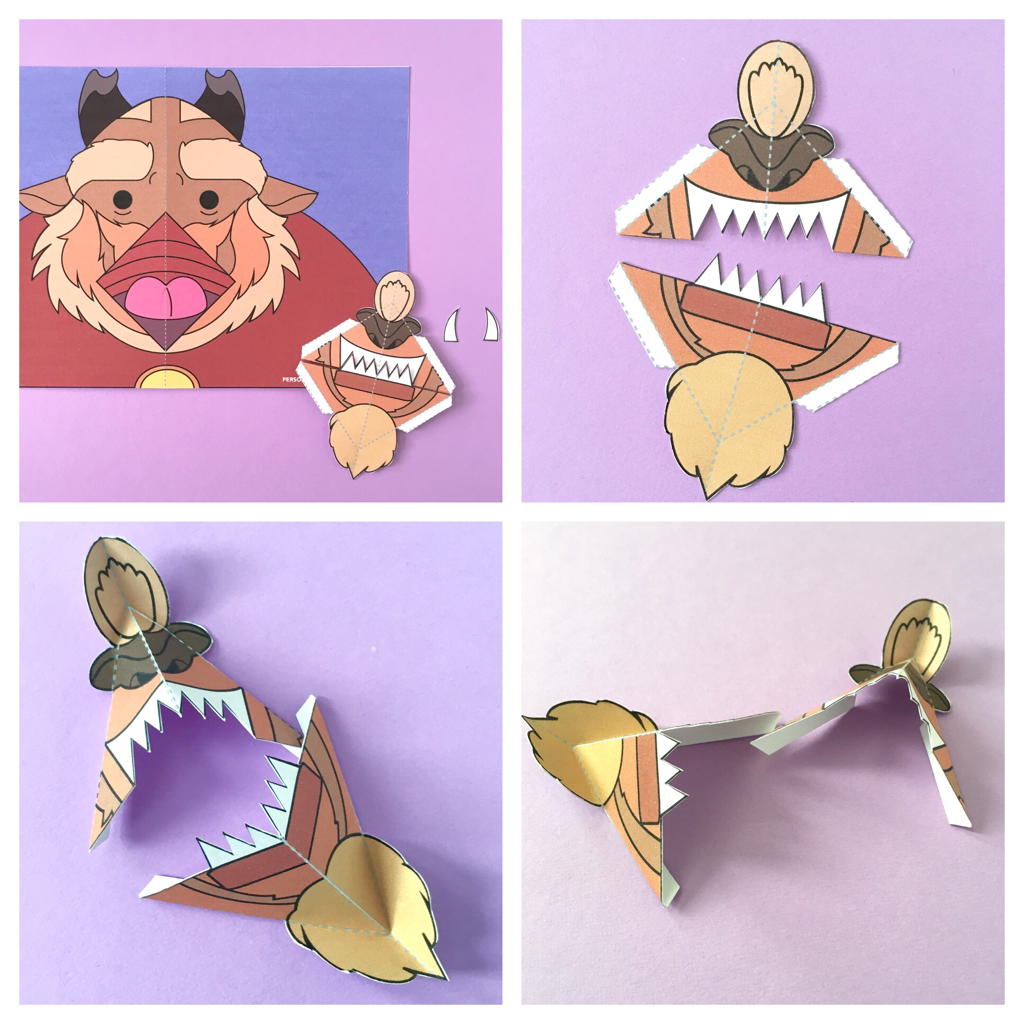
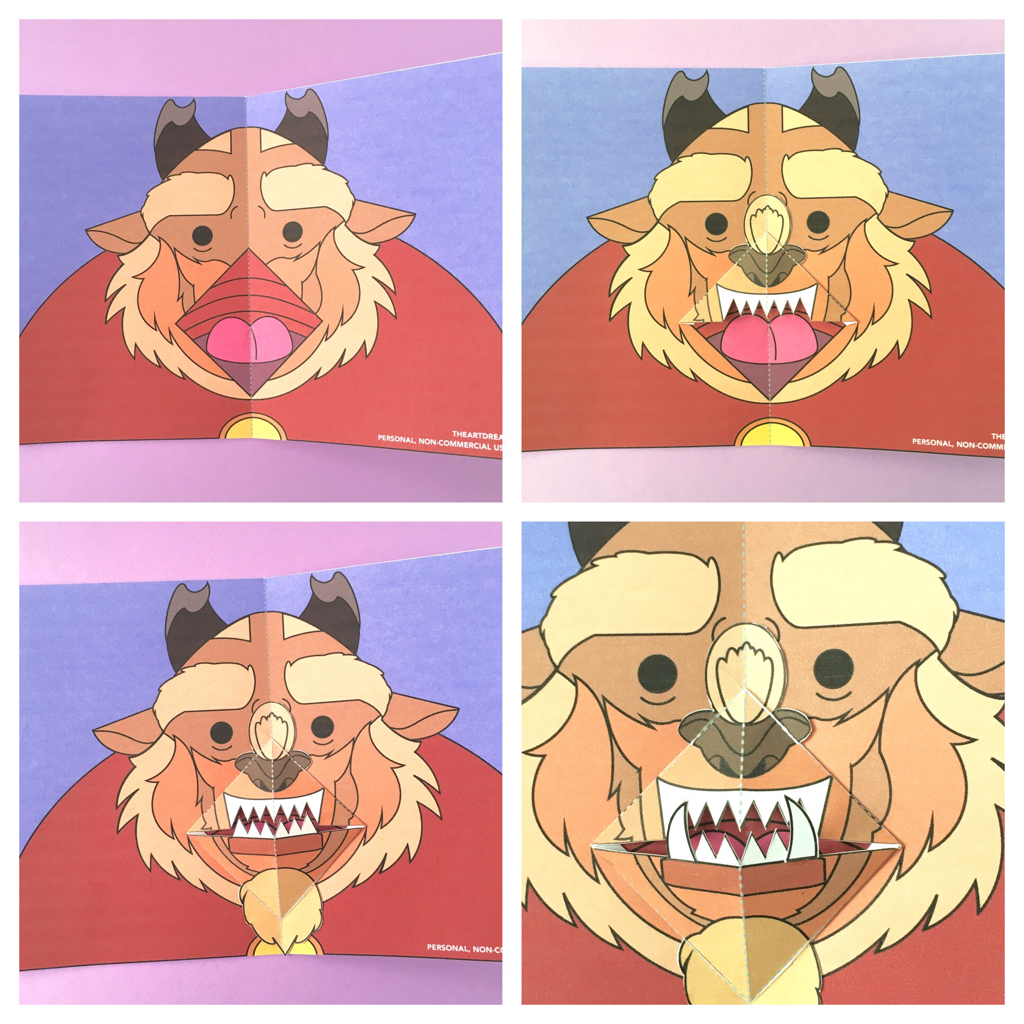
Directions: Step 1. Start by cutting out all of the shapes. Then you'll want to score all of the dotted lines with a bone folder, craft knife or you could even use the corner of a plastic credit card. Step 2. Cut the mouth in half following the black line through the teeth. Step 3. For the Beast's mouth fold all of the flaps back and gently fold on all of the other dotted lines. Notice in the photos how the top of the nose and chin hair are folded in the opposite direcection of the teeth. Step 4. Fold the large card in half on the dotted line. Step 5. Next add some glue to the flaps and glue the top of the mouth in place, place the mouth on flat! Also be sure that the vertical folds line up. Glue on the bottom half of the mouth the same way. Step 6. Be sure to glue on the extra teeth as well. Have fun opening and closing your Beast pop-up!
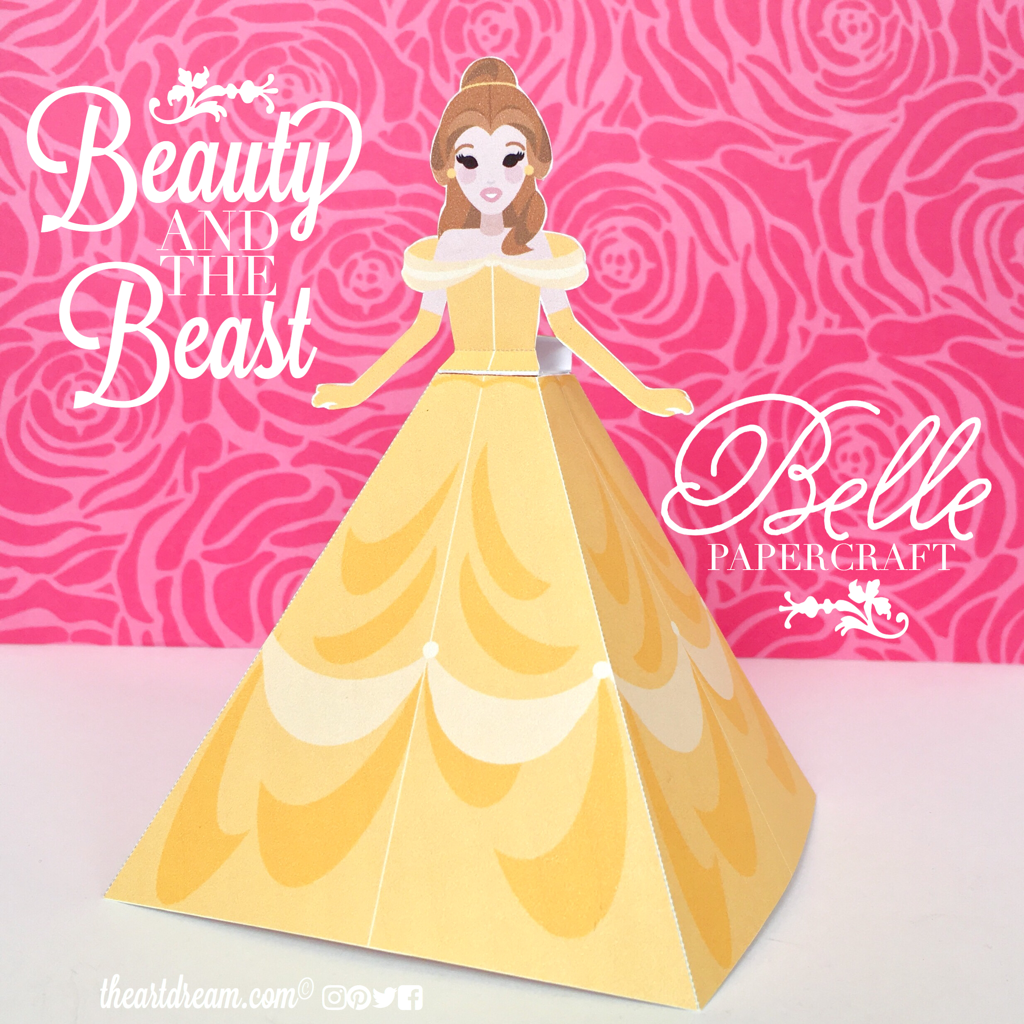
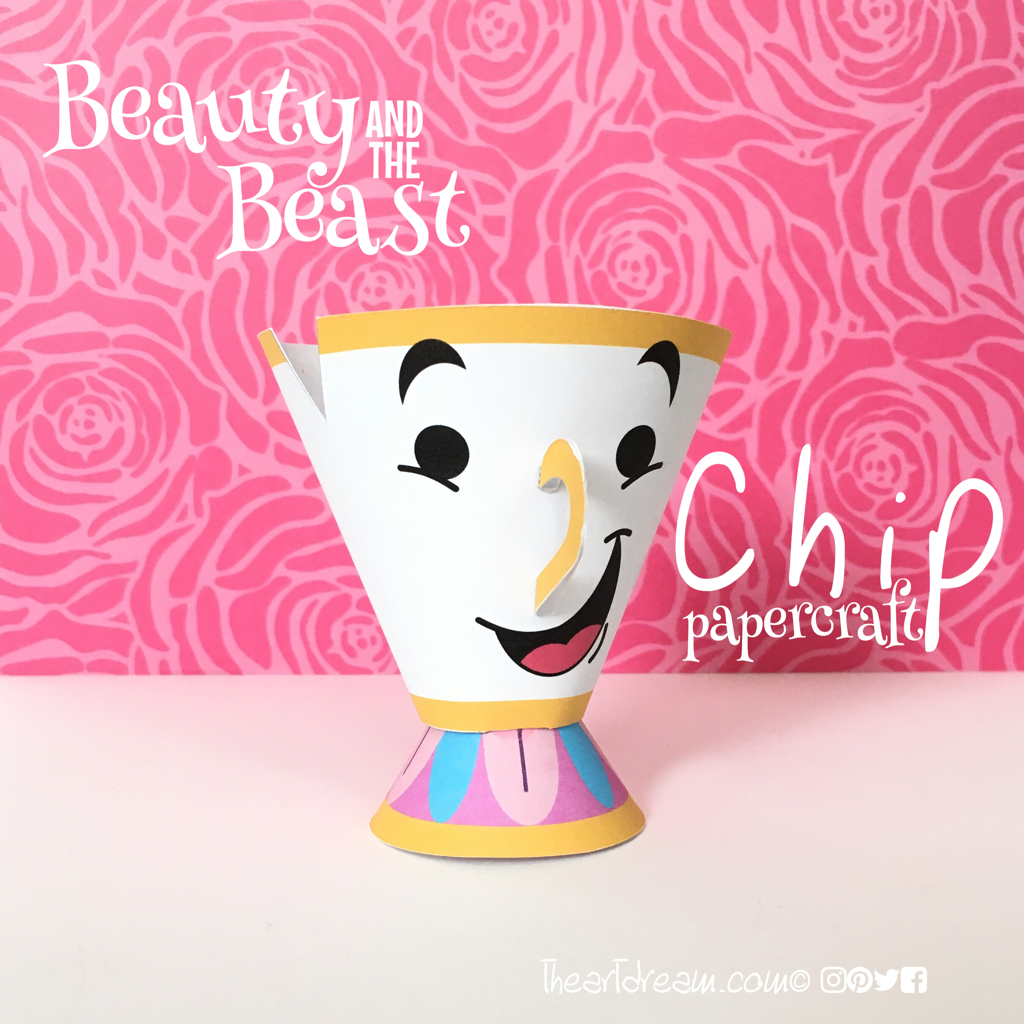
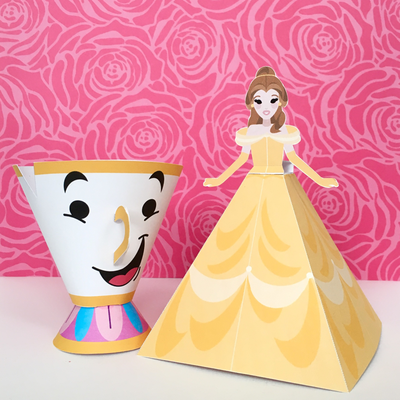
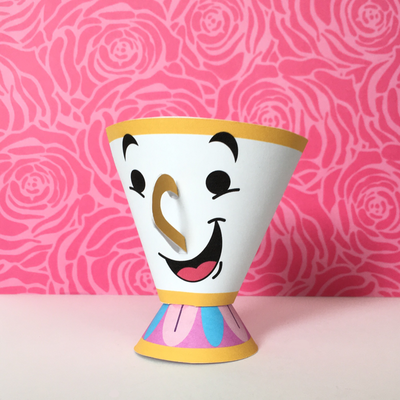
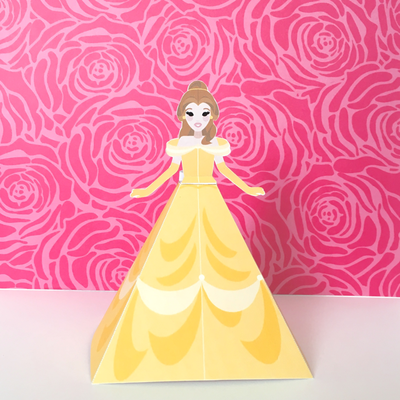
Belle and Chip Papercraft PrintablesA tale as old as time, well, it's just that... an everlasting classic. Beauty and the Beast is a story generations to come will adore. Belle looks beautiful and she's ready for a dance and Chip is right by her side, your little ones will love making these enchanted papercrafts! Who doesn't love the classic animated Beauty and the Beast movie by Disney of course? I know I do, the beautiful scenery and the music, it's all the perfect recipe for a timeless movie our children will love for years and years to come. And now that the remake is right around the corner all of the nostalgic feelings and memories about this movie are returning. Print out this beautiful Belle papercraft and Chip for a fun evening of enchantment, these crafts are easy enough for children to put together and they will feel the magic once they're standing in 3D. I based my designs on the classic movie, I just find that they are so much more iconic and lovable, how could you not love that bubble blowing little chip. Use these papercrafts for a fun themed party to add that little extra touch of magic! Find the free download right below and if you like these then check out some of my original designs in the shop here at The Art Dream!
Materials:
Directions: Step 1. Cut out all of the shapes with a scissor or craft knife. Score all of the dotted lines with the craft knife or you could even use the corner of a credit card. Step 2. For Belle's torso fold on the dotted lines until you form a little box and glue the flap to her back. Step 3. Fold her dress on the dotted lines and glue the flap to the side forming a box. Be sure to glue down all the flaps on the top flap as well. Step 4. Glue her torso to her dress. For Chip... Step 1. Cut out all of the pieces, you don't have to score the dotted lines for Chip. Step 2. Loop the body around and overlap the body and flap, be sure to add glue to the flap. Step 3. Repeat the same process for the bottom and glue the top and bottom together. Step 4. Fold the nose in half and use the white flaps to glue onto Chip's face. |
AuthorI'm John, an artist and art educator. The Art Dream is here to spark creativity and inspire the little artist inside of you! Archives
October 2021
Categories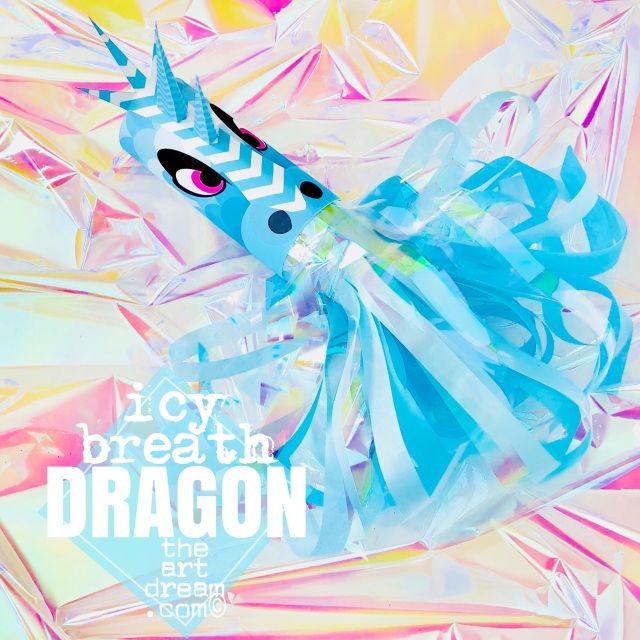
Ice Dragon Head Printable
$1.00
Feel the icy breath of this mighty dragon, it’s a dance of fire and ice that’ll leave you in awe. Just add your own streamers to create that blast of blustery snow!
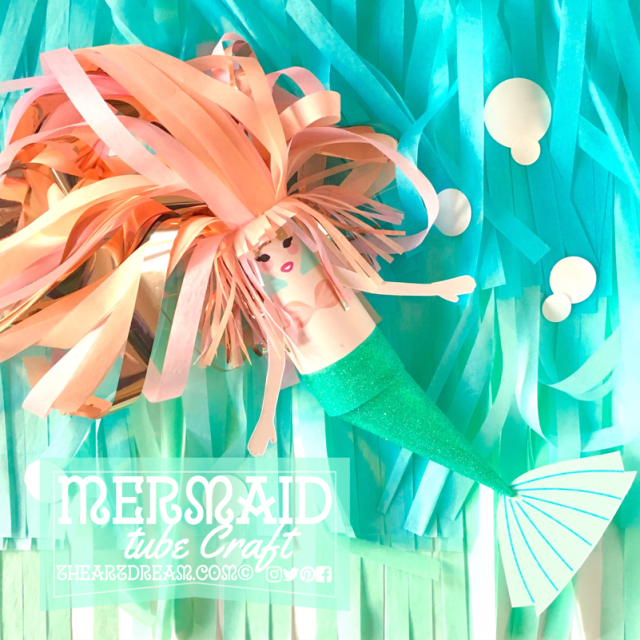
Mermaid Tube Craft Printable
$1.00
Who would dream about the world above the sea when you could dream about the world that is under the sea, where such beautiful creatures like this mermaid must exist! Don't they? I've started your journey of crafting this beautiful sea creature, it's up to you to add magical hair and dress up her fins!
|
||||||||||||||||||||||||||||||||||||||||||||||||||||||||||||||||||
Proudly powered by Weebly

 RSS Feed
