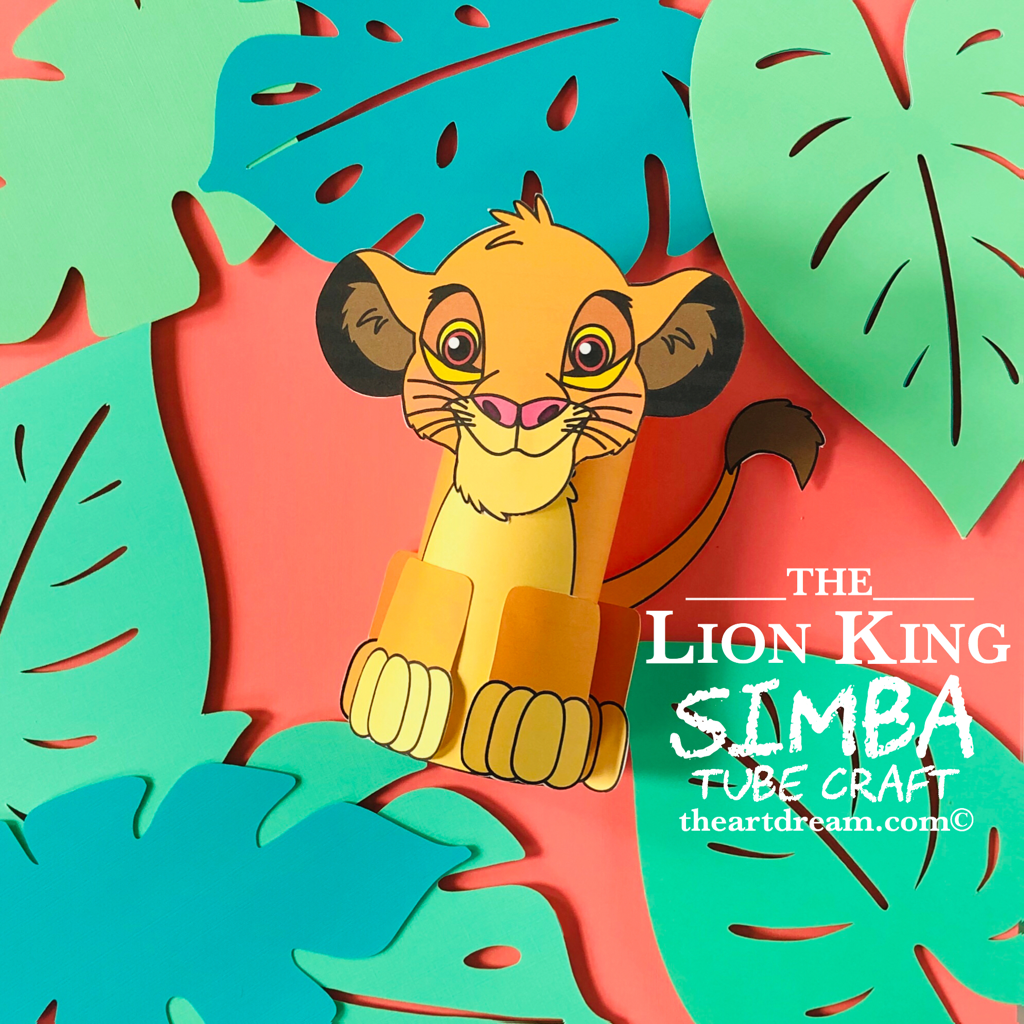
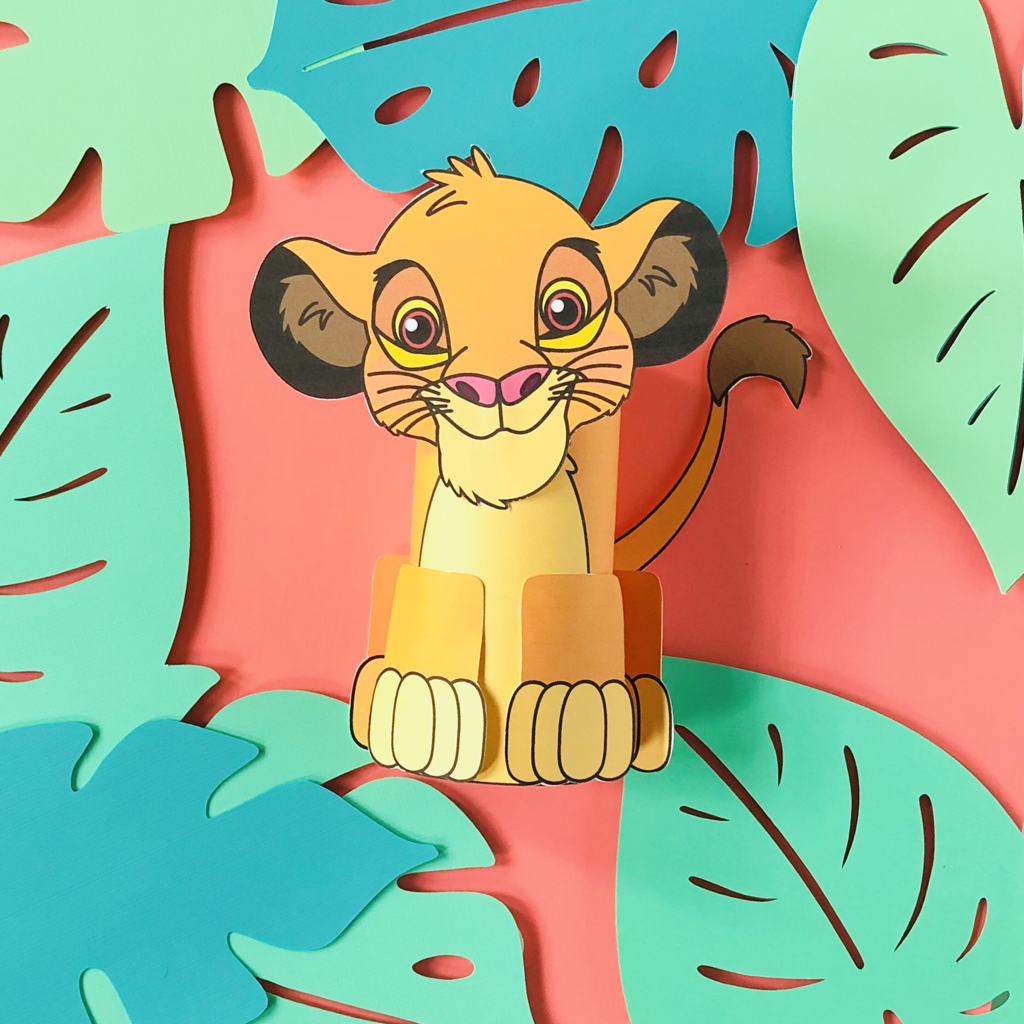
Simba Cardboard Tube Craft PrintableHe’s a mighty king for sure, Simba the brave lion is a tube craft printable for you to make in your own pride lands. It’s so easy and so fun, just download, print, cut and glue! Have you guys seen the new Lion King remake movie? I haven’t yet but the cinematography looks stunning, it’s truly amazing what they can do with visual effects. I really do love that Disney is giving classic animated movies a makeover for younger generations to marvel at and appreciate but despite these efforts my heart will always be with the original creations. The original animated movies have such charisma and beauty that I don’t think is possible to improve on. So, here’s young Simba as he appeared in 1994. This craft is so easy to put together you barely need directions, but I will give you the details anyway. I really hope that you all enjoy making this project as much as I have. It’s always exciting to experience the process of creating something like this because when you make art from scratch you never really know what the final outcome will be. Will it be a flop? Will it be just “OK”? Or will it be a hit? Who knows, what I know is that I get such an indescribable feeling in my heart when I’ve created something that I think children and all people will love. So please enjoy and be sure to share your outcome as well! You’ll need just a few things to get started, first my printables which you can download in this post below the materials list. Materials:
Please right click the file and save it to your computer before printing. If you are having trouble with the printed size of the image, make sure that you select "fit to page" or "print actual size" in your printer options window. Do not print from the open window of your internet browser after clicking on the file, your printout will be very tiny! Directions: Step 1. I suggest printing out the files on white cardstock paper, it is stronger and durable. Then cut out all of the shapes with scissors or adults can use a craft knife. Kids can simply cut out the shapes very loosely, it doesn’t have to be perfect. Step 2. Wrap the large rectangular piece around a toilet tube and secure with glue or you can use a stapler. Step 3. Glue on the details as you like. And the circle of life is complete! How did your Simba turn out? Isn’t he the cutest? I think so. Let me know how your projects turned out in the comments below!
2 Comments
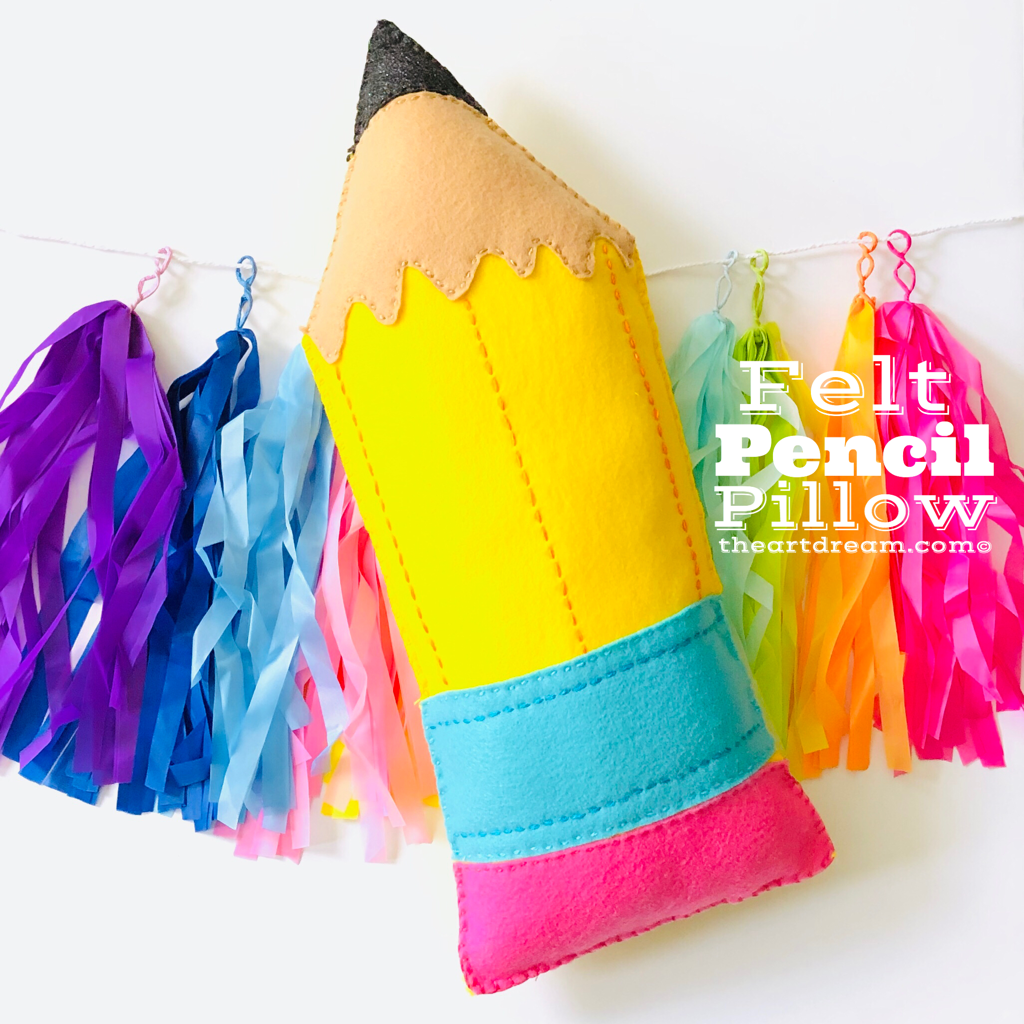
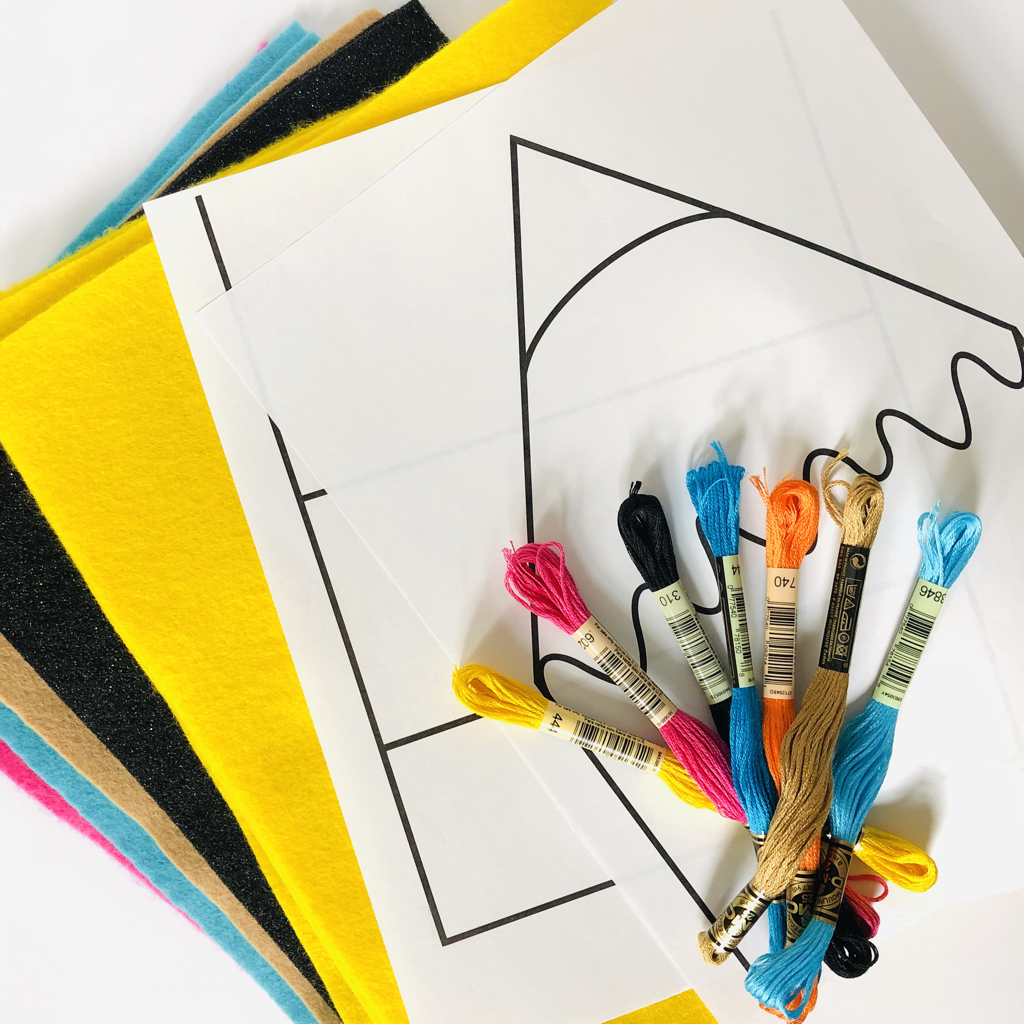
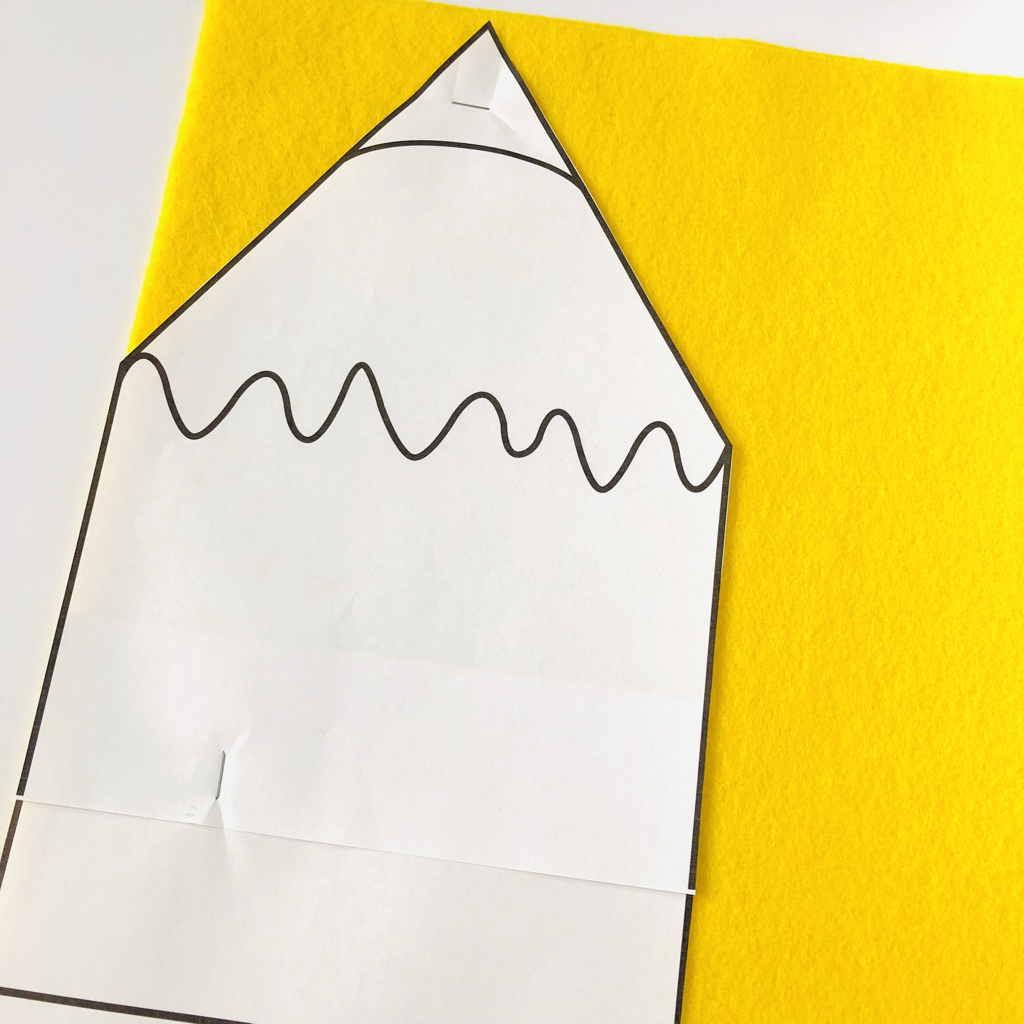
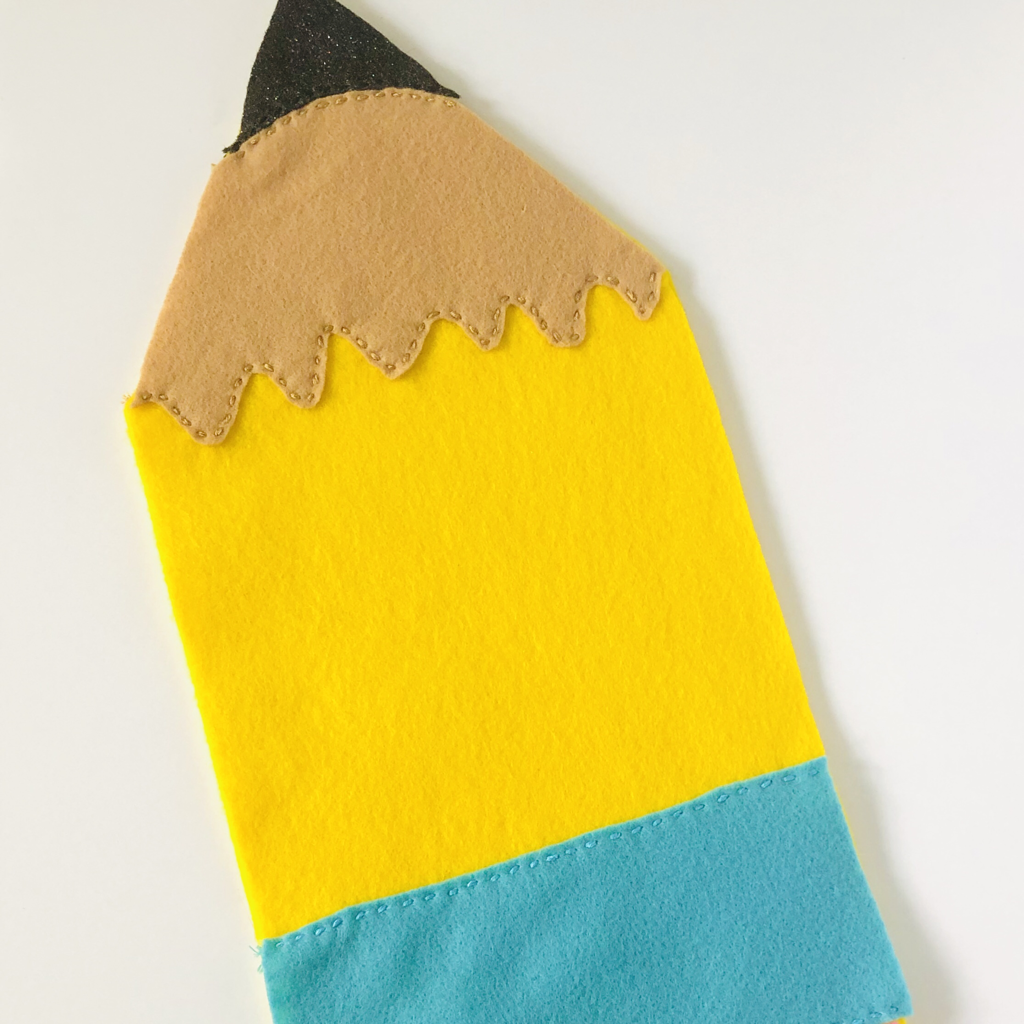
Felt Pencil PillowPencil pillows are always welcome in the classroom, who says you and the kids can’t be comfy? I replicated this pillow from this year’s Target dollar spot and I think I nailed it! Ok, so just like all the other teachers out there this time of year, I am beyond excited to be off for the summer but as soon as the stores put out their back to school stuff I can’t help but get exited! For the past couple years the Target dollar spot hasn’t disappointed, they really have some fun, useful and cool stuff, yep I’m a sucker for it. This year they have a pencil pillow for sale but I haven’t been able to find it so I thought why don’t I make my own and share how I did so. I’ve also collaborated with the wonderful Trixi Symonds over at colouredbuttons.com for Sew a Softie month! It’s July and it’s time for you to pick up a needle and thread and learn how to make some simple stitches. You can learn a whole lot from Trixi because she’s the expert, check out this link as well... sewasoftie.com. Sew a Softie month is a campaign to encourage kids and their parents or teachers to make more art involving sewing, and for me this will alway be one of my favorites to make with my art classes! The kids really learn a unique skill, it helps them focus, stay on task and become better problem solvers on their own. So on behalf of Sew a Softie month I’ve put together this pencil pillow tutorial, you’ll be needing a few things including my pencil pattern which you can download in this post below. Materials:
Step 1. Fist you’ll have to decide how big you’d like your pillow, mine is about 18”x7.25”. My pattern is designed to print on 8.5”x11” paper so you will have to enlarge it if you’d like but it’s a very simple pattern and shouldn’t be an issue to just freehand your own pattern on a large piece of paper. Step 2. Cut out your pattern and attach it to your felt, I like to just staple it but you can pin it if you like. Then cut out your shapes with fabric scissors they work best. Be sure to cut two layers of the large yellow piece. Step 3. Next prepare your needle and thread with the embroidery floss. Use a running stitch to attach all of your pieces to the top layer of yellow felt only. Be sure to stitch on the seems that are inside the shape, don’t stitch the edges. Step 4. Stitch on any other details you’d like, then stitch all around the edges, I used a blanket stitch for this, it’s much stronger and looks nice too. Leave an opening at the end to stuff with fiber fill. Step 5. Fill your pillow and stitch up the remainder and bam! You have a cute little pencil lumbar pillow! Have you found everything you wanted from the Target dollar spot? Did you make one of my felt pillow projects? I’d love to hear about it in the comments below!
|
AuthorI'm John, an artist and art educator. The Art Dream is here to spark creativity and inspire the little artist inside of you! Archives
October 2021
Categories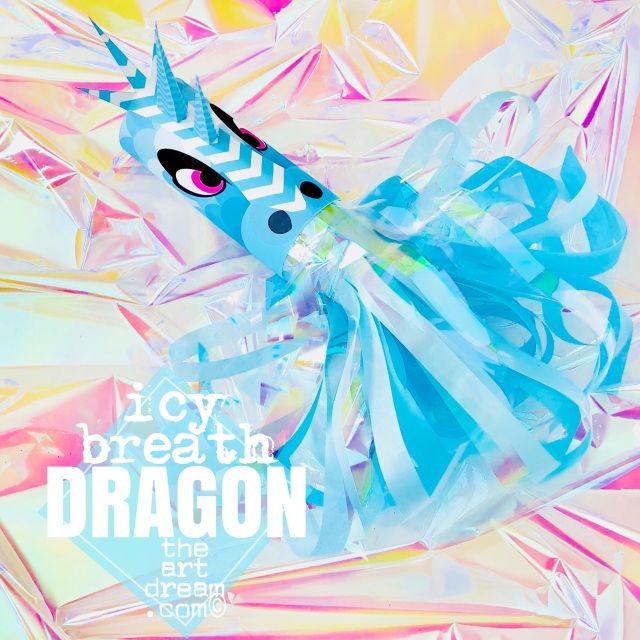
Ice Dragon Head Printable
$1.00
Feel the icy breath of this mighty dragon, it’s a dance of fire and ice that’ll leave you in awe. Just add your own streamers to create that blast of blustery snow!
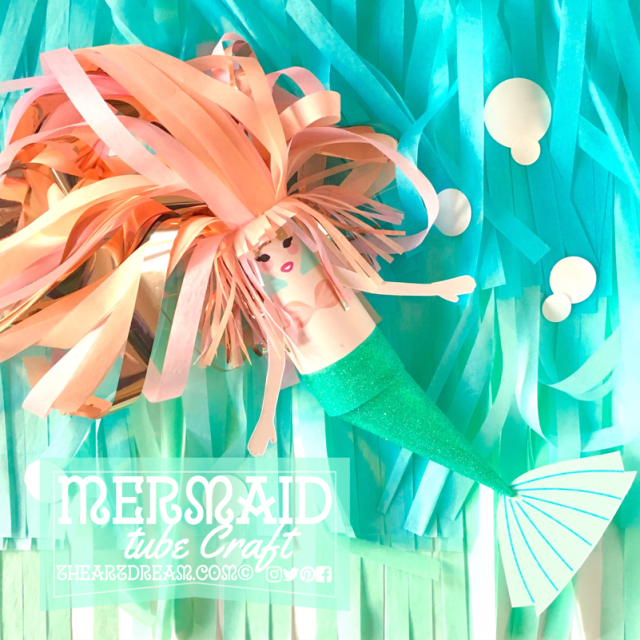
Mermaid Tube Craft Printable
$1.00
Who would dream about the world above the sea when you could dream about the world that is under the sea, where such beautiful creatures like this mermaid must exist! Don't they? I've started your journey of crafting this beautiful sea creature, it's up to you to add magical hair and dress up her fins!
|
||||||||||||||||||
Proudly powered by Weebly

 RSS Feed
