Frozen 2 Enchanted Forest Shadow BoxIt’s back, the phenomenon that swept the nation, Frozen 2 is enchanting us with its frosty blast of excitement and beautiful storytelling. Disney has done a fine job with this cinematic awesomeness and what better way to enjoy the magic this movie brings than with this enchanted forest shadow box project. Here you’ll find my tutorial for how I made this little box that you can put on display anywhere. Did you guys enjoy the new music in Frozen 2? I think it’s even better than the first and what a fantastic message this movie sends about family and friendship, about discovering your strengths and battling on even when times get rough. 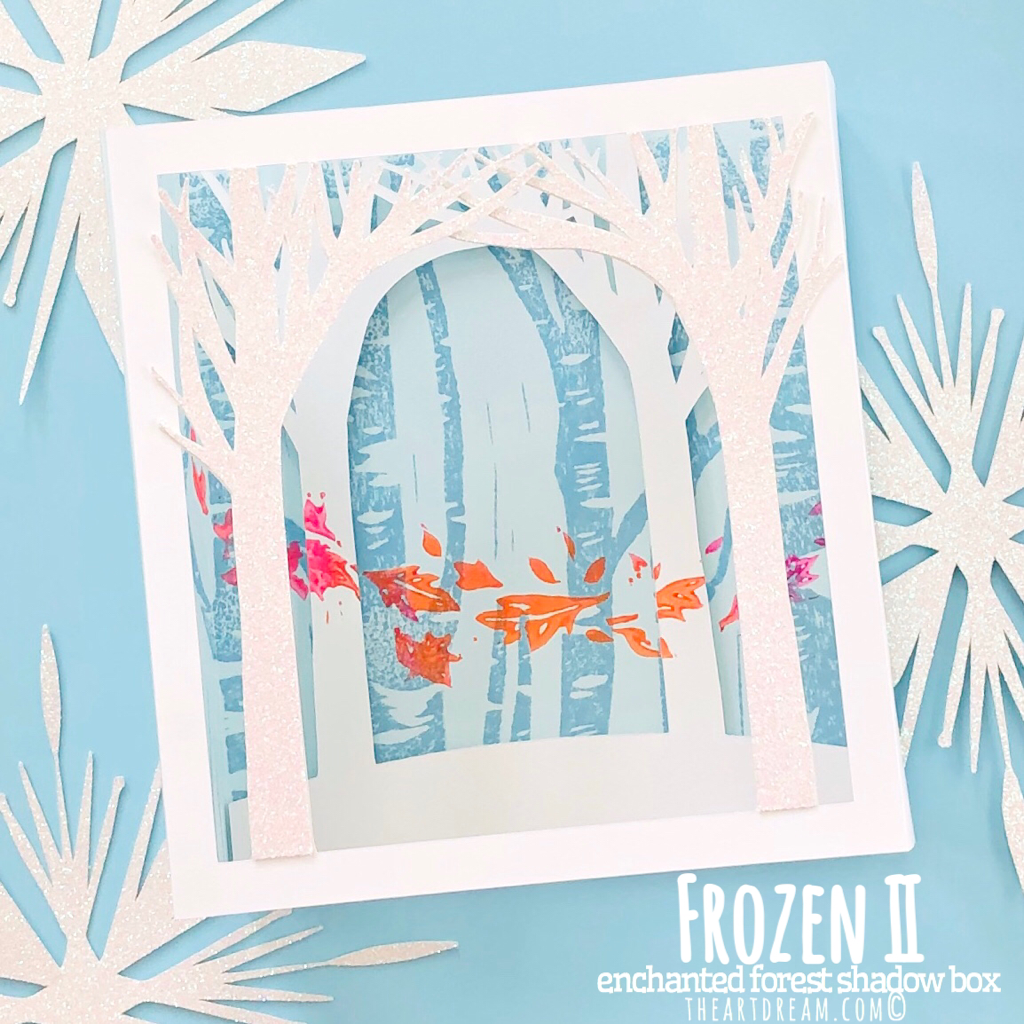 Frozen 2 Enchanted Forest Shadow Box There is so much thought and creativity that goes into making a movie like Frozen 2 and I find that the themes are getting more and more “adult like”, from dealing with your mistakes of the past, accepting getting older, taking risks and discovering your full potential. These are such important values in a child’s life, adults as well, and it reminds us to work hard and face challenges because who knows what we’ll find if we go into the unknown! Ok, so before you go on I will note that for this project I created some unique stamps using a Speedball rubber carving block and linoleum block carving tools, and designs I made with my Cricut machine. I have provided my templates here in this post if you’re skillful enough at importing them into your design space, or you can simply print the templates onto cardstock and cut them out yourself with scissors or a craft knife. Check out my photos below for a more detailed look.
Materials:
Directions: Step 1. First you will have to design and cut your stamps for the background if your are choosing to do so. You could simply paint on your own designs as well. I had created this birch tree stamp years ago and it has been used for many projects. I’ve also created a new leaves pattern stamp to mimic the designs used in Frozen 2. Step 2. Next you will have to cut out the template for the shadow box and fold on the dotted lines. Step 3. Next, paint your stamp with your desired colors and stamp the background piece of the template, be sure to check that everything is lined up in the right direction. Step 4. I used some three dimensional foam square to attach the trees in the background but this is optional, you could simply glue them on. The foam risers give the appearance of more depth! 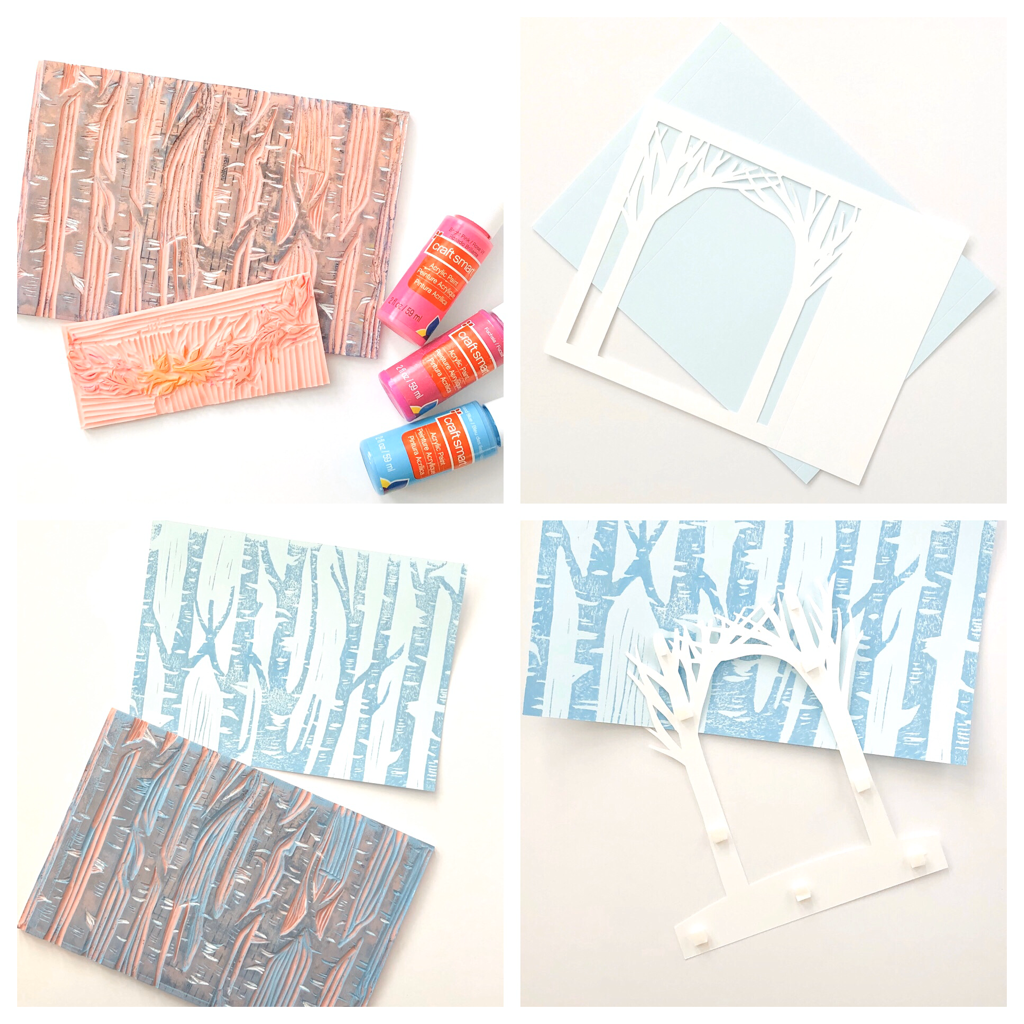 Step 5. Attach the trees with the base to the background, be sure to put it in the right spot. Step 6. Stamp on some leaves or simply paint them on with a brush. Step 7. Finally, assemble your box by folding in the flaps and adding glue. Let it go! And enjoy your work. 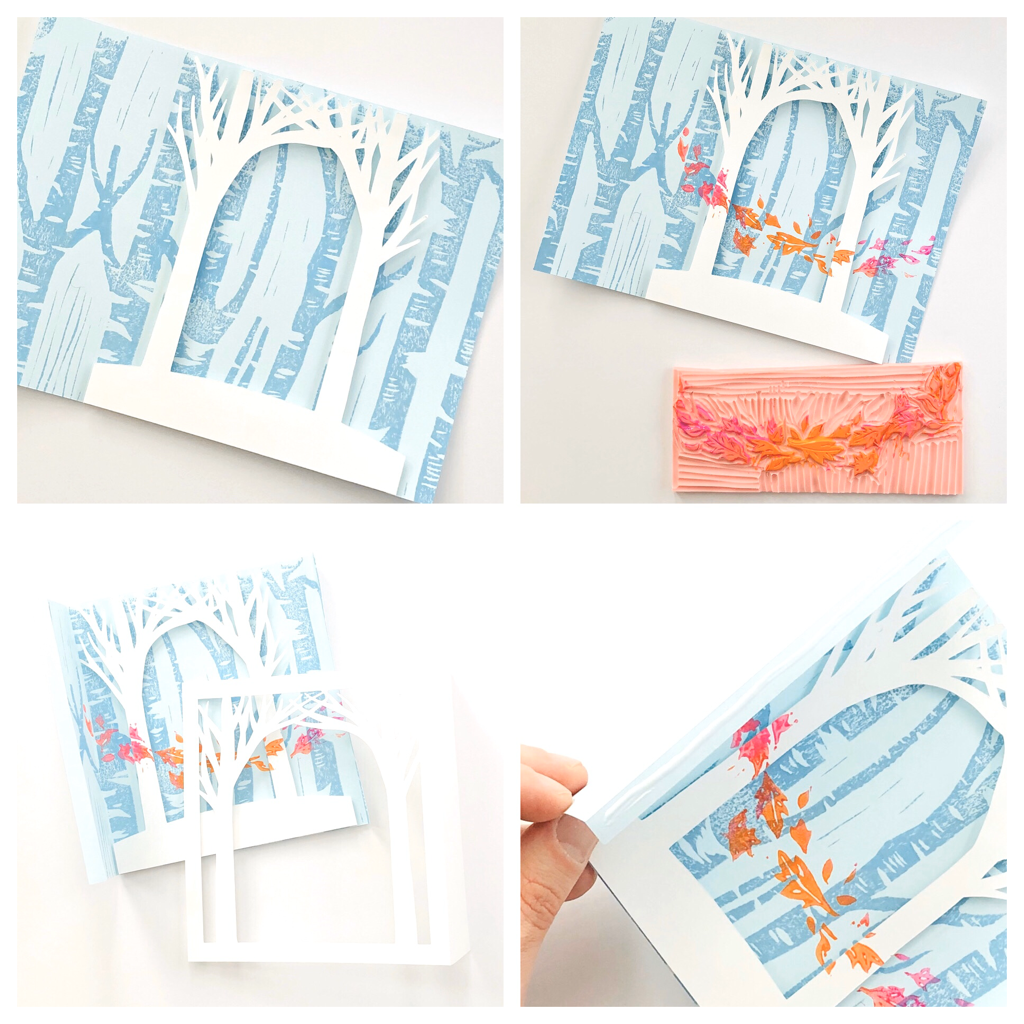 I added some glittery trees to the front of the shadow box as well, you can cut these from glitter paper or add your own glitter if you’d like! Be sure to add some small figurines or a battery operated tea light for a wintery glow effect! 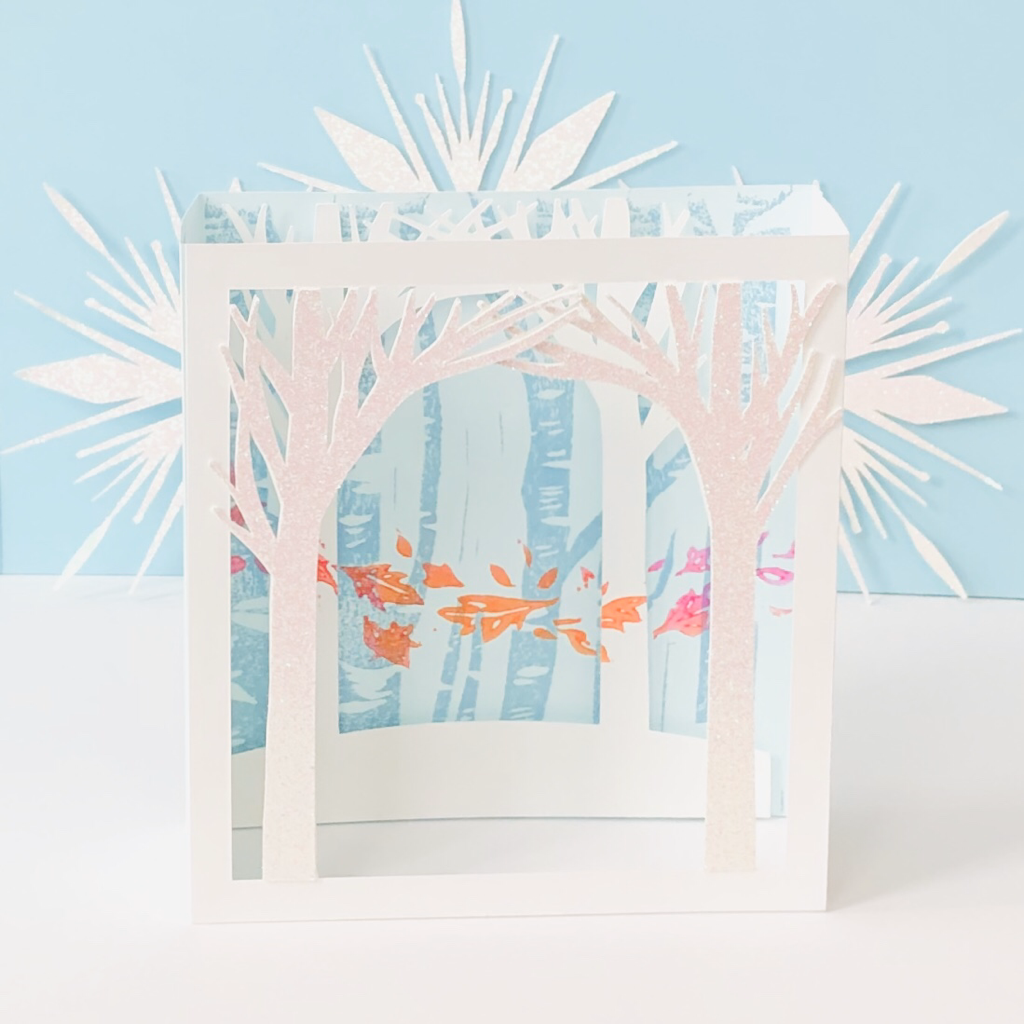 Frozen 2 Enchanted Forest Shadow Box If you enjoyed this craft project then let me know in the comments and be sure to share this idea with your family and friends!
8 Comments
|
AuthorI'm John, an artist and art educator. The Art Dream is here to spark creativity and inspire the little artist inside of you! Archives
October 2021
Categories
Ice Dragon Head Printable
$1.00
Feel the icy breath of this mighty dragon, it’s a dance of fire and ice that’ll leave you in awe. Just add your own streamers to create that blast of blustery snow!
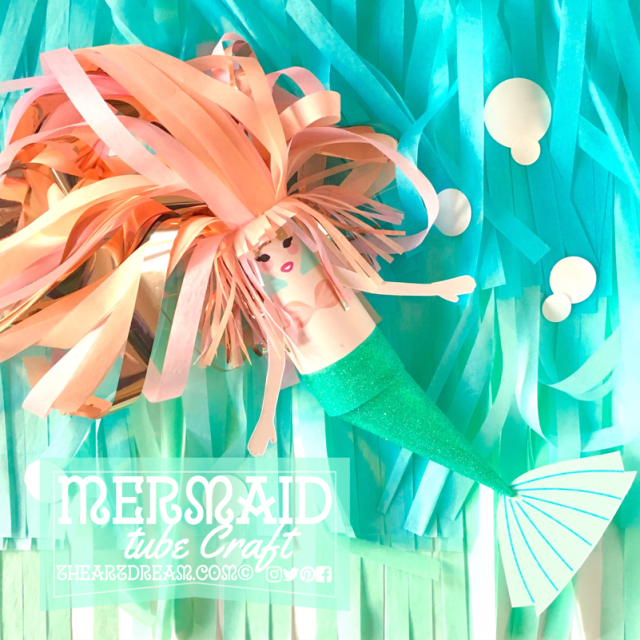
Mermaid Tube Craft Printable
$1.00
Who would dream about the world above the sea when you could dream about the world that is under the sea, where such beautiful creatures like this mermaid must exist! Don't they? I've started your journey of crafting this beautiful sea creature, it's up to you to add magical hair and dress up her fins!
|
||

 RSS Feed
Proudly powered by Weebly