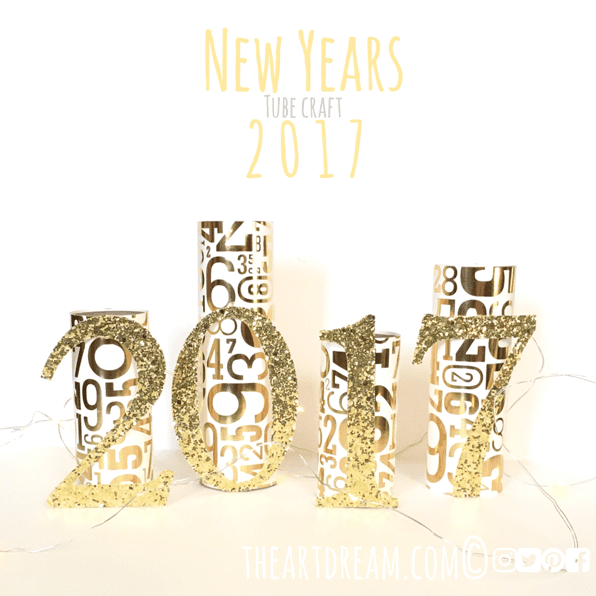
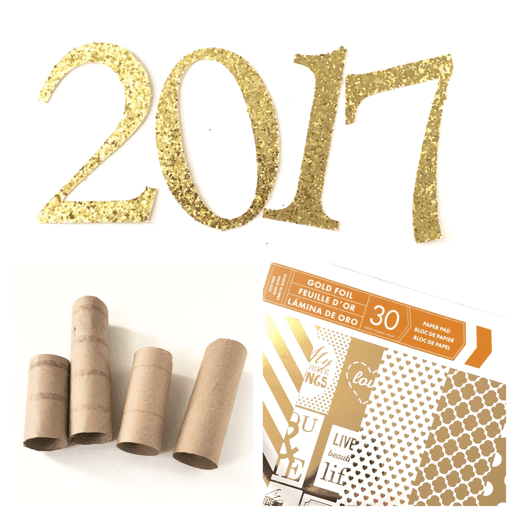
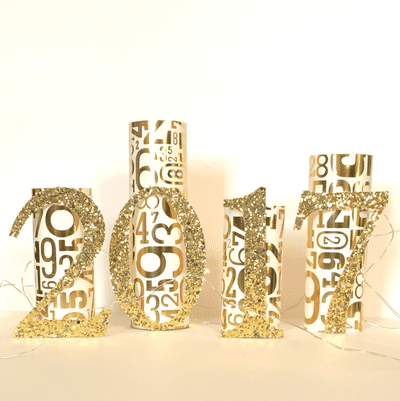
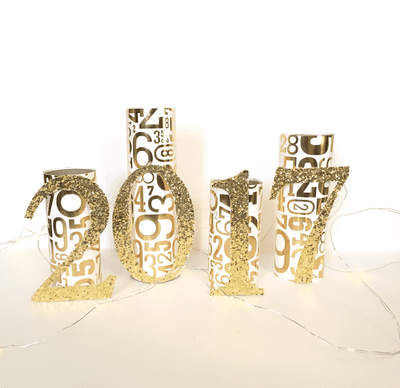
New Years Tube CraftA new year is upon us, let's make it a good one! 2016 was the year of politics and boy was it an unprecedented one. For me though it wasn't so much about politics, 2016 was the year that I started this website, The Art Dream. It had been a project I had wanted to get started on for a long time and I had finally found the courage to make it happen. I'm hoping that in 2017 I find even more passion and motivation to bring you even more amazing things! So here's to starting off a year full of magic, surprises and new experiences! This standing 2017 sign is so perfect for your table this New Year's Eve, it shines and sparkles just like a firework, and it's easy to make! I just so happened to have this cool paper pad filled with shiny gold patterns, it had this numbers page that is perfect for New Years. I also used my Cricut machine but the only thing I cut out for this project are the numbers which you could easily print, cut and trace yourself! Materials:
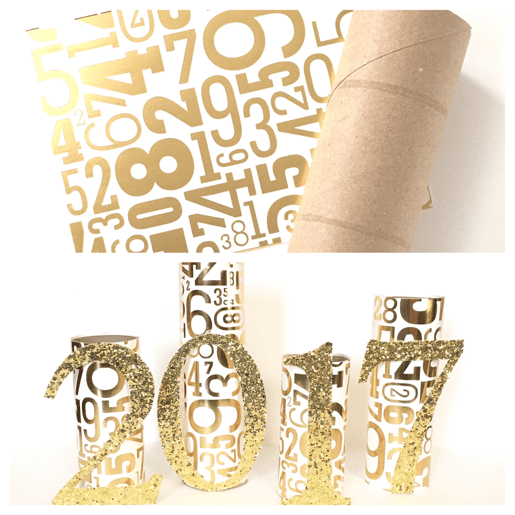
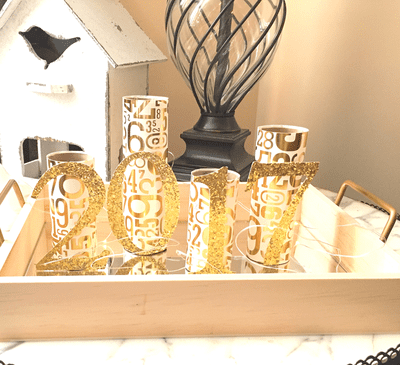
Directions: Step 1. Cut your numbers using a cutting machine, or you can easily print numbers from a word document program on your computer and use those to trace and cut from the gold glittered paper. Step 2. Cut your tubes at various lengths. Then cut your special gold paper at the correct height to wrap around the tube. The length is about 6 inches. Secure the paper around the tube with a stapler. Step 3. Glue your numbers to the front of the tube. Be sure to display your 2017 sign surrounded by little lights, this will add a fantastic shimmer to your sign and will certainly impress your guests. Have fun making your 2017 tube craft sign and have a wonderful, happy New Year!
2 Comments
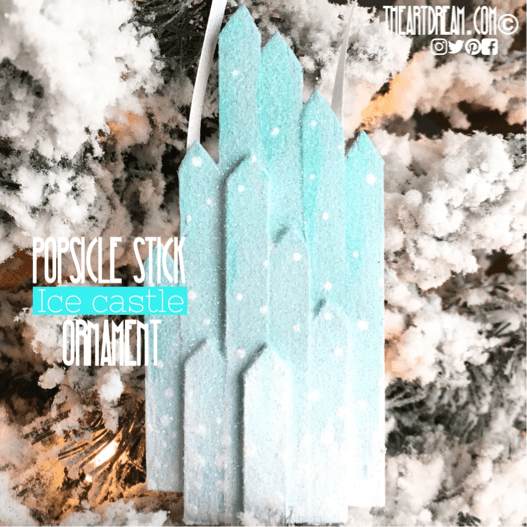
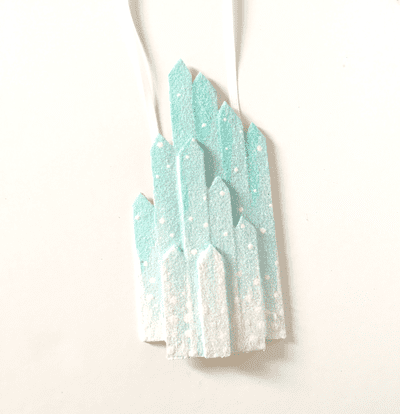
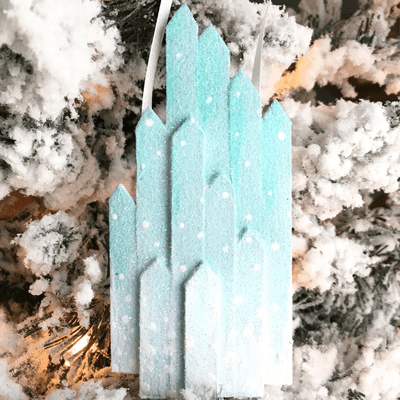
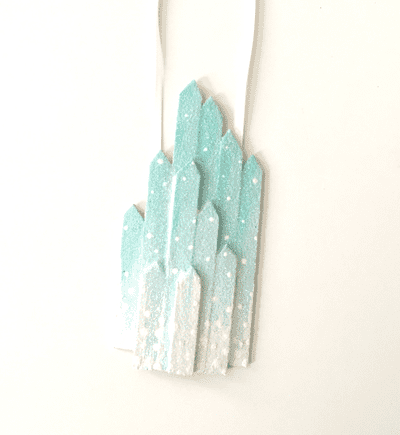
Frozen Inspired Ice Castle Ornament TutorialSo Christmas is literally less than a week away but you may find yourself scrambling for things to make with the kids to keep 'em busy. Prep some popsicle sticks, paint and glitter and let 'em make their own ice castle ornaments. I dig the winter neutral ornaments/crafts because you can keep them around well after the holidays. In my classroom I keep snowflakes and wintery decorations up through February sometimes even March... ok they're up through April, but 'till the snow stops falling and the greenery starts showing, those snowflakes are swaying! You'll be needing the typical suspects of materials for this craft, and remember to keep it safe when cutting popsicle sticks, splinters are a possibility! Materials:
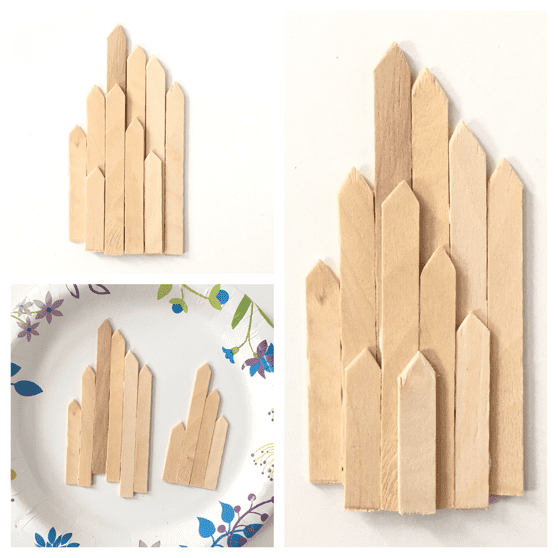
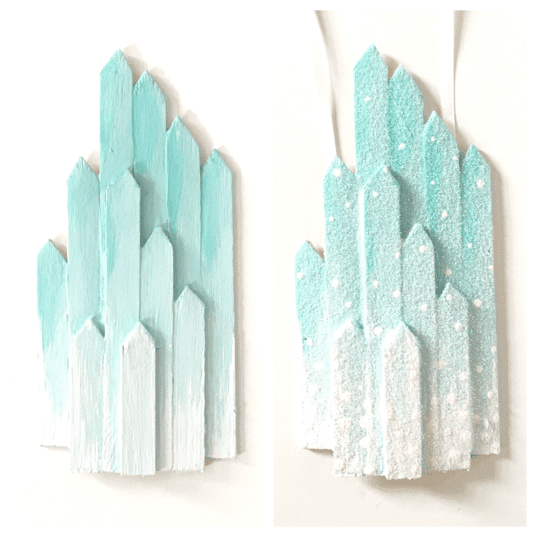
Directions: Step 1. You'll want to prep the sticks first by trimming the ends with a wire cutter. Cut a triangular shape in the top to create the peaks of the towers. Cut the opposite end straight across. You'll need about 11 sticks per castle. Sand the edges down with sandpaper. Step 2. Arrange about 6 of the sticks the way you'd like and glue them together. Glue 4 together aligning the bottom straight across. When they are somewhat dry and able to be handled you can glue the layers one on top of the other. I added one more short tower as the third layer. Step 3. Paint your castle how you'd like and let it dry. Step 4. Once the paint is dry, cover your castle with glue and sprinkle with glitter. I use iridescent glitter because it looks like snow and it doesn't cover up the color of the paint. Step 5. Use hot glue to add a ribbon as a hook on the back. I hope that you enjoy making your ice castle ornament and I look forward to seeing all of your fantastic creations!
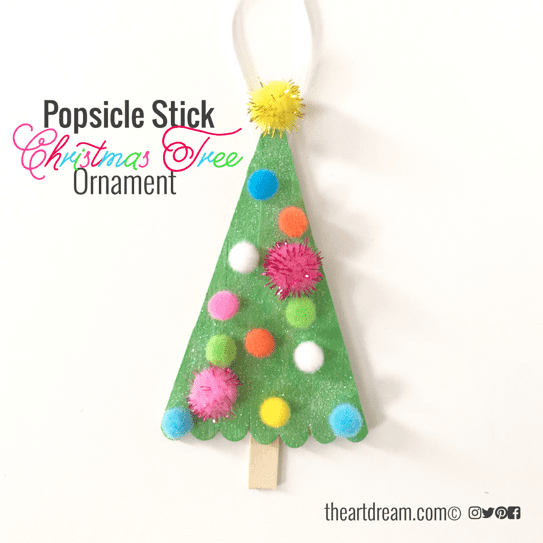
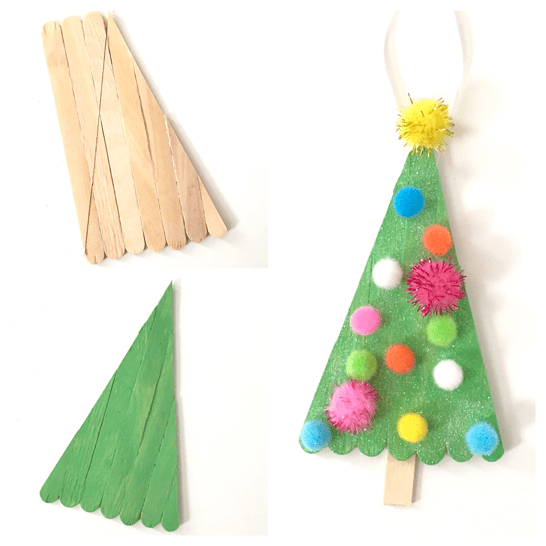
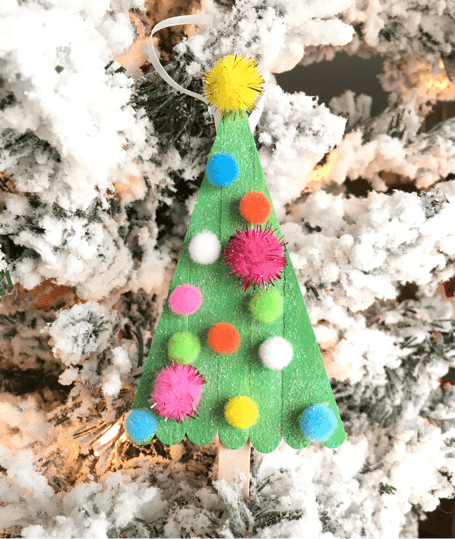
Christmas Tree OrnamentI don't typically work with popsicle sticks because there isn't much flexibility when it comes to altering their shape and size, but working with wood in some way should be a material that every kid gets the opportunity to use. Wood is a porous material which means it absorbs paint really well, so painting wooden crafts is a synch. My tree ornament requires a bit of cutting and the adults should definitely be doing that part, but the results are fantastic and the kids will love decorating their wooden tree. Materials:
Directions: Step 1. You'll want to first glue 7 popsicle sticks together side by side with tacky glue. Let them dry well. Step 2. Next, use a craft knife to cut a triangle shape from the sticks. Draw a line from the top of the middle stick to the bottom corners of the sticks. With a ruler start scoring the sticks on the line with the craft knife, you'll have to repeat the scoring over and over to get through. Step 3. Paint your tree how you'd like and glue on any embellishments you'd like. Step 4. Hot glue a ribbon to the back as the hook. Glue a piece of popsicle stick to the bottom, back of your tree as the stump. What have you made with your children out of popsicle sticks lately?
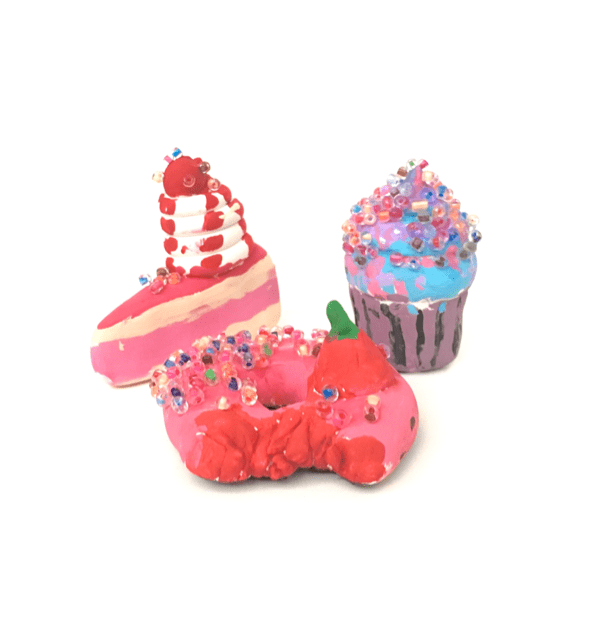
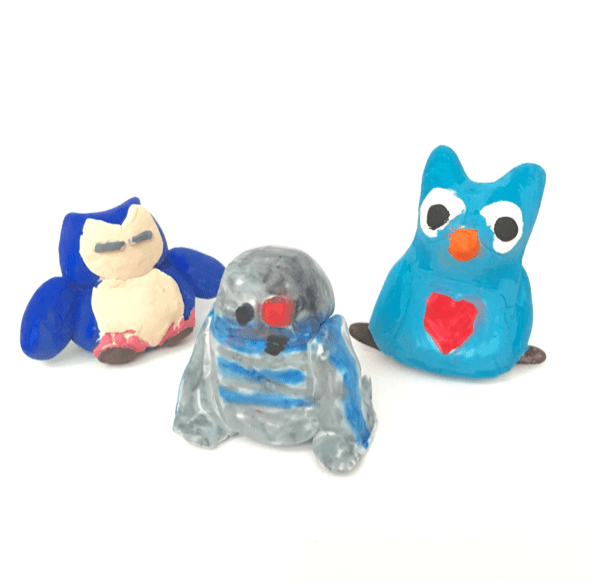
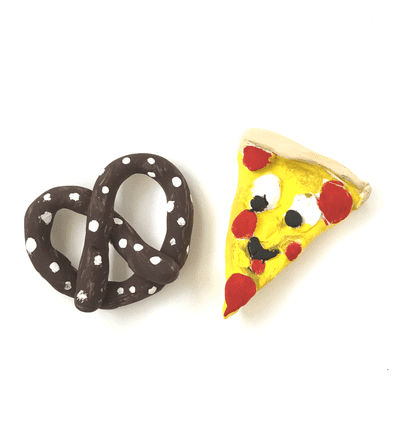
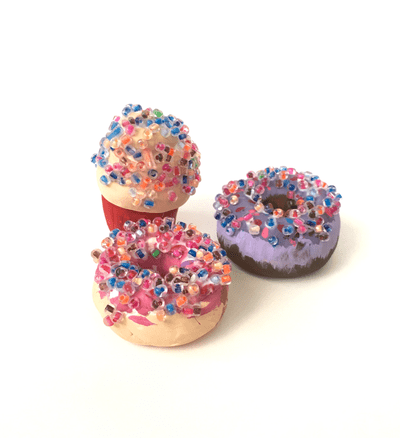
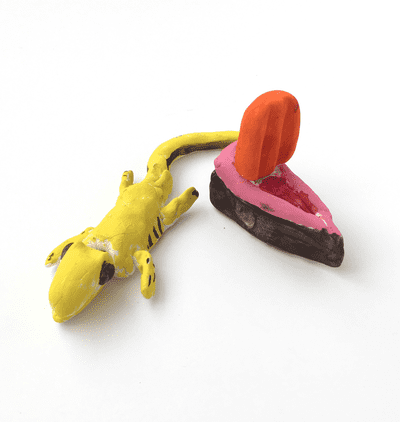
Enjoy the holidays, make 'em merry, bright and artsy! Sculptures Made With Model MagicEver since I gave Crayola Model Magic a try, I've been a huge fan, the clay like material is soft, airy, squishy and comfortably moldable. It is perfect for younger kids, it's super clean and doesn't leave any residue on their hands or the working surface. This stuff is ideal for the classroom and makes cleanup time a synch. If you haven't tried Model Magic then I suggest you invest in some. You can check out my tutorial on Jabba the Hut here at The Art Dream for details on how I made my sculpture. Here I am sharing some artwork made by my students. They were super excited to get their hands on this stuff, they loved it so much that they were rubbing it on their faces and draping it around their necks before they started sculpting, so you can get the sense that this clay is a tactile, satisfying experience. This clay comes in many colors, but I find the white to be more versatile. I had the kids sculpt and then paint after their sculptures dried. They had a blast making their favorite foods and even their favorite characters.
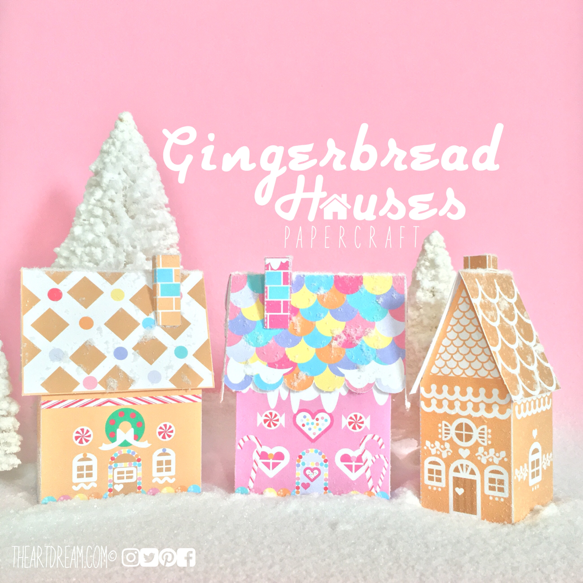
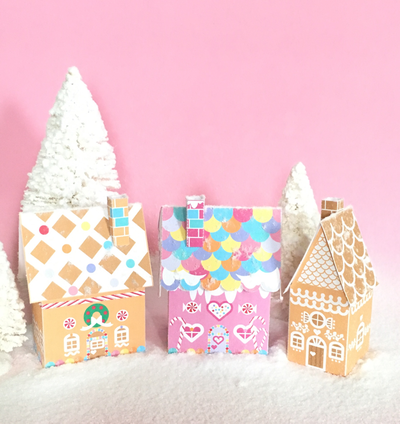
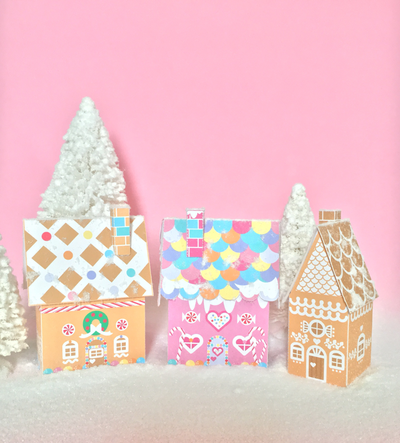
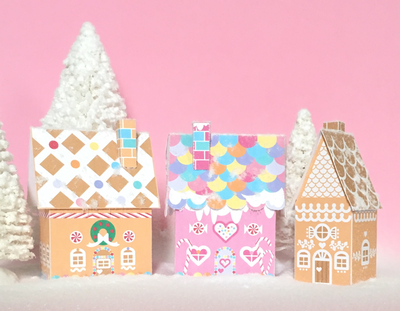
Gingerbread Houses Papercraft in the ShopWell the holiday season is officially upon us, time to make some handmade decorations and gifts for your family and friends. What better gift to bring to someone's home than a gingerbread house? They are so fun and festive, and there's no right or wrong to your decorating method. If you're looking for a gingerbread house that make great decorations then look no further, here's three unique designs that are easy to make and can be displayed in so many fun ways! I wanted to create some lasting gingerbread houses, you can find this sweet papercraft in the shop at The Art Dream! Ok, so I kinda have an obsession with paper houses, I love designing and building them, it's great that they stand up on display next to each other forming a small village, what better way to represent Christmas and winter than with a little quaint set of paper houses.
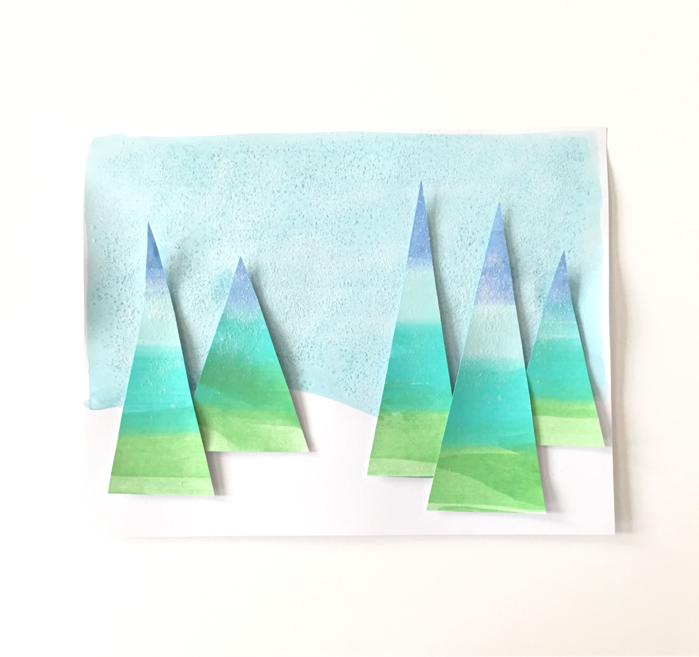
You could even add a hook to the roof and hang them on a tabletop tree! They would look great surrounded by the warm glow of string lights. Do you make your own ornaments and decorations around this time of the year with your family? I'd love to hear about it. And let me know how your little gingerbread Houses came out! Be sure to check out all of my fun printables in the shop! Winter Holiday Tree Squeegee Painting Have you ever used a squeegee to make a painting? It's a pretty fool proof technique and the results are satisfyingly fantastic. Check out my tutorial for creating this wonderful winter scene at hellowonderful.co! I am always trying to come up with new and fun ways to make my favorite paintings and I have to say, I think I had the most fun spreading the paint across the paper with a squeegee. Use monochromatic, cool colors to evoke the feeling of a cold, wintry landscape. Or you can go full rainbow and make a truly psychedelic forest!
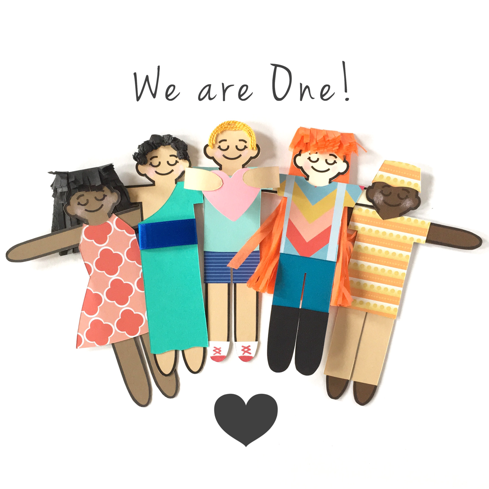
Be sure to visit hellowonderful.co to see the full tutorial on how I made this beautiful winter art. Multicultural Paper Children PrintablesTeach children that it's a wonderful thing to be surrounded by diversity, to celebrate their uniqueness and to broaden their exposure to culture. Make this craft with your kids and encourage them to personalize this paper craft however they like. I designed this little children printable to print onto colored cardstock paper, nowadays you can find the cardstock in every color and in almost every shade. We live in a world these days surrounded by hate and it's leaving our country divided. Be sure to share love and spread kindness wherever you go. It's so important to teach our kids these values. We want them to be well rounded, honest people of course and it starts with us, their parents, teachers and role models. You can head on over to hellowonderful.co to see more about this craft and download the printable.
|
AuthorI'm John, an artist and art educator. The Art Dream is here to spark creativity and inspire the little artist inside of you! Archives
October 2021
Categories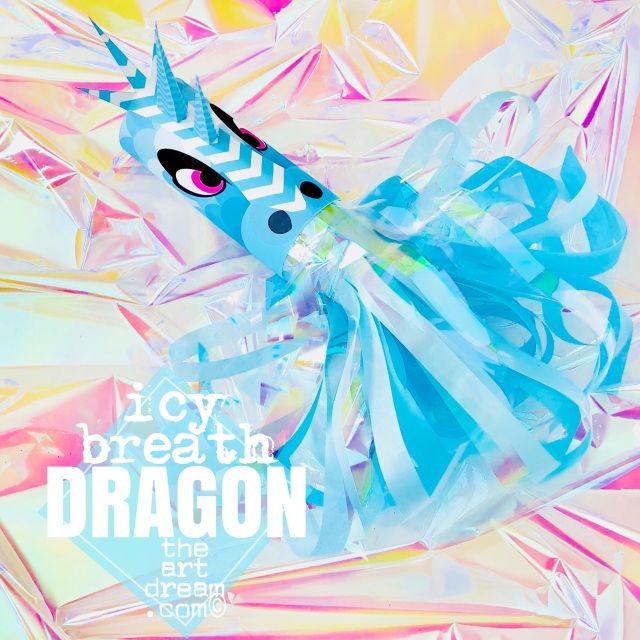
Ice Dragon Head Printable
$1.00
Feel the icy breath of this mighty dragon, it’s a dance of fire and ice that’ll leave you in awe. Just add your own streamers to create that blast of blustery snow!
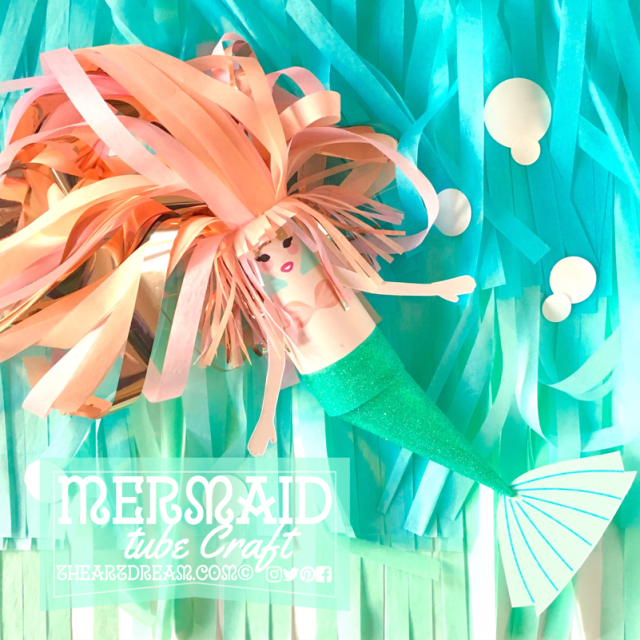
Mermaid Tube Craft Printable
$1.00
Who would dream about the world above the sea when you could dream about the world that is under the sea, where such beautiful creatures like this mermaid must exist! Don't they? I've started your journey of crafting this beautiful sea creature, it's up to you to add magical hair and dress up her fins!
|
Proudly powered by Weebly

 RSS Feed
