Felt Cloud Pillow ProjectThis little felt cloud pillow is a bit more than just that, it stands for something and I put a lot of thought and meaning behind it. I was inspired by nature for this little craft project and added details with stitching and small beads. I was also inspired by the recent Stoneman Marjory Douglas school shooting. As a teacher tragedies like this hit close to home and I try not to use The Art Dream as a platform to make a statement but this is different, these are our children and there’s a fear that this type of mass killing is beginning to happen more often than not. Being an artist also allows me to use my talents to create a meaningful message and show my support for the survivors making a difference. 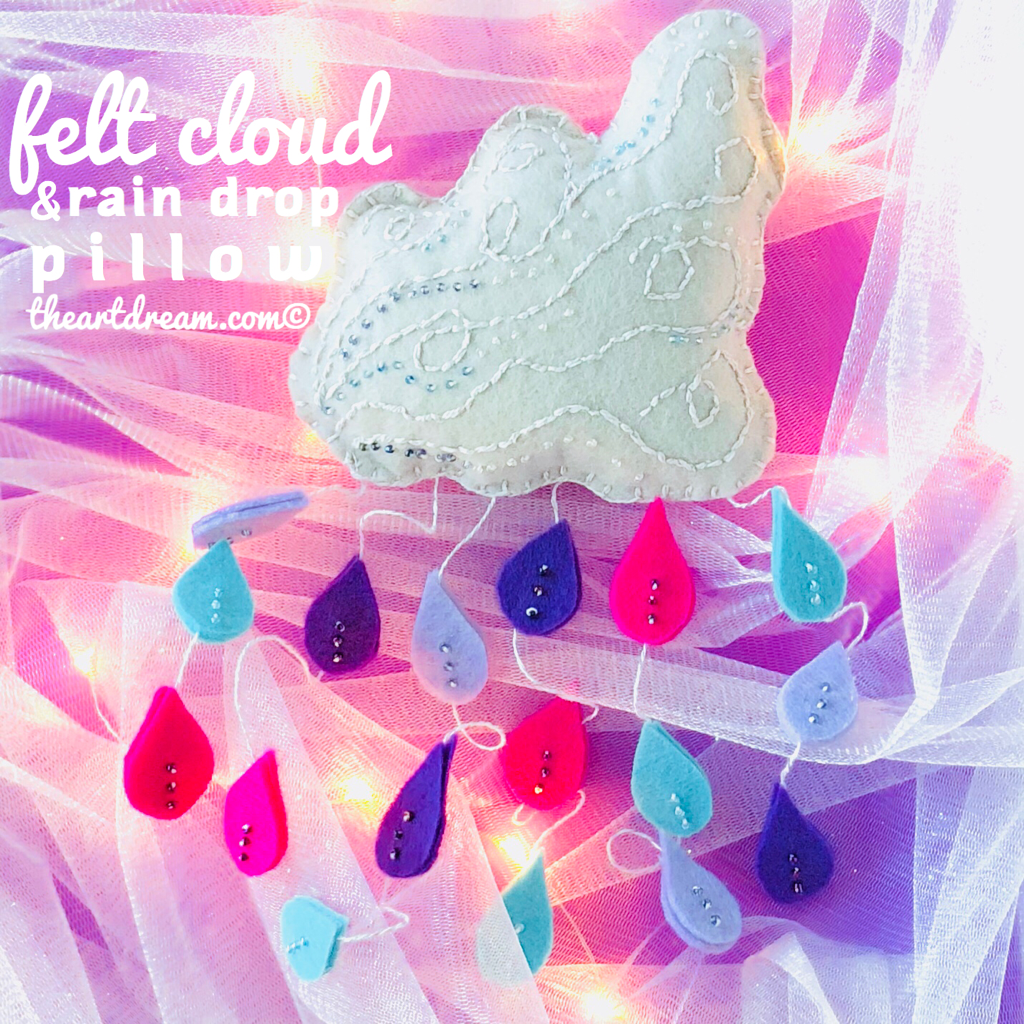 Felt Cloud Pillow I’ve also been telling my students to make art more meaningful, to think about the subjects, colors or patterns they choose. I want them to make art that reflects something important to them or that reflects their own personality in some way. Being able to make art is a very powerful tool when you want to share an opinion or turn your feelings and grief into an external reminder of what you believe in. So remember to make art with intention and passion, you’ll never know who you’ll inspire by doing so. The storm cloud represents the turmoil and tragedy turned into a powerful force, one that will rain down and wash away old, dated views in hopes that new positive changes will come into effect. Each person killed is represented by a raindrop who’s deaths will not be in vain because I’m hopeful that laws will change to make us all safer! Over the past couple of months I’ve witnessed some of the most brave young people determined to make a difference, I commend them for their resilience and tenacity. 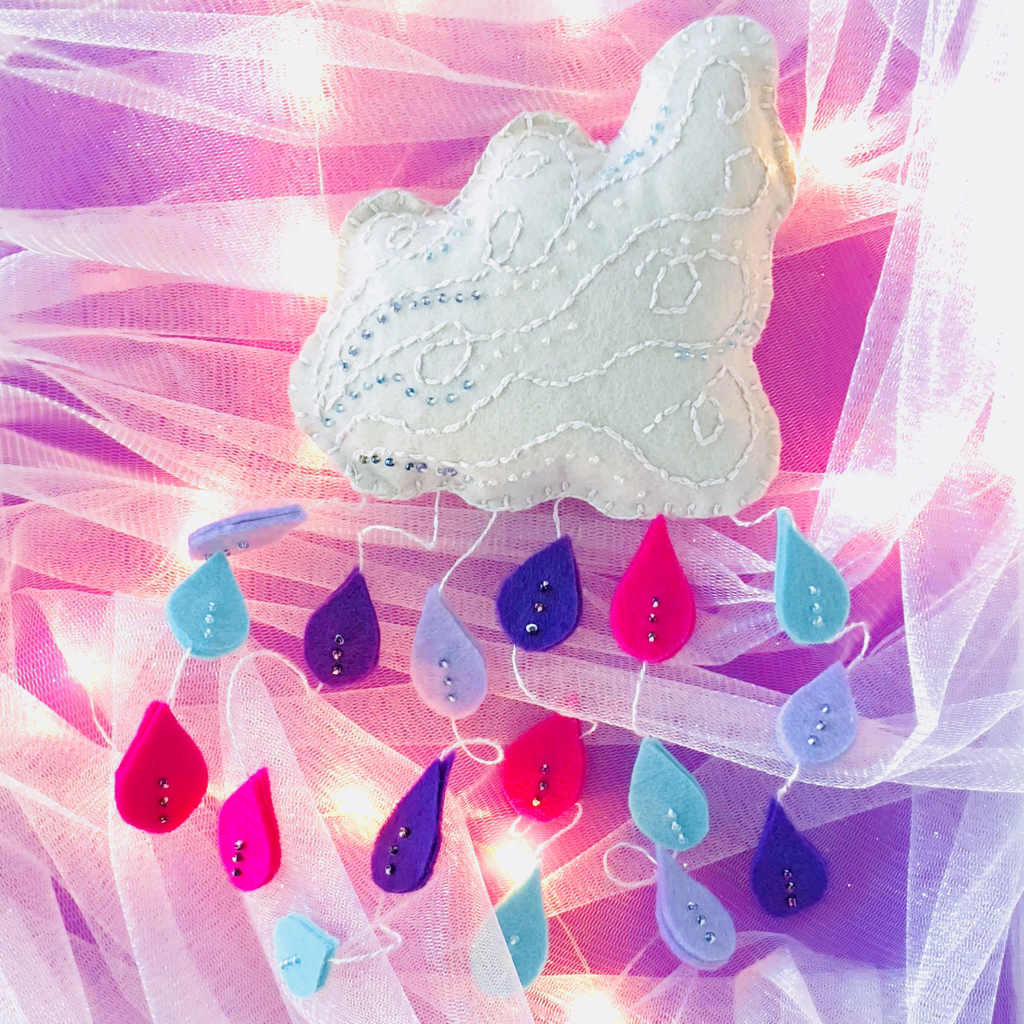 Felt Cloud Pillow My cloud was actually pretty easy to make, I cut two pieces of felt exactly the same then stitched on all of my details with bakers twine to one piece of the felt. I then cut out the raindrops and stitched on some beads. I glued two raindrops together with the string in-between. I glued the top of the string to the inside of the cloud and then began to use a blanket stitch to seal up the cloud. Just before finishing the stitch I stuffed the pillow well with fiber fill and sealed it up.
Have fun making felt creations and be sure to make it meaningful too!
1 Comment
Spring Stitched Bunny CraftTake a bit of yarn and some bunny cutouts and do a fun activity for spring or Easter with this stitched bunny craft! Stitching is one of those lost arts or at least fading, I find that kids actually do enjoy this activity though and I think it should really be introduced to them as a fundamental skill to learn and know. Start with paper bunnies with pre-punched holes to make it a bit easier for small hands! 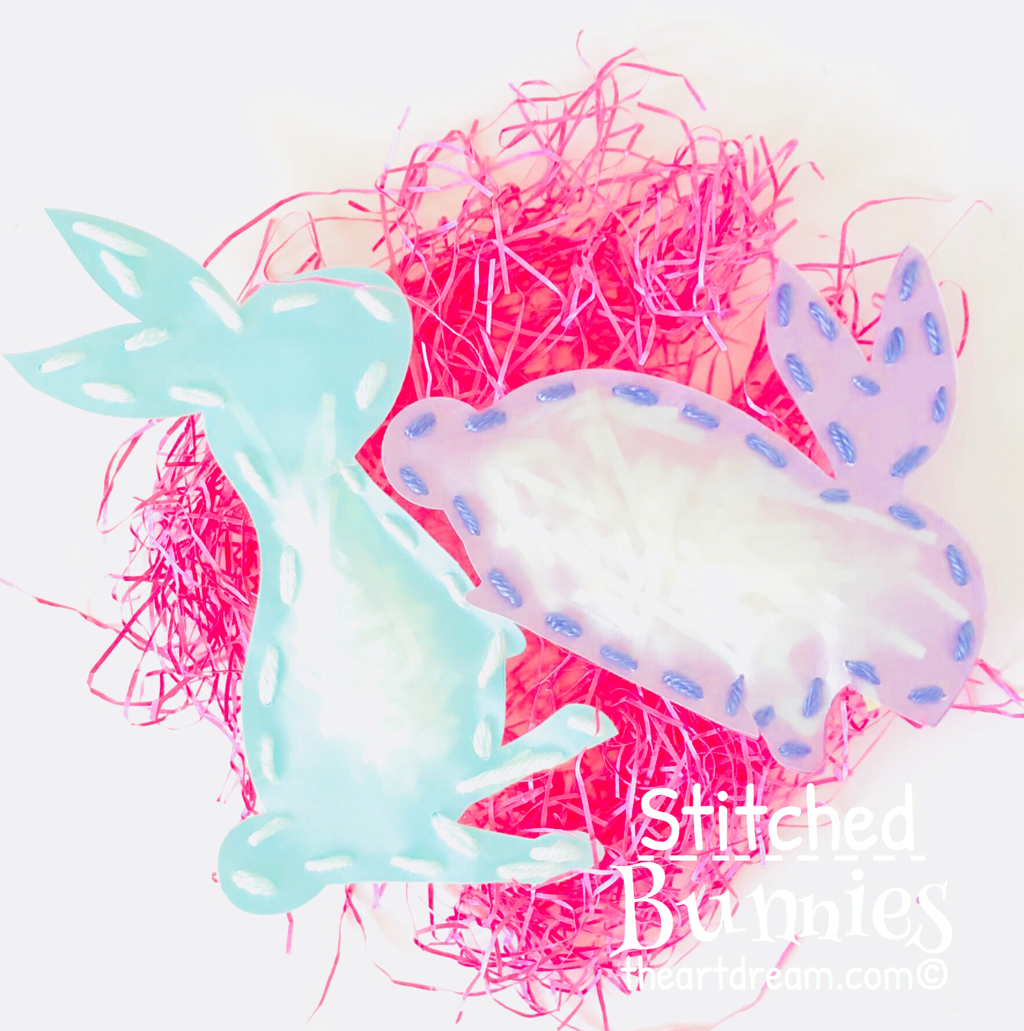 Stitched Paper Bunny Craft Here’s a quick tutorial for putting these paper bunnies together, it’s a fun and easy activity to do with the kids plus you’re practicing fine motor skills which is really important. As an art teacher I see a lot of older kids having trouble with their craftsmanship of small details. With some practice they’ll get better and better preparing them for executing more complicated tasks. So grab your materials and make these fantastic stitched bunnies for hanging or giving as gifts this spring season! Materials:
Directions: Step 1. I cut my bunnies using the Cricut machine but you can trace a pattern or use pre-cut shapes found at the craft store. Then layer your vellum shape on top of the solid shape and punch holes around the perimeter. 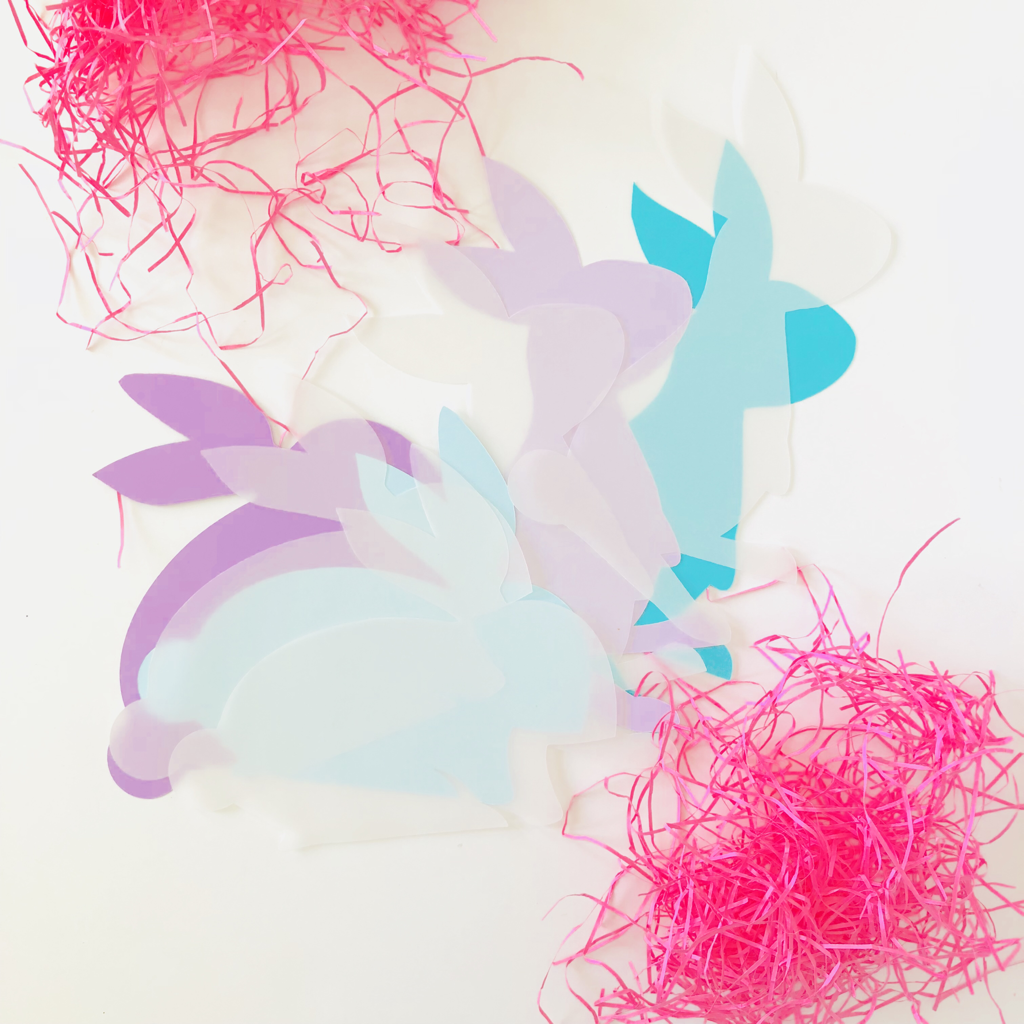 Cut Out Bunny Shapes from Vellum & Cardstock 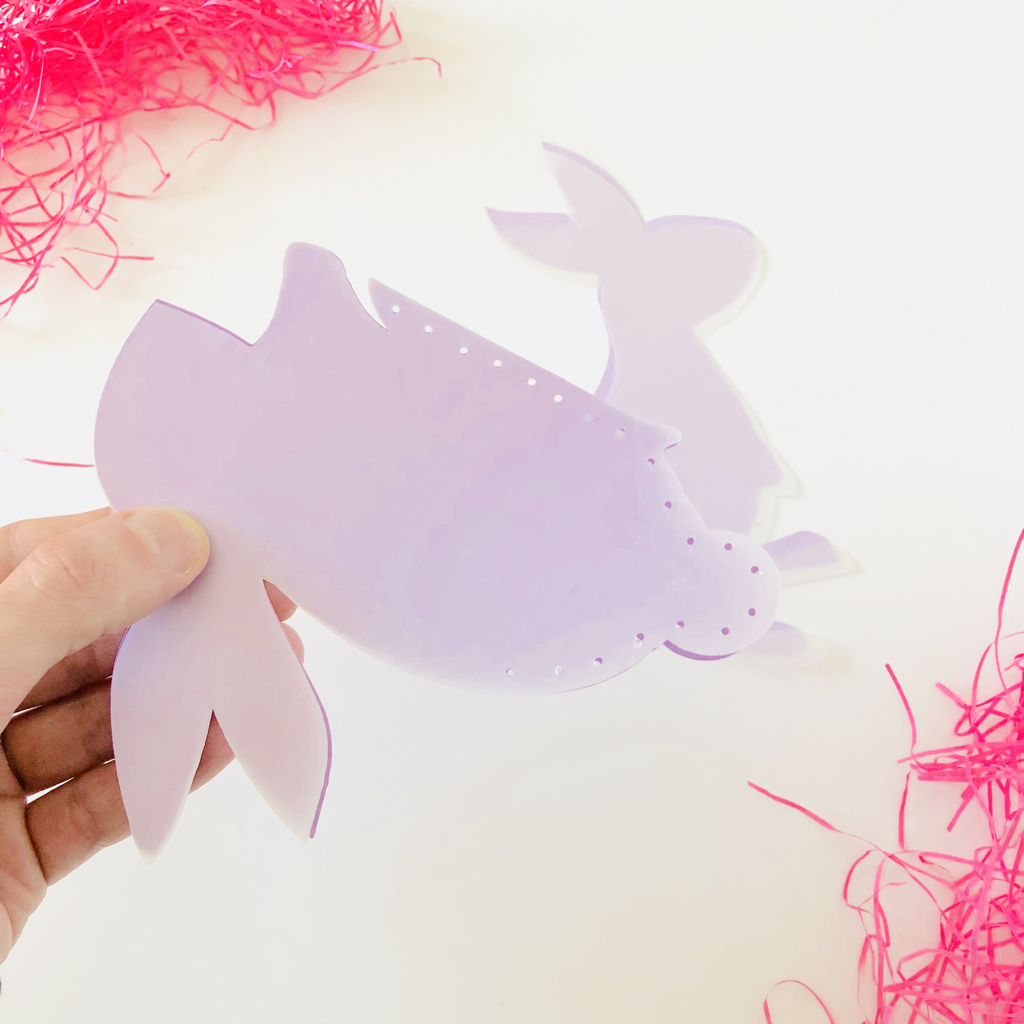 Punch Holes Around the Perimeter Step 2. Thread your needle with yarn and start stitching, I used a running stitch, which means you thread in an up and down pattern. 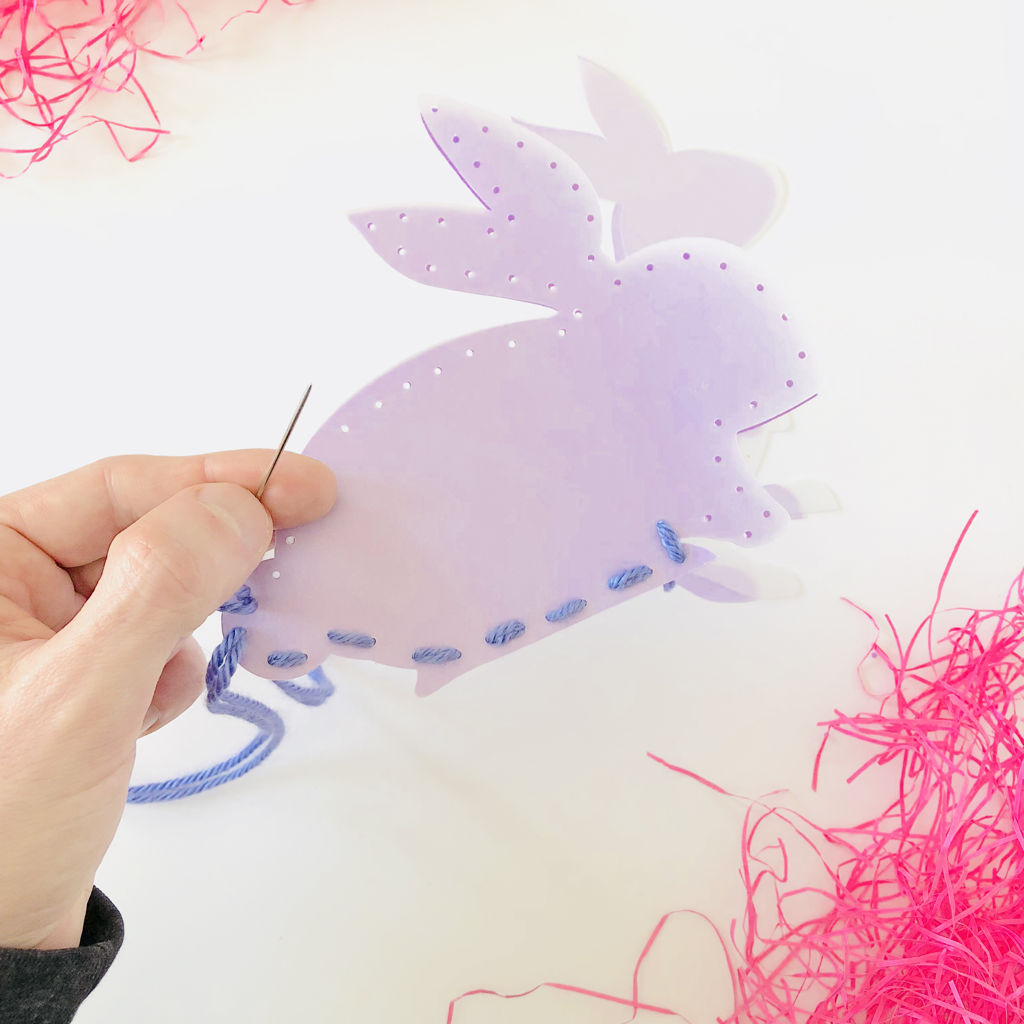 Stitch Bunny with a Needle & Yarn Step 3. Stop before you get to the end and stuff the bunny with some shredded paper, be careful you don’t want to rip the vellum or paper. 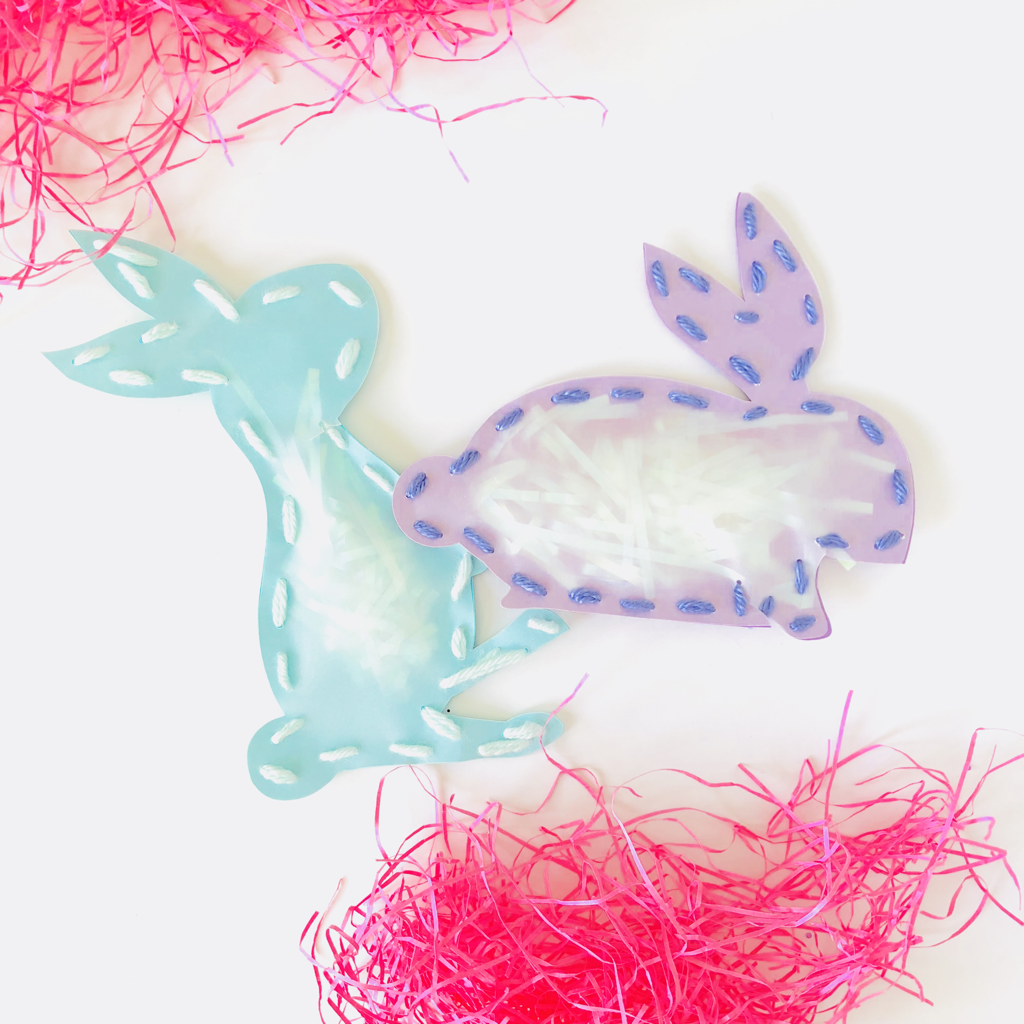 Stuff With Different Embellishments These turned out really nice! I plan to hang them as decoration for Easter! You can stuff these bunnnies with things you have like chunky glitter, feathers for color, shredded paper, scraps of felt, tissue paper or candies like jelly beans! 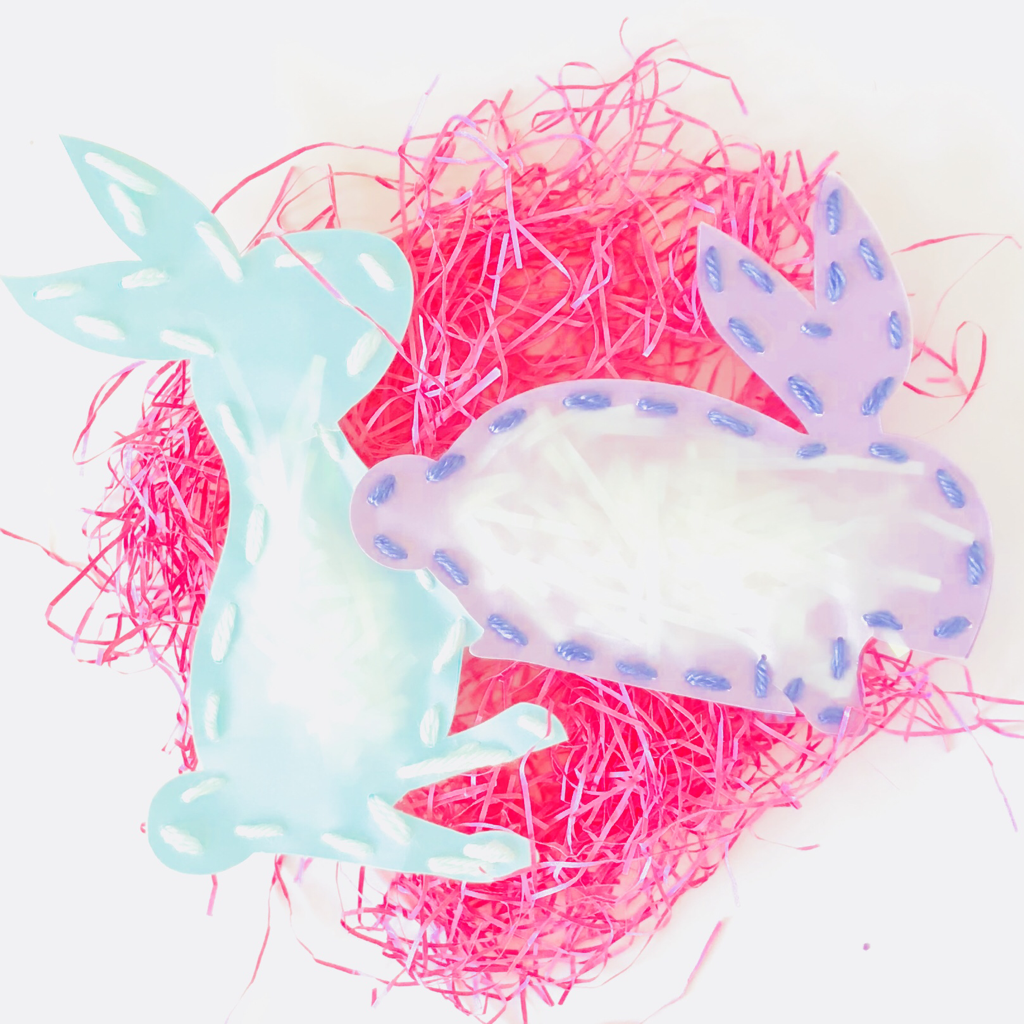 Stitched Bunnies Spring Bunny PapercraftHip hop, hip hop this cute little bunny papercraft will jump right into your spring celebrations! He is perfectly white too which gives you the opportunity to decorate and color it just as you wish! Give him spots, give him stripes, give him bows and ties, whatever you’d like just make sure it’s full of spring excitement. This papercraft is available below for free but if you like it then check out some of my other original designs in the shop here at The Art Dream! 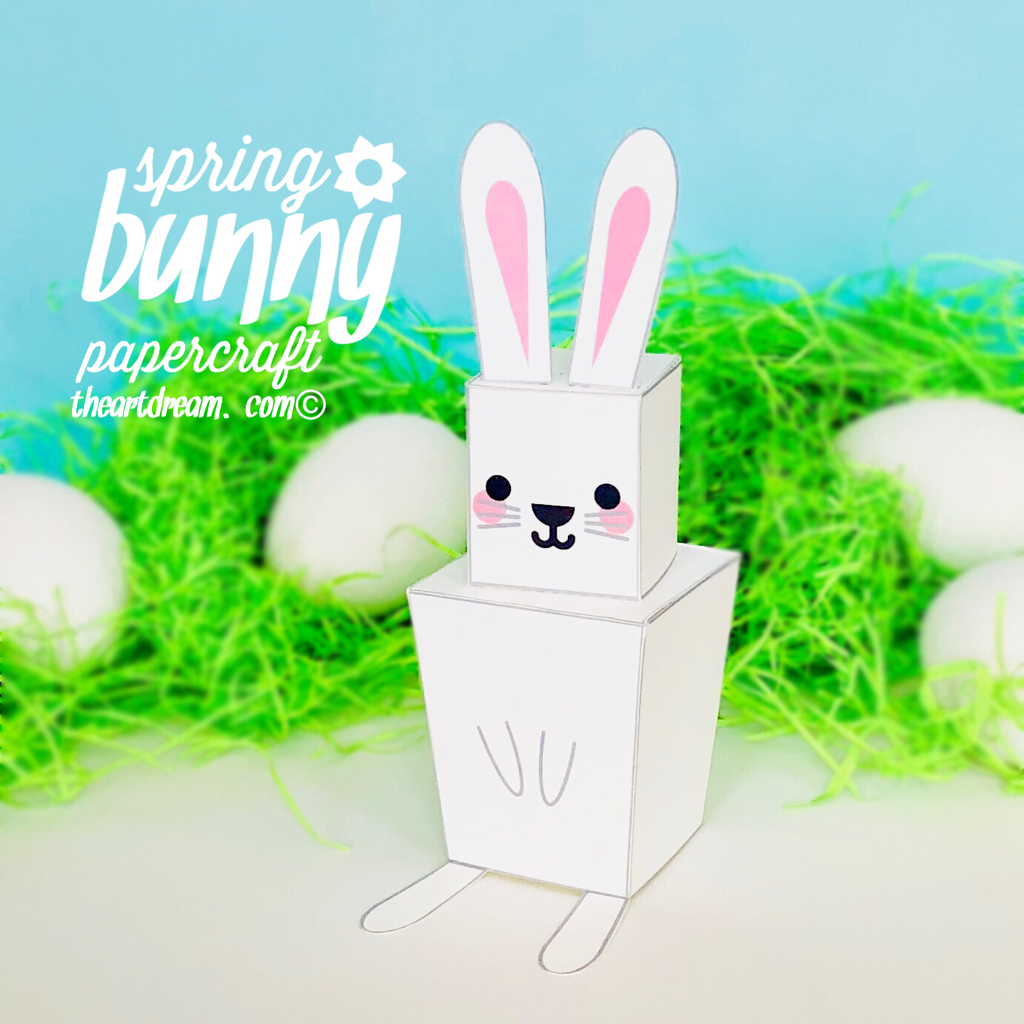 Spring Bunny Papercraft There’s something really special about creating a 3D piece of artwork, the subject just comes to life and is given dimentionality, it’s pulled into the physical world making it a step closer to realistic. Imagine the kids giving these bunnies color by adding a bunch of craft supplies like pom-poms, glitter, sequins, ribbons or even gems! Or they could be used as place cards for all of your dinner plates. See more of my 3D creations in the shop too, I know you’ll love what you find! You’ll need just a few things to make this bunny craft, it’s so easy, check out the directions below but first be sure to download the free printable... Please right click the file and save it to your computer before printing. If you are having trouble with the printed size of the image, make sure that you select "fit to page" or "print actual size" in your printer options window. Do not print from the open window of your internet browser after clicking on the file, your printout will be very tiny!
Materials:
Directions: Step 1. Print and cut out the pieces of the bunny, there are 4 pieces in total. Step 2. Score all of the lines with a craft knife or you could use something like a credit card to press the “dent” into the lines, this helps tremendously when folding. Step 3. Fold the head and body, use tacky glue to adhere the flaps to the corresponding sides. Glue the head to the body when done. Step 4. Glue on the ears to the top of the head. Don’t forget to add your own details! 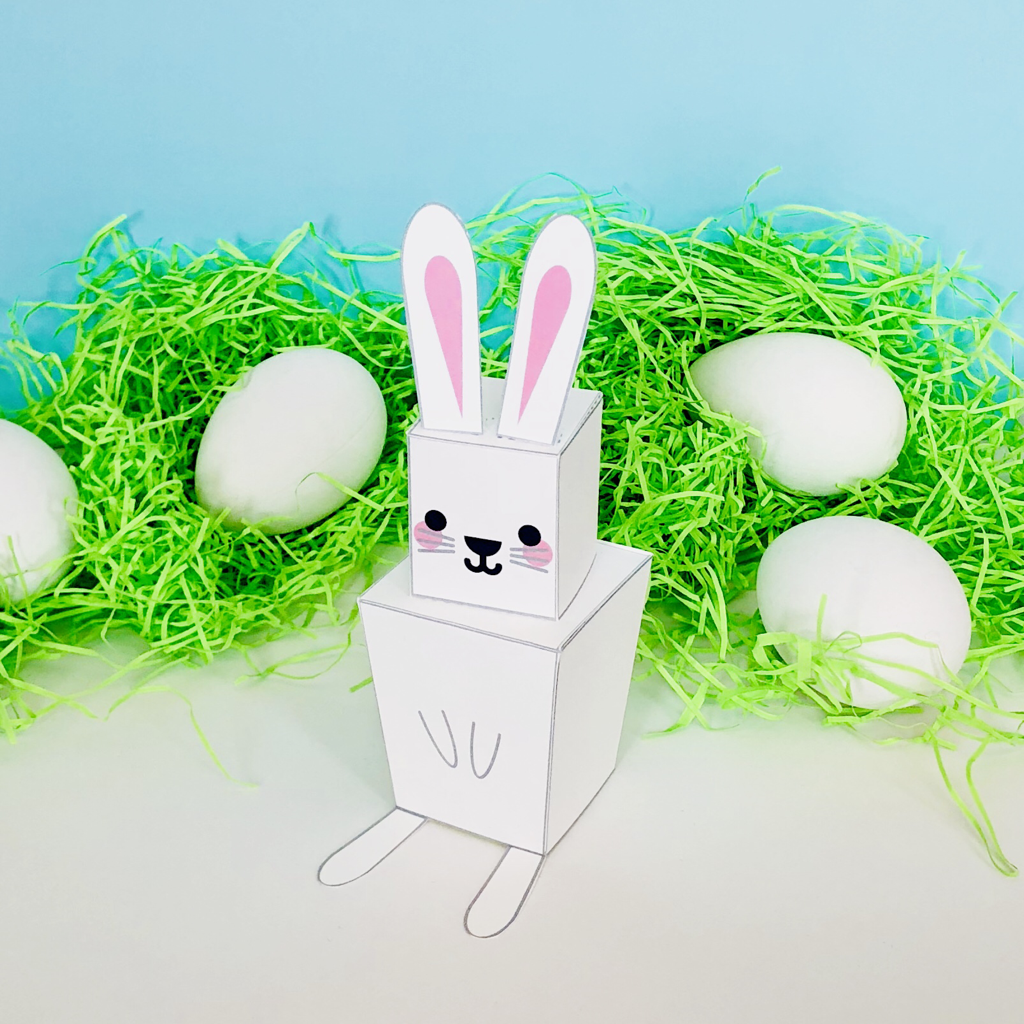 Spring Bunny Papercraft Hide small treats underneath this little silly bunny! 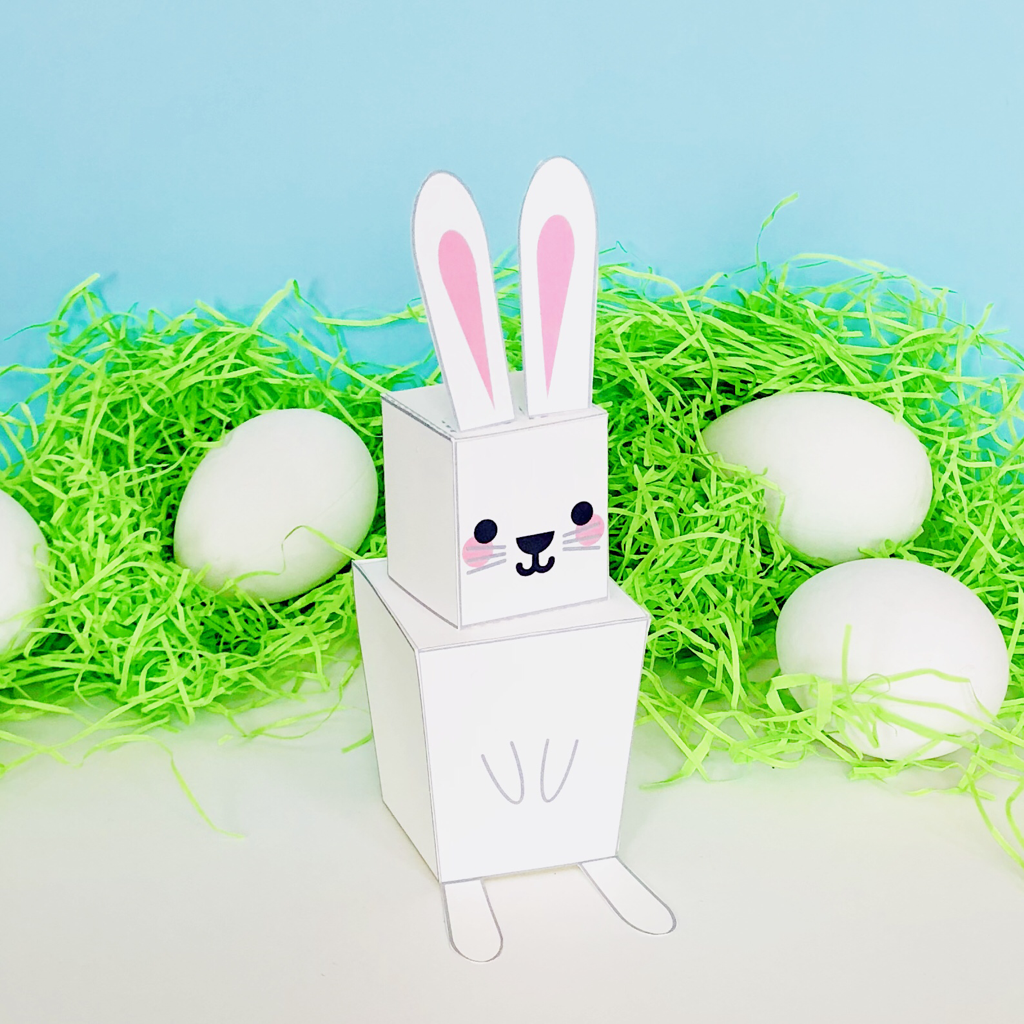 Spring Bunny Papercraft Tissue Box & Cardboard Tube Ice CastleI’m no stranger to building castles from cardboard tubes but I usually make them big and fancy. Here’s a version that’s very doable for you and the little ones! You can easily put a fun castle like this together, no problemo, just follow my photo tutorial and you’ll be well on your way to making a castle everyone will admire! Visit RedTedArt to see the full tutorial! 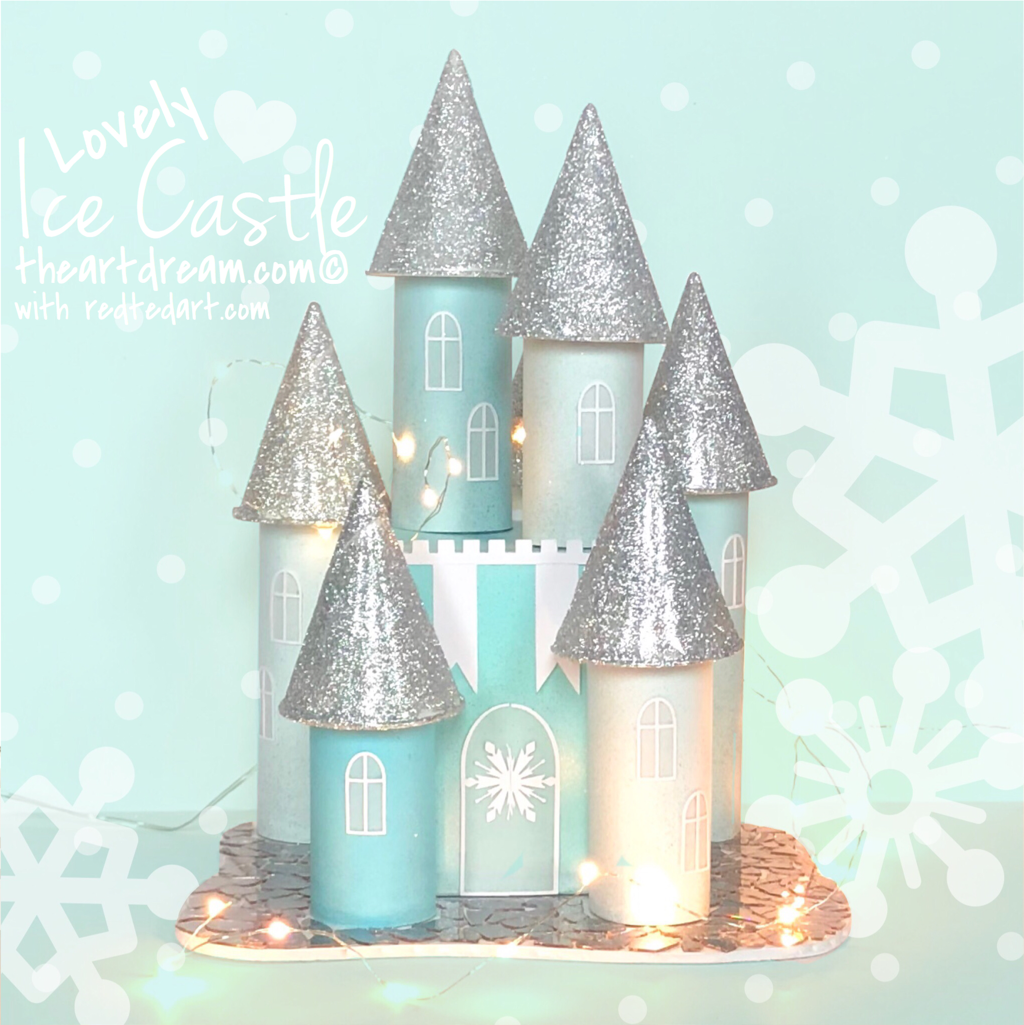 Mini Ice Castle Isn’t this castle a beaut’, I used crushed up cds to make the base, it makes for a beautiful reflective surface perfect for replicating a cold, icy texture! 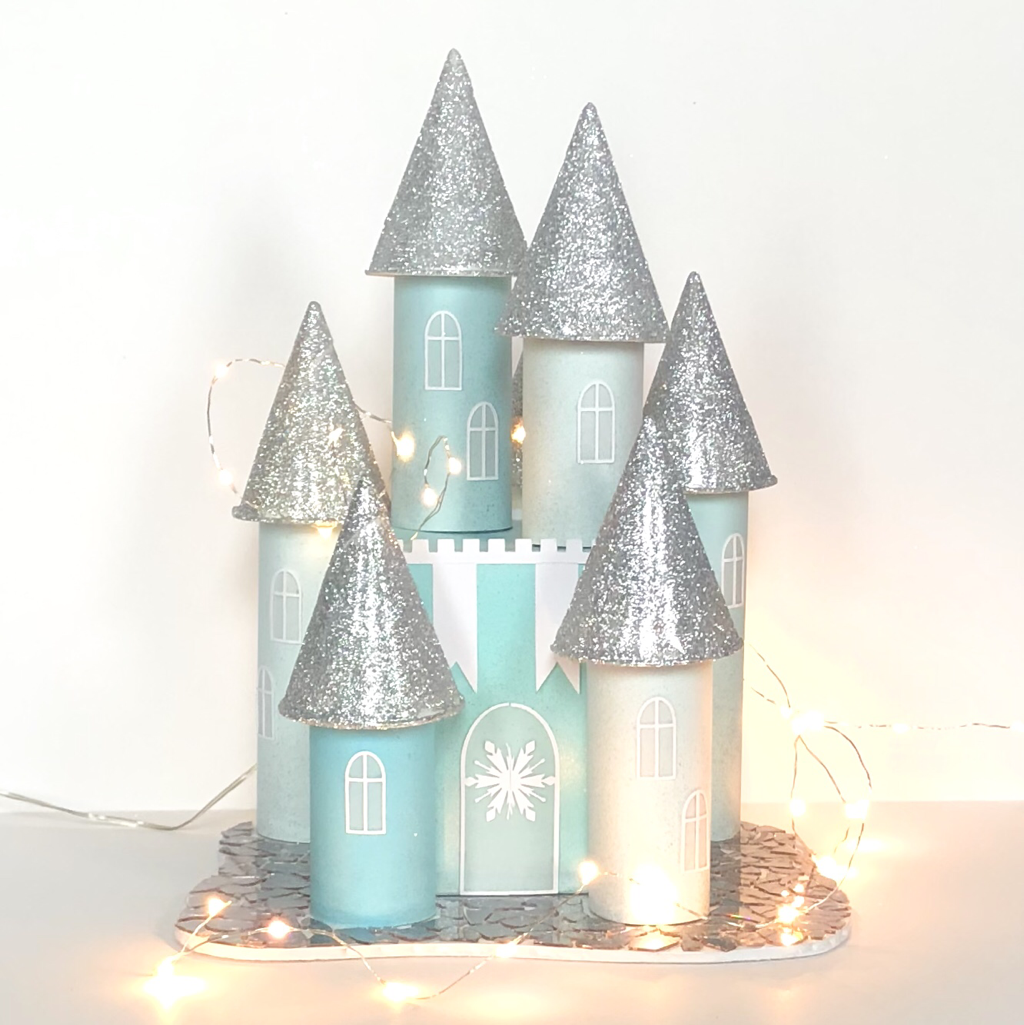 Mini Ice Castle Add some fairy lights for an extra touch of shimmer! Kids will definitely be entranced. If you’d like to see how I made this castle then follow the link here! Or click on one of the images! 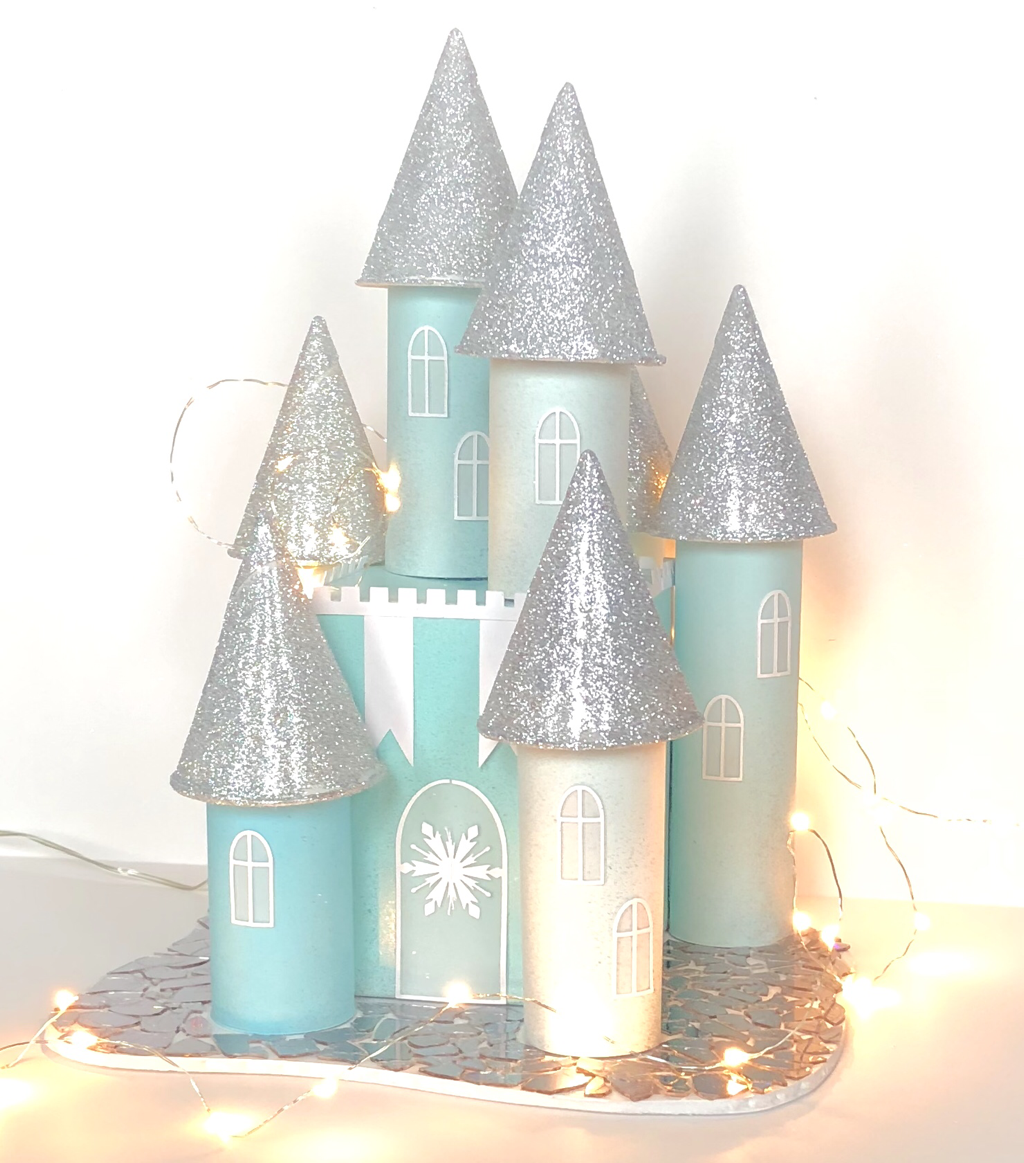 Mini Ice Castle Remember, your castle doesn’t have to be an ice castle it can be inspired by spring or any other season, maybe it’s a candy castle or a heart castle, maybe it’s a sea castle or a castle in the sky! Let your imagination run wild!
Shark Oaxacan Animal SculptureThis Oaxacan animal sculpture is pretty fierce and bold with his bright purple hues! Be sure to go wild when selecting your color palette to create a memorable three dimensional piece of artwork! These sculptures are also known for their patterns and exaggerated features like tails, ears, antlers and fins. If you haven’t done so then check out these fantastic sculptures for yourself, you’ll be amazed at the intricate designs and the beautiful craftsmanship. 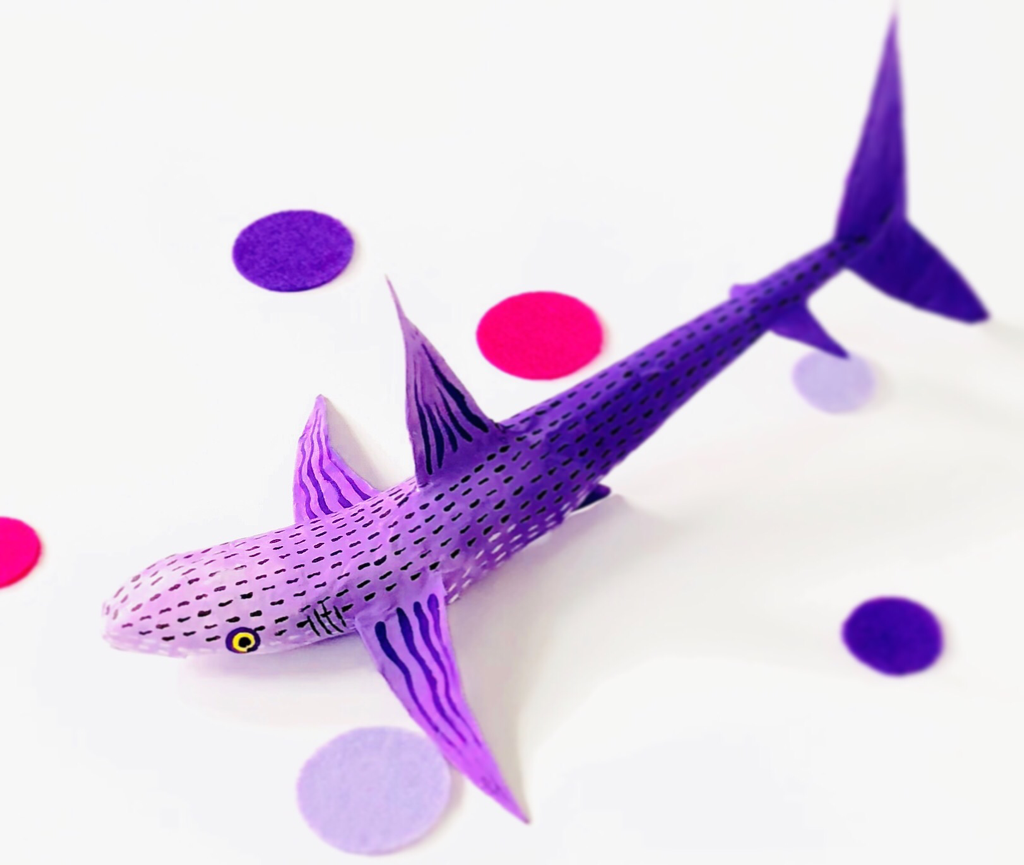 Shark Oaxacan Animal Sculpture I really do enjoy making these fantastic creatures because the possibilities are endless. Choose your favorite animal and put your own spin on the design. Oaxacan animal sculptures are some of the most beautiful sculptures I’ve ever seen, my iterations don’t even compare! However, that doesn’t stop me from creating my own collection of beauties! 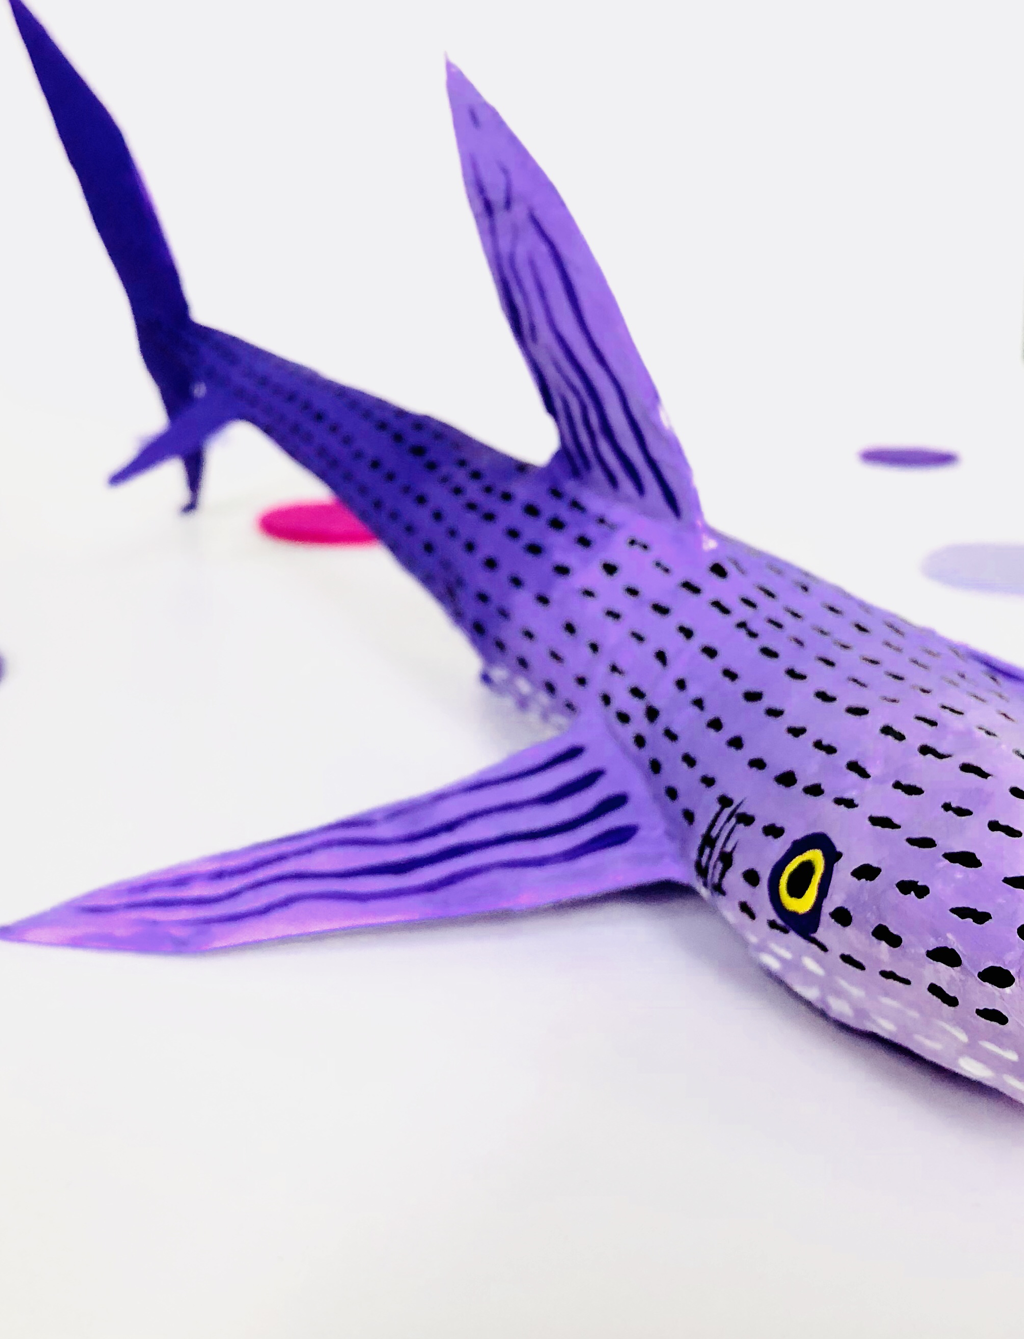 Shark Oaxacan Animal Sculpture The armature (skeleton underneath) is literally made up of garbage, ok not the kind you throw in the trash can but the kind you could. Empty cardboard tubes make for a great place to start, then you just tape on crumpled up pieces of paper with masking tape to create the features like arms, legs, tail etc. A great tip is to use cone shapes, roll up a piece of paper like a cone, trim if necessary and tape to your tube. Cones make great legs and tails like the one I made for my shark. 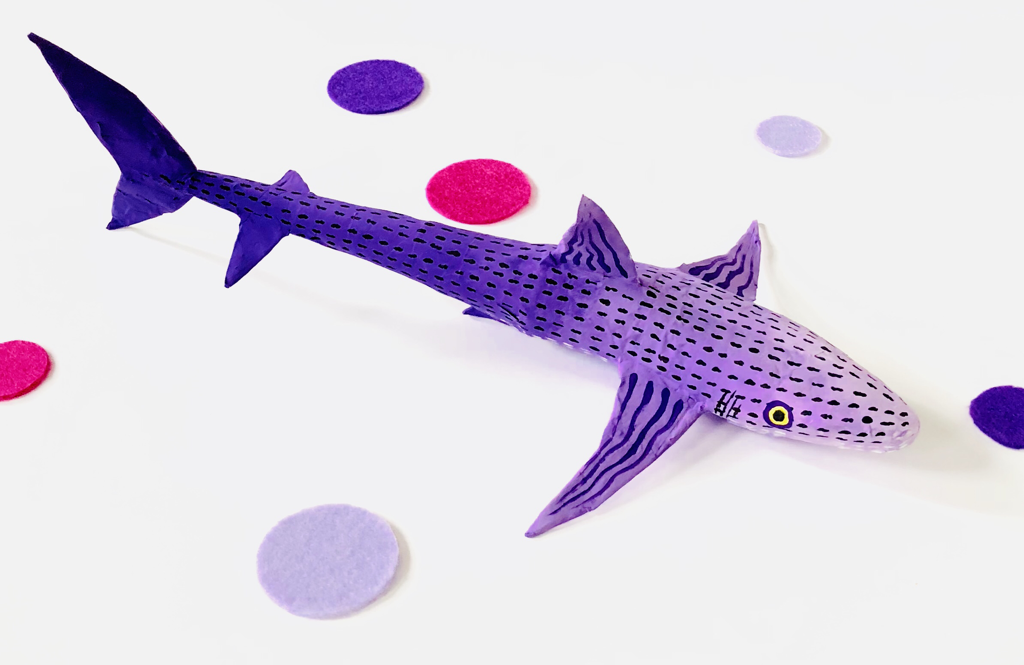 Shark Oaxacan Animal Sculpture Tape on all of your details like fins and ears. Then papier-mâché the entire sculpture like a mummy, I use a simple mixture of water and glue. Dip strips of newspaper into the mixture and get to wrapping, two layers is enough but if you want it to be super strong and a little thicker go for more layers. Let it dry well then paint to your heart’s content! 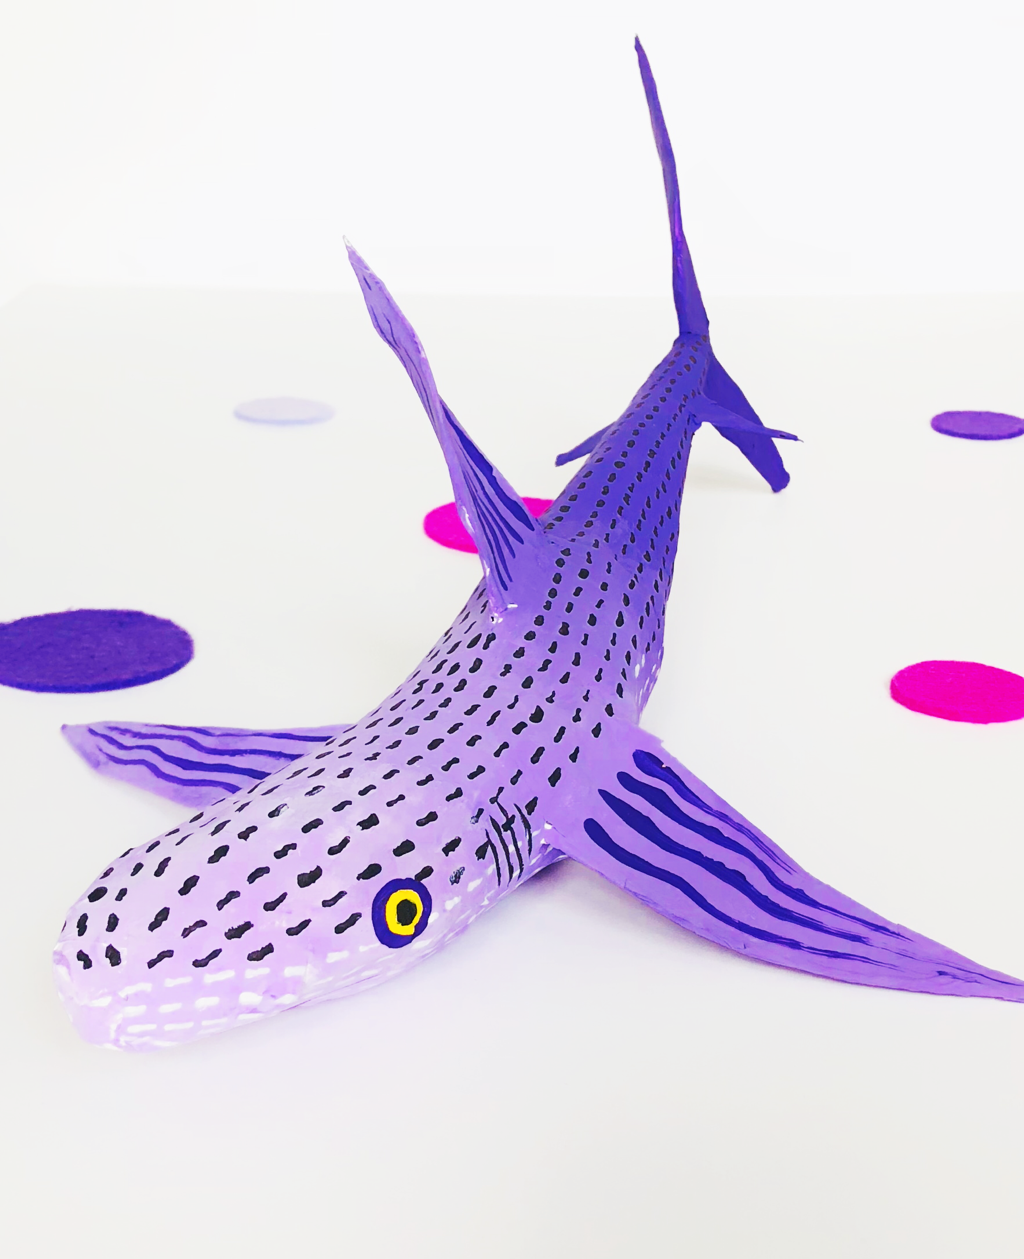 Shark Oaxacan Animal Sculpture Be sure to add lots of patterns too, this really helps make your sculpture look more interesting!
|
AuthorI'm John, an artist and art educator. The Art Dream is here to spark creativity and inspire the little artist inside of you! Archives
October 2021
Categories
Ice Dragon Head Printable
$1.00
Feel the icy breath of this mighty dragon, it’s a dance of fire and ice that’ll leave you in awe. Just add your own streamers to create that blast of blustery snow!
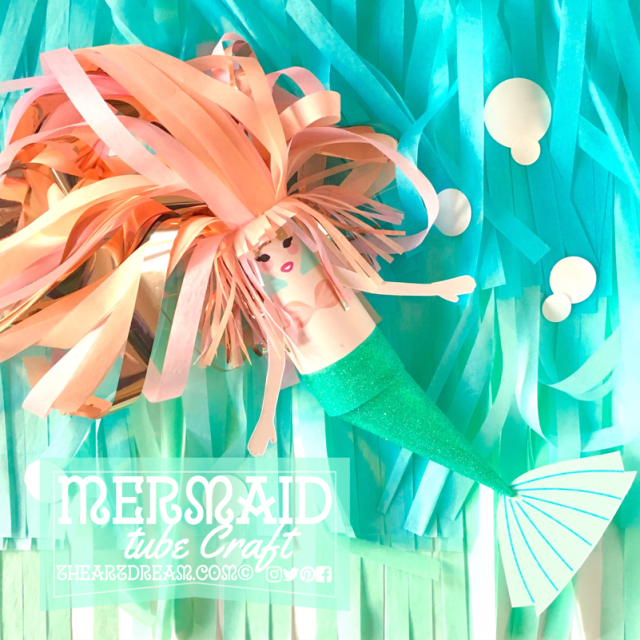
Mermaid Tube Craft Printable
$1.00
Who would dream about the world above the sea when you could dream about the world that is under the sea, where such beautiful creatures like this mermaid must exist! Don't they? I've started your journey of crafting this beautiful sea creature, it's up to you to add magical hair and dress up her fins!
|
||
 RSS Feed
Proudly powered by Weebly