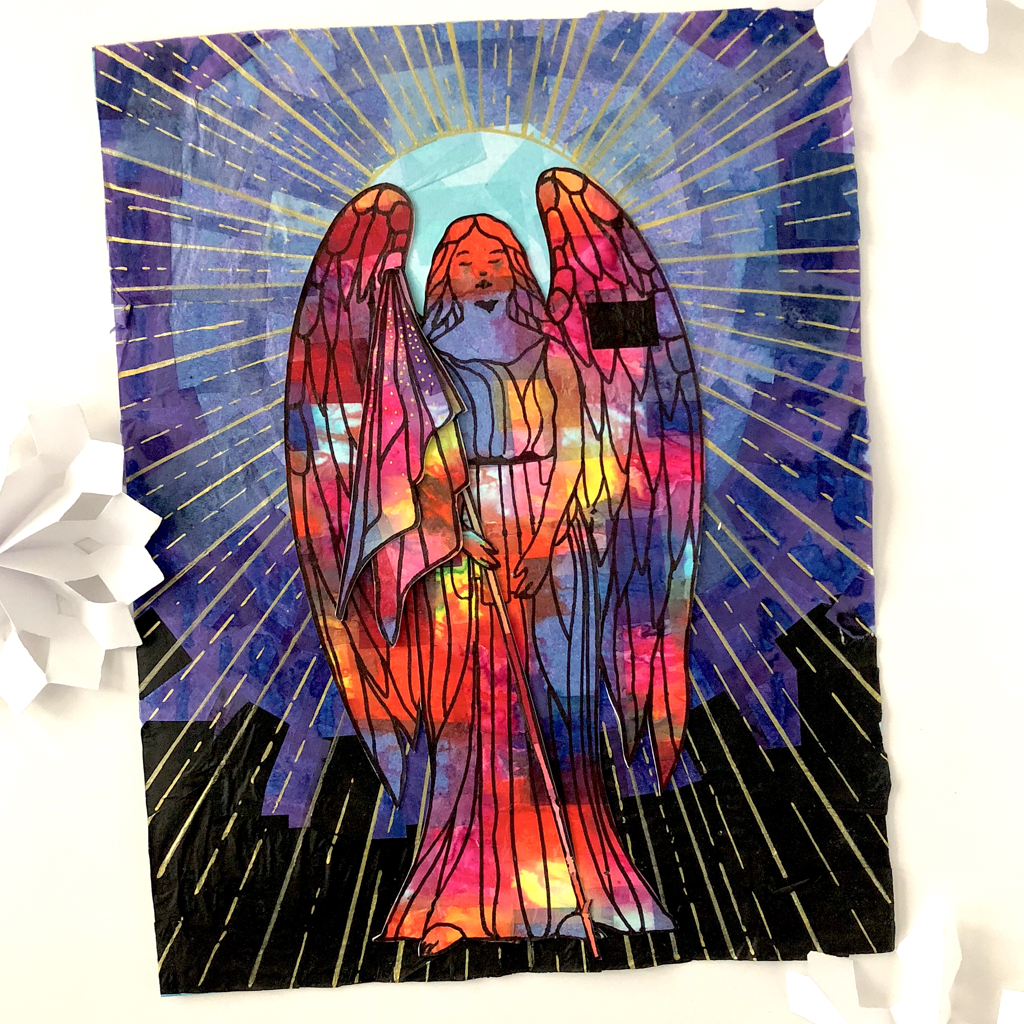
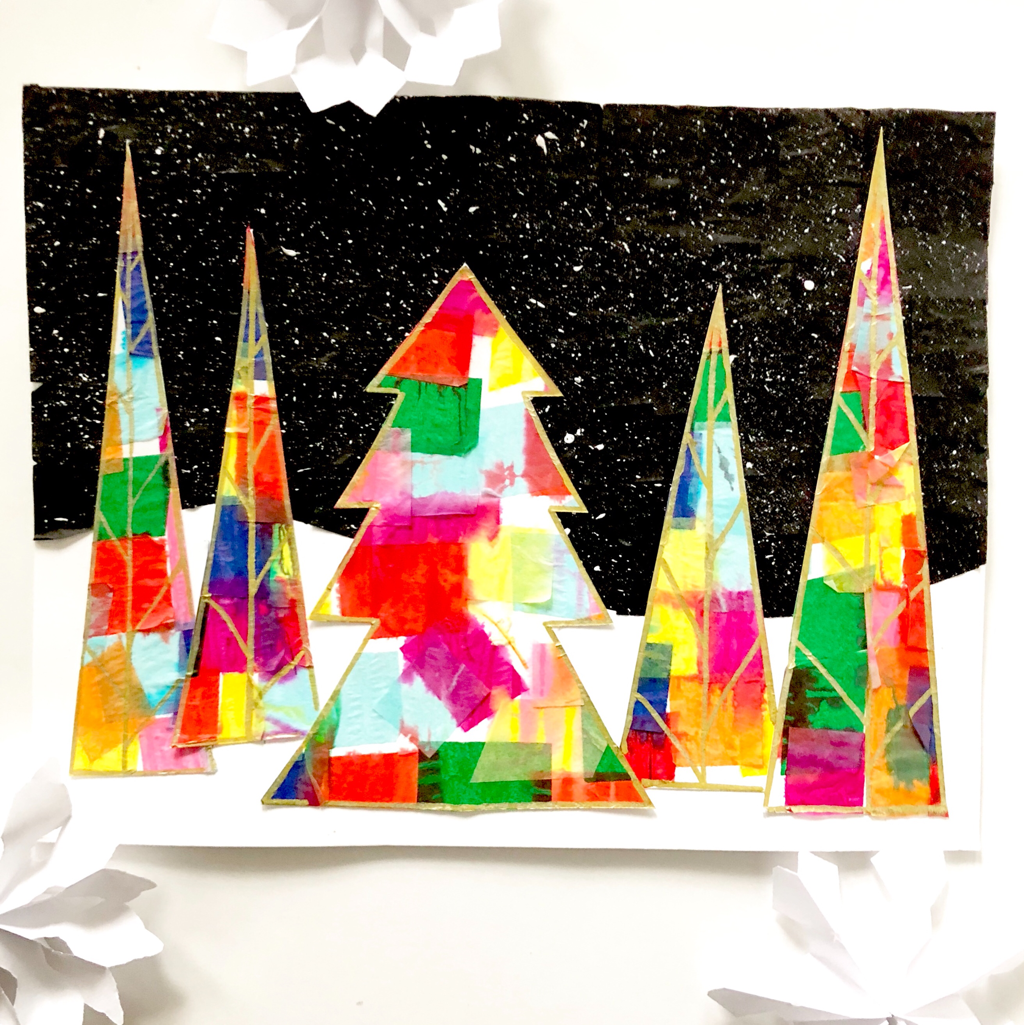
Tissue Paper Collage ProjectMaking a tissue paper collage is a must do project, it’s fun, easy and always comes out beautiful! Check out two holiday illustrations I made using the bleeding tissue paper technique. There’s just something magical about the way the colors naturally blend after getting wet, the results are truly amazing, you’re not going to want to stop staring at the finished works of art. This technique can be done as simple or as intricate as you’d like, either way you’ll want to make this project over and over again. The angel below is quite special too, she’s an example of making art projects a little more meaningful. I payed attention to the colors I chose, the look on her face and the flag she’s holding, all represent something to me. So be sure to create art with intention, it makes it that much more interesting when there’s a beautiful story to be told. So I didn’t put together a step by step photo tutorial about how I made this but it’s simple enough for me to explain in words, so here’s a short tutorial if you’d like to know the details.
Materials:
Directions: Step 1. Cut up several colors of bleeding tissue paper into small squares, the size does not have to be exact. Step 2. Start with a strong piece of paper like a 110lb cardstock or a watercolor paper and glue the tissue paper squares to the entire sheet overlapping a bit as you go along. Make several of these, one to cut up and one to use as a background. Step 3. Spritz the paper with a spray bottle until the color starts to run and blend. Let the papers dry overnight. Step 4. Use your paper to cut out different shapes such as trees, then glue them to your background. Add finishing touches with sharpies or other materials. You can even splatter some paint to create a snowy effect.
4 Comments
6/23/2023 10:48:48 pm
Thanks for sharing! Very good Informative and useful... Keep up the great work.
Reply
5/31/2024 05:56:26 pm
Thank you for sharing this wonderful Tissue Paper Collage Project! Your detailed instructions and creative ideas make it easy for both beginners and seasoned crafters to dive into this fun and artistic activity. I especially appreciate the tips on color coordination and layering techniques, which add a professional touch to the final artwork. This project is not only a great way to spend a relaxing afternoon but also an excellent opportunity for kids to develop their artistic skills. Keep up the fantastic work, and I look forward to more inspiring posts like this!
Reply
6/9/2024 10:54:31 pm
Can you describe the significance of the colors chosen by the author?
Reply
Leave a Reply. |
AuthorI'm John, an artist and art educator. The Art Dream is here to spark creativity and inspire the little artist inside of you! Archives
October 2021
Categories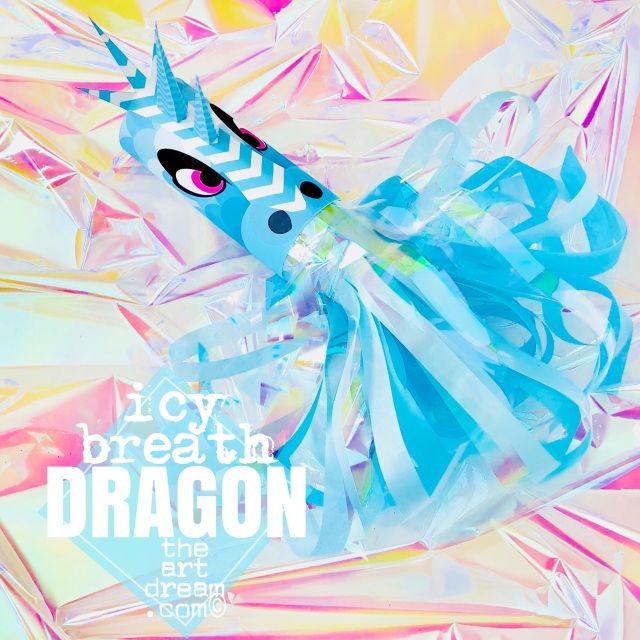
Ice Dragon Head Printable
$1.00
Feel the icy breath of this mighty dragon, it’s a dance of fire and ice that’ll leave you in awe. Just add your own streamers to create that blast of blustery snow!
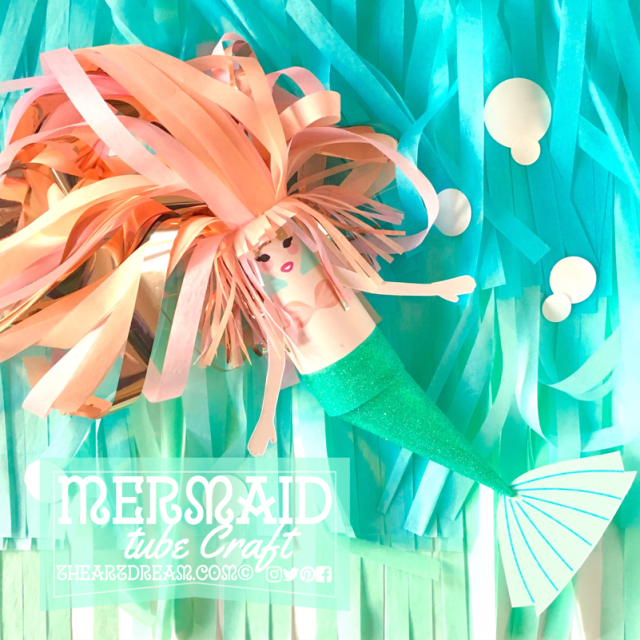
Mermaid Tube Craft Printable
$1.00
Who would dream about the world above the sea when you could dream about the world that is under the sea, where such beautiful creatures like this mermaid must exist! Don't they? I've started your journey of crafting this beautiful sea creature, it's up to you to add magical hair and dress up her fins!
|
Proudly powered by Weebly

 RSS Feed
